If your sweet tooth is calling but you want to stay true to your healthy lifestyle, our Twix Cookie Bars Recipe is a delightful treat that perfectly balances flavor and nutrition. These bars marry the rich, buttery notes of traditional Twix with a heart-healthy twist. Imagine biting into a gooey layer of caramel and chocolate, all surrounded by a chewy cookie base that’s easier to make than you might think! This recipe is not just about satisfying a craving; it’s also about taking control of your nutrition goals. Perfect for busy families or meal-prep planners, each bar is packed with flavors that will make you feel good about your snack choices.
This Twix Cookie Bars recipe is designed with you in mind, offering a quick way to indulge without the guilt. Take a moment to treat yourself with a dish that tantalizes the taste buds while supporting calorie-conscious eating. With a few pantry staples and a dash of creativity, you can whip up a batch in no time. Imagine these bars sitting in your fridge, ready to grab on the go. That’s a win for every busy family trying to balance nutrition and indulgence!
Why You’ll Love Twix Cookie Bars (Creamy, Easy, and Cozy)
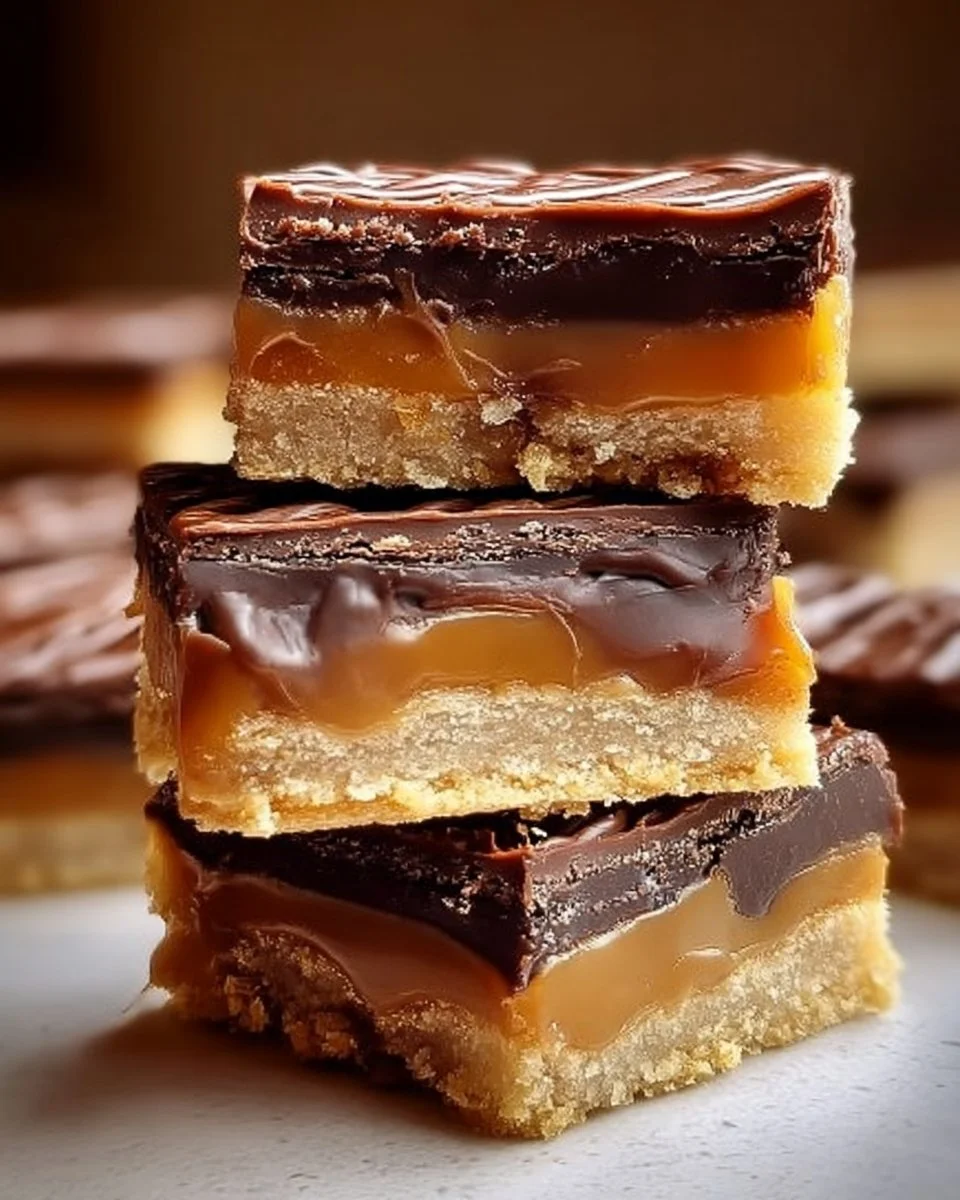
These Twix Cookie Bars are a perfect blend of chewy, creamy, and crunchy elements, making them a must-try treat!
If you’re on a quest for a snack that feels indulgent but fits into your healthy meal plan, Twix Cookie Bars are the answer. The layers of gooey caramel and melted chocolate meld beautifully atop a buttery cookie crust, creating a texture that’s simply irresistible. Whether you need a quick dessert after dinner, a treat for the kids, or a sweet addition to your meal-prep, these bars do it all. Plus, they adapt easily to your dietary needs, making them a versatile pick. Here are a few reasons to love this recipe:
- Quick to Make: These bars come together in just a short time, making them perfect for busy evenings.
- Chewy Texture: Enjoy the satisfying chewiness with each bite, thanks to the cookie crust.
- Pantry-Friendly: Most ingredients are already in your home, streamlining your baking experience.
- Meal-Prep Friendly: Bake ahead and keep these bars on hand for quick snacks throughout the week.
- Dietary Notes: This recipe is designed to be heart-healthy and calorie-conscious!
Ingredients for Twix Cookie Bars
- Butter – Creates a rich, creamy base for the cookie crust.
- Brown Sugar – Adds moisture and a hint of caramel flavor.
- Granulated Sugar – Balances sweetness and enhances the cookie’s crunch.
- All-Purpose Flour – The backbone of the cookie, giving it structure.
- Salt – Enhances all the flavors beautifully.
- Chocolate Chips – Adds richness and a melty texture.
- Caramel Candies – The star of the show, providing gooeyness and sweetness.
- Milk – Helps bind the ingredients and keep the cookie moist.
Ready to cook? See the recipe card for exact measurements below.
How to Make Twix Cookie Bars
Phase 1 – Prep
- Preheat your oven to 350°F (175°C). This step ensures even baking.
- Line an 8×8 inch baking pan with parchment paper, allowing some paper to hang over the edges (this makes it easy to lift out the bars later).
- In a large mixing bowl, cream the softened butter, brown sugar, and granulated sugar until light and fluffy. This usually takes about 3-4 minutes.
- Slowly stir in the flour and salt until the mixture is just combined, being careful not to overmix.
- Fold in the chocolate chips for that rich chocolatey goodness!
Phase 2 – Cook/Assemble
- Spread the cookie dough evenly into the prepared baking pan, pressing it down with your hands.
- Bake in the preheated oven for about 20-25 minutes or until the edges are golden brown, and the center is set.
- While the cookie base is baking, melt the caramel candies in a saucepan over low heat, stirring continuously until smooth (this takes about 5-7 minutes).
- Once the cookie base is baked and slightly cooled, pour the melted caramel over the bars and spread it evenly.
- Top with more chocolate chips if desired, then let the caramel settle for a few minutes.
Phase 3 – Serve
- After the caramel has set, lift the bars out of the pan using the parchment paper.
- Slice into portions with a sharp knife; a warm knife helps make cleaner cuts.
- Serve the bars at room temperature or chilled, based on your preference. Enjoy with a glass of milk or some fresh fruit to balance the sweetness!
Pro Tips for the Best Results
- For an extra layer of flavor, try using dark chocolate chips instead of milk chocolate.
- Ensure your butter is at room temperature for easy mixing.
- Let the cookies sit out for a few minutes before slicing for easier handling.
- If you’re short on time, pre-make the cookie base a day in advance.
- Store any leftovers in an airtight container to maintain freshness.
Common Mistakes to Avoid
Overbaking the Cookie Base: One common mistake is leaving the cookie base in the oven too long. This results in a dry texture that doesn’t complement the gooey caramel. Keep an eye on the dough and remove it as soon as it turns golden, even if it feels soft in the middle.
Not Letting Caramel Cool: Some may pour the caramel directly after melting without giving it a moment to cool slightly. This can make the caramel runny and difficult to spread. Allow it a minute after cooking to thicken before pouring it over the cookie base.
Cutting While Warm: If you dive into slicing the bars too soon, they may crumble or fall apart. Allow the bars to cool completely; this makes cutting into neat squares easier and keeps them intact for serving.
Recipe Variations
- Gluten-Free: Substitute all-purpose flour with a gluten-free baking blend for a delicious alternative.
- Dairy-Free: Use dairy-free chocolate chips and a vegan butter substitute to make these bars suitable for a dairy-free diet.
- Spicy: Add a pinch of cayenne pepper to the cookie dough for a surprising kick of flavor.
- Herbal: Infuse the cookie batter with a teaspoon of vanilla extract or almond extract for added depth.
- Air Fryer: Cook at 320°F (160°C) for about 12-15 minutes in the air fryer for a quick version.
How to Serve Twix Cookie Bars
- Best Pairings: Serve alongside a scoop of vanilla ice cream or a dollop of whipped cream for an elevated dessert.
- Toppings: Sprinkle sea salt on top right after the caramel layer for a gourmet touch.
- Garnishes: Add crushed nuts or coconut flakes to enhance the texture and flavor contrast.
Make Ahead & Storage
Can I Meal Prep This?
Yes! These Twix Cookie Bars are perfect for meal prep. Simply bake them in advance and store them for up to a week.
Storing Leftovers
Store any leftover bars in an airtight container in the fridge for up to 5 days to keep them fresh and chewy.
Freezing
You can freeze these bars for up to 3 months. Just wrap them tightly in plastic wrap and place them in an airtight container. Be sure to thaw overnight in the fridge to maintain texture!
Reheating
For the best results, reheat them in the oven at 300°F (150°C) for about 5-7 minutes. Alternatively, you can microwave them for 10-15 seconds, but be cautious not to overheat.

FAQs
Can I use other types of chocolate? Absolutely! Feel free to use dark chocolate, white chocolate, or even a combination of different types for a unique flavor.
Are these bars kid-friendly? Yes! They are a hit with kids and adults alike — a fun dessert that feels like a treat without the guilt.
Can I add nuts to the recipe? Yes, feel free to toss in some chopped nuts for added crunch. Just stir them in with the chocolate chips.
What makes these bars healthier than traditional Twix? This recipe uses less sugar, healthy fats, and promotes a balanced approach to snacking, making it perfect for calorie-conscious diets.
If you’re excited to try this Twix Cookie Bars recipe, you’re in for a treat! This delicious and nutritious dessert is perfect for those looking to indulge guilt-free. Don’t forget to rate this recipe and share your thoughts in the comments! If you’re enjoying our healthy approaches, check out our other recipes like the High Protein Cauliflower Soup for more meal-prep ideas.
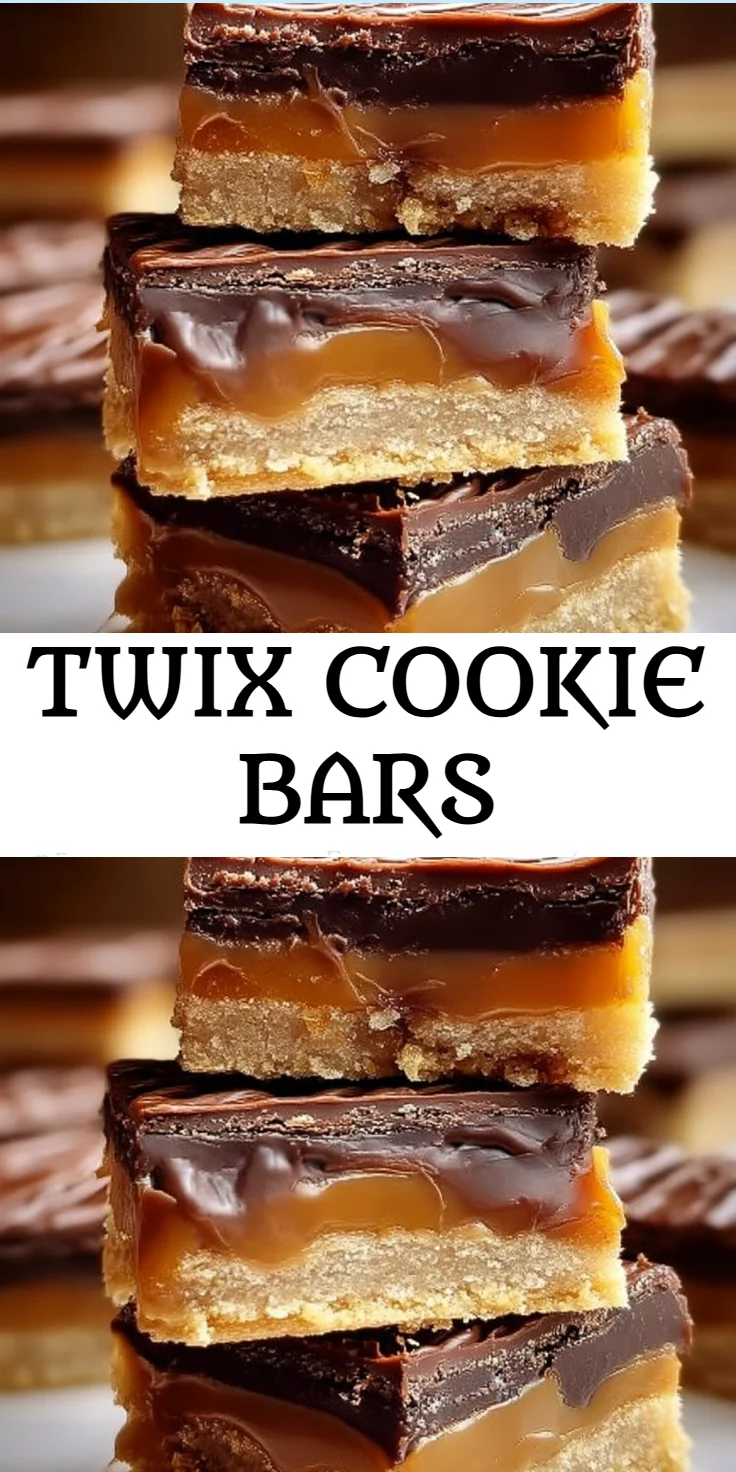
Twix Cookie Bars
Ingredients
For the Cookie Base
- 1 cup Butter Creates a rich, creamy base for the cookie crust.
- 3/4 cup Brown Sugar Adds moisture and a hint of caramel flavor.
- 1/4 cup Granulated Sugar Balances sweetness and enhances the cookie’s crunch.
- 1 cup All-Purpose Flour The backbone of the cookie, giving it structure.
- 1/2 teaspoon Salt Enhances all the flavors beautifully.
- 1 cup Chocolate Chips Adds richness and a melty texture.
For the Topping
- 1 cup Caramel Candies The star of the show, providing gooeyness and sweetness.
- 1/4 cup Milk Helps bind the ingredients and keep the cookie moist.
Instructions
Preparation
- Preheat your oven to 350°F (175°C).
- Line an 8x8 inch baking pan with parchment paper.
- In a large mixing bowl, cream the softened butter, brown sugar, and granulated sugar until light and fluffy (around 3-4 minutes).
- Slowly stir in the flour and salt until just combined.
- Fold in the chocolate chips.
Cooking
- Spread the cookie dough evenly into the prepared baking pan.
- Bake in the preheated oven for 20-25 minutes or until edges are golden brown.
- Melt caramel candies in a saucepan over low heat, stirring until smooth (about 5-7 minutes).
- Once cookie base is baked and cooled slightly, pour the melted caramel over it and spread evenly.
Serving
- Lift the bars out of the pan using parchment paper.
- Slice into portions with a sharp knife.
- Serve at room temperature or chilled.