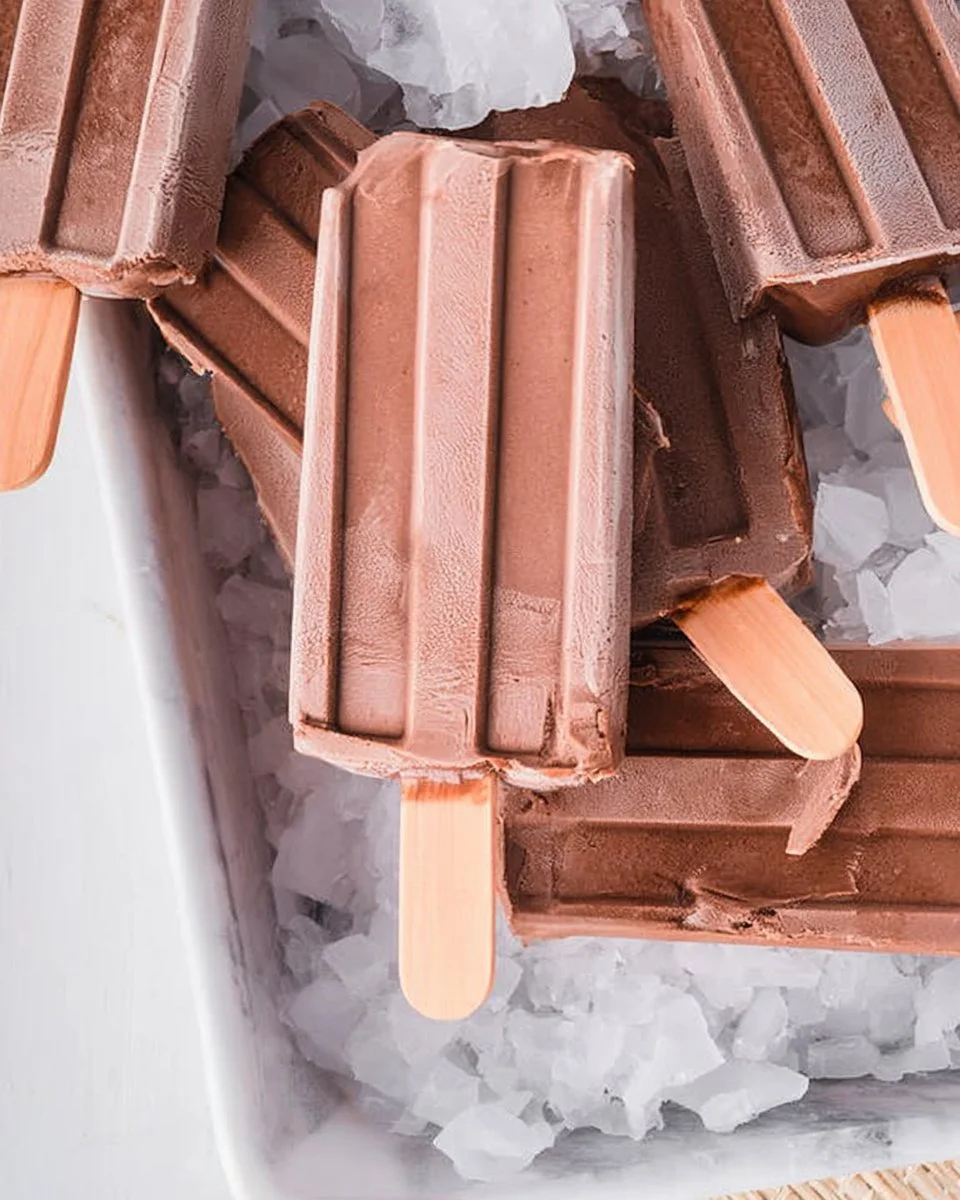
When the heat of summer rolls in, nothing beats a homemade treat that’s both refreshing and indulgent. Picture creamy, chocolatey goodness melting on your tongue, with each bite delivering a satisfying chill that brings back childhood memories. Homemade fudgesicles are the perfect summertime snack, providing a decadent chocolate flavor that appeals to all ages. These deliciously rich frozen delights are simple to prepare and an excellent way to cool down after a long, hot day.
Not only are they enjoyable to eat, but they also make for a great family activity, allowing kids and adults alike to join in the fun of creating something special. Plus, they can be effortlessly integrated into meal prep routines, giving you a guilt-free treat that’s perfect for those busy weeks. With every bite, you’re treating yourself to a delightful homemade dessert that’s sure to become a fast favorite.
Quick Answer
Homemade fudgesicles are rich, creamy chocolate ice pops that are easy to make and perfect for cooling off in warm weather. They’re popular due to their delicious flavor and simplicity, making them an excellent choice for families looking to beat the heat with a tasty homemade treat.
Why You’ll Love This Recipe
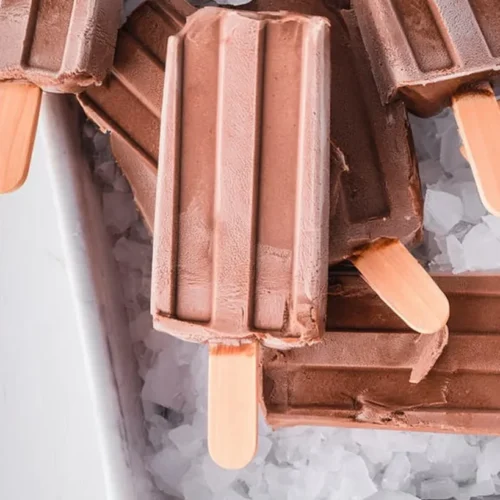
This recipe for fudgesicles offers an irresistible combination that captures the essence of summer treats. The smooth, creamy texture complements the deep chocolate flavor, providing the perfect balance of sweetness and indulgence. These fudgesicles not only satisfy your sweet tooth but also stand out for their quick preparation and freezer-friendly nature.
- Flavor Profile: Decadent chocolate flavor that melts in your mouth.
- Texture: Creamy and smooth, offering a delightful frozen experience.
- Convenience: Easy to make with minimal ingredients and effort.
- Meal Prep Value: Perfect make-ahead treat for busy families.
- Family Appeal: Kids and adults alike will love these chocolaty pops!
What Makes This Recipe Special
The secret behind the delectability of these fudgesicles lies in their creamy texture achieved through a careful balance of milk and heavy cream. The addition of dark chocolate enriches the flavor, turning a simple treat into a chocolate lover’s dream. Additionally, the use of Dutch-process cocoa adds depth, distinguishing these fudgesicles from store-bought varieties that often lack a homemade touch. This recipe’s simple preparation method means anyone can whip up these tasty treats with ease, leaving more time for summer fun.
Kitchen Tools You’ll Need
- Popsicle molds – Essential for shaping your fudgesicles.
- Whisk – Perfect for blending ingredients smoothly.
- Mixing bowl – For combining your fudgesicle mixture.
- Small saucepan – Used to heat milk and cream mixture without boiling.
- Measuring spoons – Ensure accurate ingredient portions.
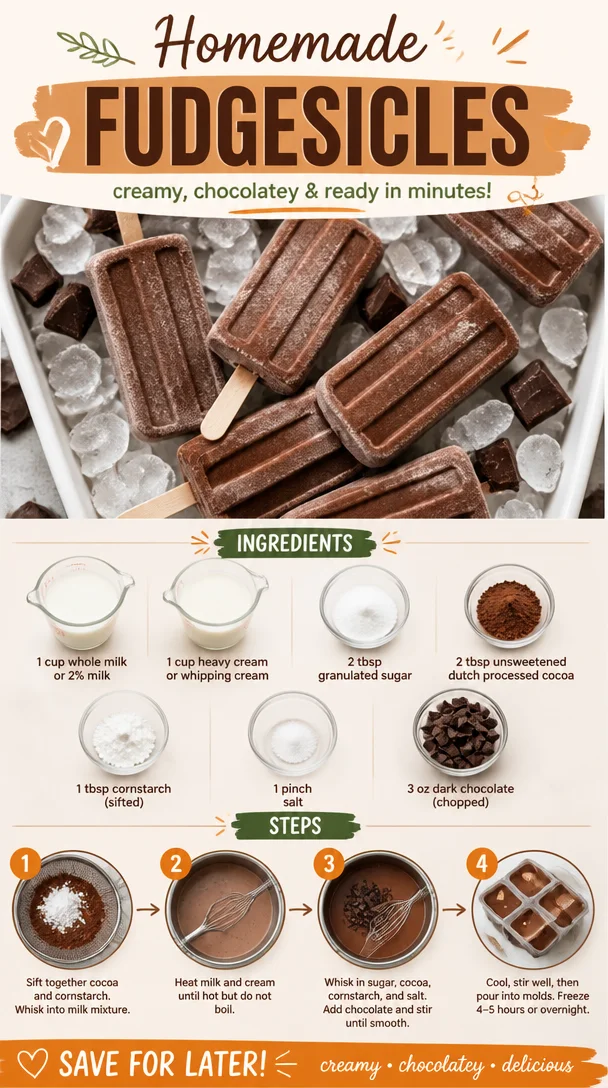
Ingredients
whole milk or 2 percent milk: Adds creaminess and richness to the fudgesicles.
heavy cream or whipping cream: Creates a luscious, smooth texture.
granulated sugar: Sweetens the mixture, balancing the chocolate flavor.
unsweetened dutch processed cocoa: Provides a deep chocolate taste without extra sweetness.
cornstarch: Helps to thicken the mixture for a creamier texture.
salt: Enhances the flavors by balancing sweetness.
dark chocolate: Offers intense chocolate flavor and richness.
Ready to cook? Scroll to the recipe card below for exact measurements.
How to Make Homemade Fudgesicles
STEP 1. Sift cocoa and cornstarch. In a small bowl, sift together the cocoa and cornstarch.
STEP 2. Whisk into milk mixture. Whisk the sifted mixture into the combined milk and cream.
STEP 3. Heat the milk mixture. In a saucepan, heat the milk and cream until hot, but do not boil.
STEP 4. Add sugar and salt. Whisk in granulated sugar, cocoa, cornstarch, and salt into the milk mixture.
STEP 5. Incorporate dark chocolate. Stir in chopped dark chocolate pieces until melted and smooth.
STEP 6. Let it cool. Allow the mixture to cool down before handling.
STEP 7. Pour into molds. Stir well or blend if necessary before pouring into popsicle molds.
STEP 8. Freeze. Freeze until completely solid, approximately 4-5 hours or overnight.
STEP 9. Store properly. After one week in molds, wrap each popsicle in plastic wrap and place in a freezer bag for up to 4 weeks.
Why This Recipe Works
The success of these fudgesicles hinges on the balance between flavors and textures. The combination of whole milk and heavy cream creates a rich, creamy base that holds the cocoa and chocolate beautifully. Adding cornstarch not only thickens the mixture but enhances that smooth, velvety feel as you take a bite. The careful heating of the milk ensures no boiling occurs, which preserves the delicate flavors and achieves a perfectly blended consistency. The result is a frozen treat that’s not only deliciously satisfying but also feels indulgent without being overly heavy.
Pro Tips for Best Results
- Add vanilla extract for a subtle flavor boost that complements the chocolate.
- Use semi-sweet chocolate instead of dark chocolate for a different flavor profile.
- Allow the mixture to cool completely before pouring to maintain ideal texture.
- Blend the mixture briefly for an ultra-smooth consistency before pouring into molds.
- Experiment with different milk types for a twist, such as almond or oat milk.
Common Mistakes to Avoid
Mistake: Boiling the cream and milk mixture.
Why it happens: Not watching the pot closely.
How to fix it: Heat the mixture until hot, removing from heat before boiling.
Mistake: Not cooling the mixture before pouring.
Why it happens: Impatience to freeze.
How to fix it: Allow sufficient time for cooling, stirring occasionally.
Mistake: Using poor-quality chocolate.
Why it happens: Going for the cheaper option.
How to fix it: Use high-quality dark chocolate for better flavor.
Mistake: Not wrapping popsicles before freezing.
Why it happens: Forgetting the storage instructions.
How to fix it: Always wrap each in plastic wrap to avoid freezer burn.
Recipe Variations
- Try adding nut butter swirls for a creamy, nutty twist.
- Incorporate fresh fruit puree for a fruity flavor.
- Add shredded coconut for a tropical flair.
- Use flavored syrups to create layered pops.
- Mix in crushed mint leaves for a refreshing minty fudgesicle.
Nutrition Highlights
| Nutrient | Amount per serving |
|---|---|
| Protein | 5g |
| Fiber | 1g |
| Carbs | 21g |
| Healthy Fats | 8g |
| Calories | 180 |
How to Serve Homemade Fudgesicles
- Pair with fresh berries for a vibrant contrast.
- Top with whipped cream for added indulgence.
- Serve alongside a scoop of vanilla ice cream for a dessert treat.
- Drizzle melted chocolate over the top for extra flair.
Best Occasions for This Recipe
These fudgesicles are perfect for a variety of occasions, including summer barbecues, family gatherings, holiday celebrations, and potlucks. Their ease of preparation makes them an excellent choice for casual weeknight dinners or special treats for your kids after a long day. No matter the event, these homemade treats are sure to delight everyone!
Make Ahead & Storage
Can This Be Meal Prepped
Absolutely! These fudgesicles can easily be made in advance and stored for weeks in the freezer. Just prepare your mixture, pour it into molds, and freeze.
Storing Leftovers
Once frozen, allow them to stay in molds no longer than one week. Wrap them individually for the best preservation.
Freezing
Make sure to freeze them completely until they hold their shape, which takes about 4-5 hours or overnight.
Reheating
Reheating is generally not necessary for these pops. When you’re ready to enjoy, just remove from the freezer and let sit at room temperature for a few minutes for easier removal from molds.
Creative Ways to Use Leftovers
Leftover fudgesicles can be transformed into a decadent dessert by breaking them up and layering them over yogurt for a parfait. You can also blend them into smoothies for a rich chocolate shake or chop them up to create a fudge topping for ice cream.

FAQs
How long do homemade fudgesicles last in the freezer?
They can be stored in the freezer for up to 4 weeks without losing flavor or texture.
Can I use different types of milk?
Yes! You can use almond, coconut, or oat milk for a dairy-free version, though the texture may vary slightly.
What happens if my fudgesicles are too hard?
If they’re too hard, let them sit out for a couple of minutes before enjoying to soften just enough for easy munching.
Can I add other flavors to these fudgesicles?
Absolutely! Feel free to introduce different flavorings like peppermint extract or fruit purees for unique variations.
How do I know when they are frozen enough?
Fudgesicles are ready when they are solid throughout and easily pop out of the molds.
Save This Recipe for Later
If you love this recipe, make sure to save it to your Pinterest board for easy access later. Share it with friends and family who would enjoy whipping up these homemade fudgesicles!
Final Thoughts
Rich, creamy, and utterly delightful, the homemade fudgesicles you make will bring smiles on hot summer days. They offer not only a delicious chocolate treat but also the convenience of prepping ahead for busy families. Don’t hesitate to try this recipe, save it for later, and explore more deliciously chocolatey creations!
Homemade Fudgesicles
Ingredients
Base Ingredients
- 2 cups whole milk or 2 percent milk Adds creaminess and richness.
- 1 cup heavy cream or whipping cream Creates a luscious, smooth texture.
- 1/2 cup granulated sugar Sweetens the mixture.
- 1/2 cup unsweetened Dutch processed cocoa Provides a deep chocolate taste.
- 2 tablespoons cornstarch Helps thicken the mixture.
- 1/4 teaspoon salt Enhances flavors.
- 4 ounces dark chocolate Offers intense chocolate richness.
Instructions
Preparation
- Sift together the cocoa and cornstarch in a small bowl.
- Whisk the sifted mixture into the combined milk and cream in a mixing bowl.
- In a small saucepan, heat the milk and cream until hot, but do not boil.
- Whisk in granulated sugar, cocoa, cornstarch, and salt into the hot milk mixture.
- Stir in chopped dark chocolate pieces until melted and smooth.
- Allow the mixture to cool down before pouring into molds.
- Pour the mixture into popsicle molds and stir well if necessary.
- Freeze until completely solid, approximately 4-5 hours or overnight.
Storage
- After one week in molds, wrap each popsicle in plastic wrap and place in a freezer bag for up to 4 weeks.