
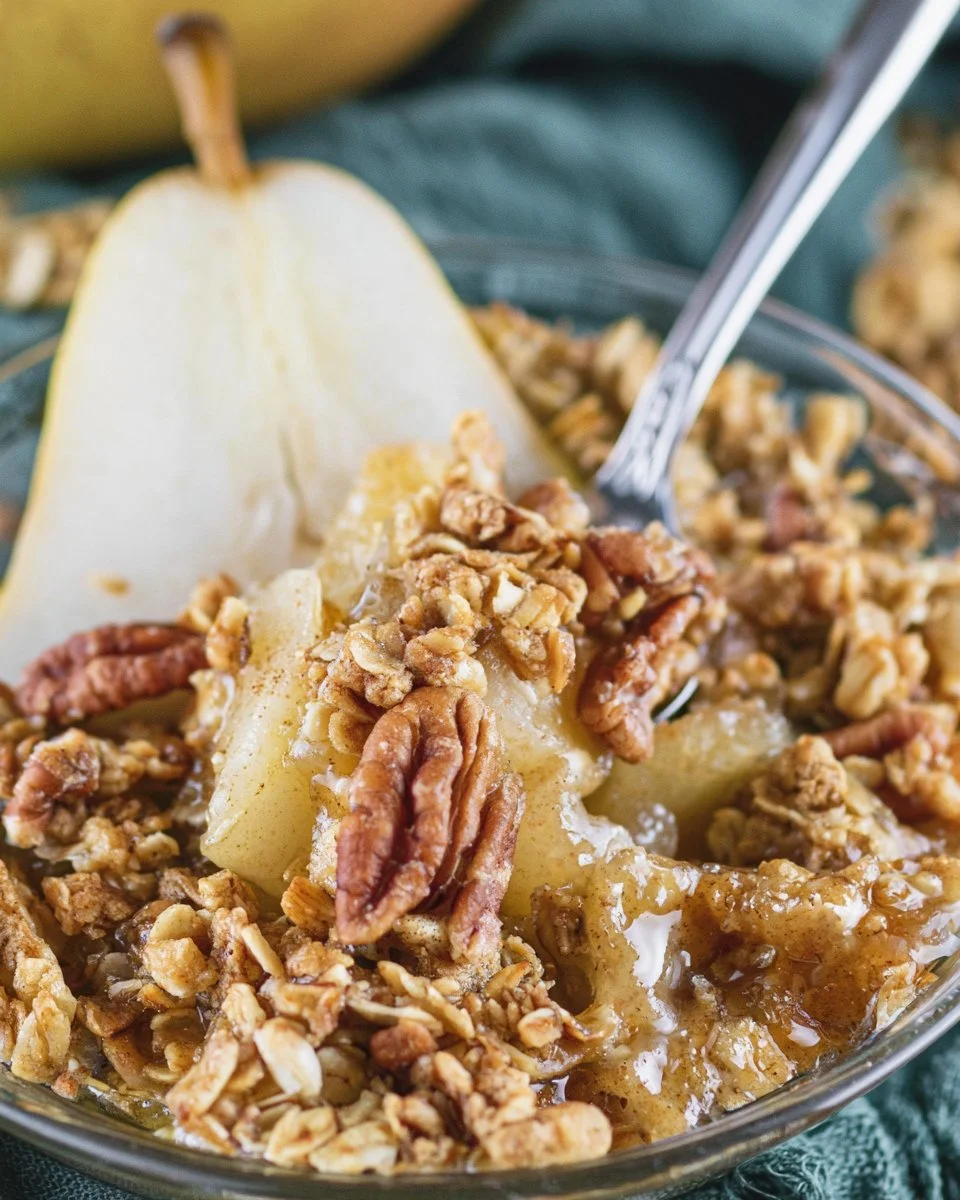
The holidays are the perfect time to indulge in comforting desserts that fill your home with warmth and delightful aromas. Imagine slicing into a warm crumble fresh from the oven, revealing juicy pears enveloped in a crispy, nutty topping. This dessert is not just about sweetness; it brings together the tartness of pears and the rich crunch of nuts, with a hint of cinnamon that instantly invokes the cozy spirit of the season. With every spoonful, you’ll experience a comforting blend of flavors and textures, making it a standout addition to any holiday table. This recipe is simple enough for even beginner bakers, yet it yields impressive results that are sure to wow family and friends alike. Whether served warm with a scoop of vanilla ice cream or enjoyed as a delightful breakfast treat, this crumble is a versatile dish that celebrates the season’s best flavors.
Why You’ll Love This Recipe
This pear crumble is a delightful combination of simple ingredients that come together to create something truly special. It’s not only easy to make but also allows you to enjoy seasonal fruits at their best. The textures in this dish are harmonious—the tender pears melt in your mouth, while the crumbly topping adds a satisfying crunch with every bite. The addition of nuts provides a nutrient boost, making this dessert a little healthier without compromising on taste. Plus, the aroma of cinnamon and baked fruit fills your kitchen, creating an inviting atmosphere. Whether for a festive gathering or a weekday treat, this crumble is a recipe you’ll turn to time and time again. Its wholesome ingredients mean you can feel good about serving it to loved ones.
What Makes This Recipe Special
One of the highlights of this holiday dessert is its simplicity combined with its mouthwatering outcome. The use of fresh, ripe pears ensures each bite is bursting with juicy sweetness, perfectly complemented by the warmth of cinnamon. The crumble topping showcases the natural flavors of nuts and oats, giving it a delightful crunch that contrasts beautifully with the soft fruit beneath. This recipe is also incredibly adaptable, allowing you to swap out ingredients based on what you have on hand or personal preference. The use of maple syrup or raw honey not only adds sweetness but also a natural, rich flavor profile. Additionally, this dish is suitable for various dietary needs, making it a versatile option for gatherings with friends and family.
Ingredients
pears: Fresh, ripe pears provide natural sweetness and juiciness.
cinnamon: A warm spice that enhances flavor and adds a cozy aroma.
pecans or walnuts: Chopped nuts add crunchiness and richness to the dish.
old-fashioned rolled oats: Contributes texture and heartiness to the topping.
almond meal: Adds a subtle nuttiness while keeping the topping moist and flavorful.
light-tasting olive oil or coconut oil: Helps bind the topping ingredients while adding richness.
pure maple syrup or raw honey: A natural sweetener that enhances the flavor of the dessert.
sea salt: Balances the sweetness and elevates the overall flavor profile.
How to Make Holiday Pear Crumble 🍐
Phase 1 – Prep
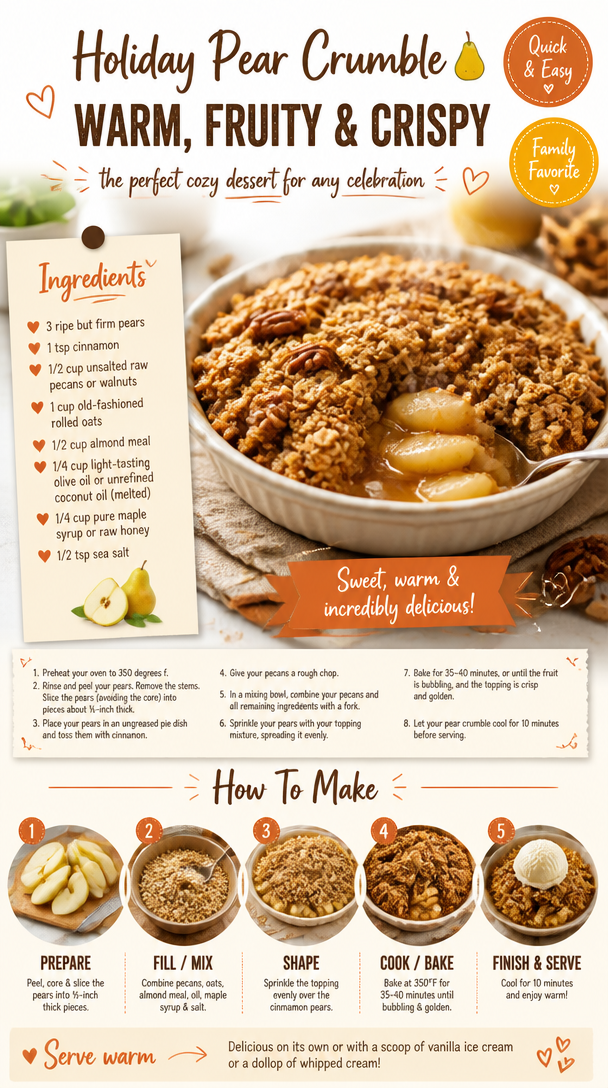
STEP 1. Preheat the oven. Set your oven to 350°F to prepare for baking.
STEP 2. Prepare the pears. Rinse and peel the pears, removing any stems and slicing them into ⅓-inch thick pieces, avoiding the core.
STEP 3. Assemble the pears. Place the sliced pears in an ungreased pie dish and toss them with cinnamon for flavor.
STEP 4. Chop the nuts. Roughly chop your pecans or walnuts to add texture to the topping.
Phase 2 – Cook
STEP 5. Mix topping ingredients. In a mixing bowl, combine the chopped nuts with all remaining ingredients using a fork until well mixed.
STEP 6. Combine topping and fruit. Sprinkle the topping mixture evenly over the pears, ensuring they are well covered.
STEP 7. Bake the crumble. Place the dessert in the preheated oven and bake for 35-40 minutes, until the fruit is bubbling and the topping is golden brown.
Phase 3 – Serve
STEP 8. Cool before serving. Allow your pear crumble to cool for 10 minutes, then serve it warm, possibly with a scoop of ice cream.
Pro Tips
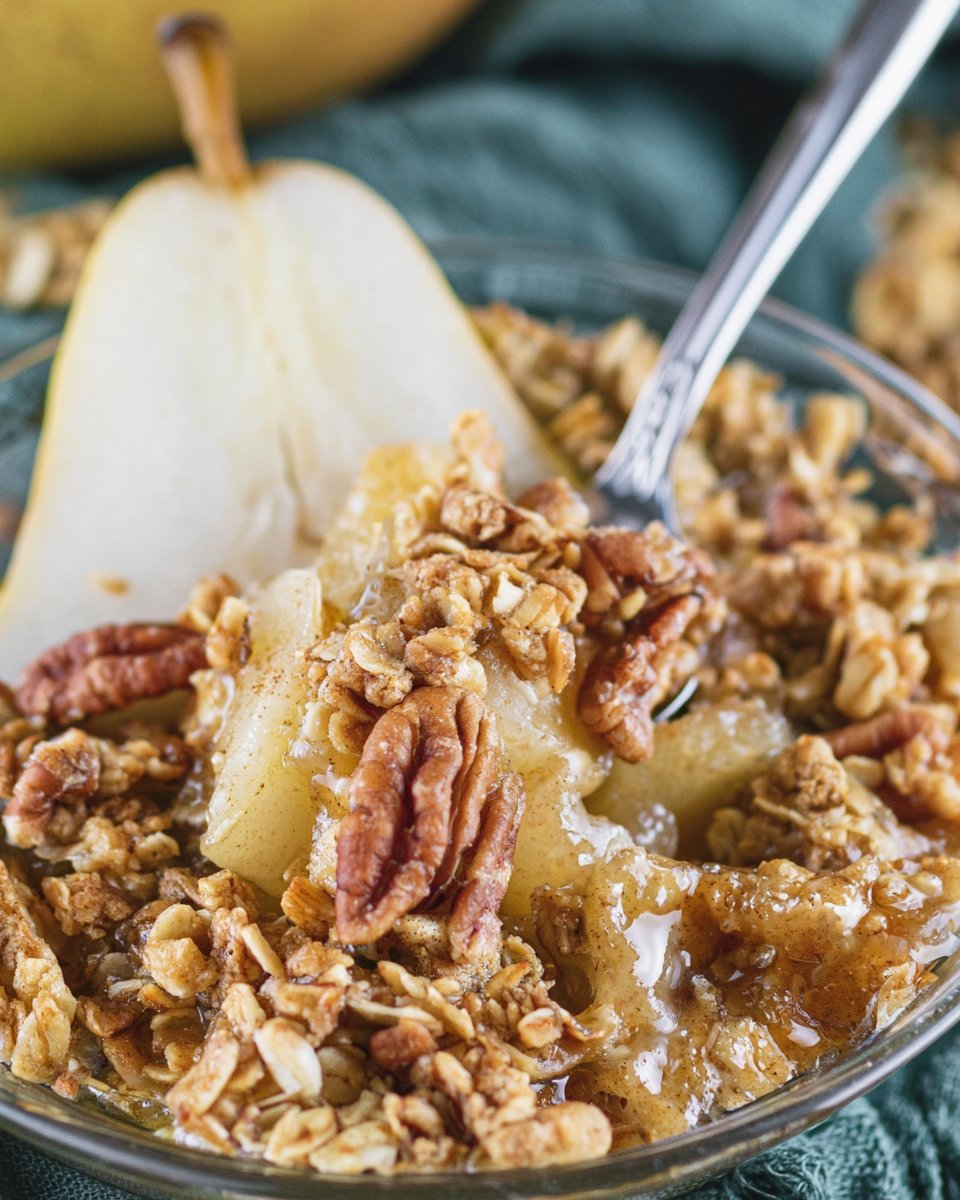
For the best results, choose pears that are ripe but still firm to ensure they hold their shape during baking. If you prefer a sweeter crumble, feel free to adjust the amount of maple syrup or honey based on your taste. Letting the crumble cool before serving not only enhances its flavor but also allows it to set, making it easier to serve. Additionally, feel free to experiment with spices like nutmeg or ginger for an extra layer of flavor. If you’d like a crunchier topping, broil the crumble for a couple of minutes at the end of baking, keeping a close eye to prevent burning. Remember to use an ungreased dish, as the natural oils from the filling and topping provide enough moisture to prevent sticking.
Common Mistakes to Avoid
One common mistake when making this crumble is using overly ripe pears, which can turn mushy during baking. Be sure to choose firm pears for the best texture. Another pitfall is not mixing the topping ingredients thoroughly; this can lead to uneven distribution of flavors. Be sure to incorporate everything well before spreading it on the fruit. Avoid baking it for too long, as overcooking can lead to a dry topping. Keep an eye on the crumble during the last few minutes of baking to achieve that perfect golden color without losing moisture. Lastly, remember to let the crumble cool for a bit before serving; this helps the fruit juices settle, making it easier to serve while retaining its delicious creaminess.
Variations
• Try adding a splash of vanilla extract for an aromatic touch.
• Substitute apples or berries for a different flavor profile.
• Use gluten-free oats and almond meal to make it gluten-free.
• Add a sprinkle of shredded coconut for extra texture and flavor.
• Incorporate citrus zest for a refreshing citrus twist.
Serving Ideas
Pair this warm pear crumble with a scoop of vanilla ice cream or whipped cream for an indulgent dessert option. It also makes a delicious breakfast when served warm, drizzled with yogurt or almond milk. For a cozy holiday breakfast gathering, serve it alongside fresh coffee or spiced tea. It can also be enjoyed on its own as a sweet snack any time of day. Consider topping it with extra nuts or a drizzle of maple syrup for additional flavor.
Meal Prep & Storage
This pear crumble is perfect for meal prep, allowing you to make it ahead of time for holiday gatherings. Once cooled, cover it with plastic wrap or transfer it to an airtight container and store it in the refrigerator for up to three days. To reheat, simply place it in the oven at a low temperature until warmed through. For longer storage, consider freezing the crumble before baking. Wrap it tightly and store it in the freezer for up to three months. When ready to enjoy, thaw it overnight in the refrigerator and bake directly from the freezer, adding a few extra minutes to your baking time for best results.
FAQs
Can I use other types of fruit in this recipe?
Absolutely! While pears are the star of this dish, you can easily substitute with apples, cherries, or mixed berries for a delicious variation.
How do I know when the crumble is done?
Your crumble is done when the fruit is visibly bubbling and the topping has turned a golden brown color. Also, it should be fragrant and crisp on top.
Can I make this pear crumble gluten-free?
Yes! Simply use certified gluten-free oats and almond meal, and ensure all other ingredients are gluten-free as well.
How should I serve this dessert?
Serve warm with a scoop of vanilla ice cream, whipped cream, or even a drizzle of yogurt for added creaminess.
Can I prepare this ahead of time?
Yes, you can prepare the pear mixture and crumble topping separately and combine them just before baking to maintain freshness.
Conclusion
A homemade dessert can truly elevate your holiday gatherings, and this one offers the perfect blend of comfort and indulgence. With its inviting aroma and delightful taste, this recipe is sure to become a new family favorite. Embrace the season by creating this delicious pear crumble, and enjoy the moments spent with loved ones over this irresistible treat.
Holiday Pear Crumble
Ingredients
For the Pear Filling
- 4 medium Fresh, ripe pears Ensure pears are ripe but still firm.
- 1 teaspoon Cinnamon A warm spice that enhances flavor.
For the Topping
- 1 cup Old-fashioned rolled oats Contributes texture and heartiness.
- 1/2 cup Chopped pecans or walnuts Adds crunchiness and richness.
- 1/2 cup Almond meal Keeps the topping moist and flavorful.
- 1/4 cup Light-tasting olive oil or coconut oil Helps bind the topping ingredients.
- 1/4 cup Pure maple syrup or raw honey Natural sweetener that enhances flavor.
- 1/4 teaspoon Sea salt Balances sweetness.
Instructions
Preparation
- Preheat the oven to 350°F.
- Rinse and peel the pears, removing any stems and slicing them into ⅓-inch thick pieces.
- Place the sliced pears in an ungreased pie dish and toss them with cinnamon.
- Roughly chop the pecans or walnuts.
Cooking
- In a mixing bowl, combine the chopped nuts with all remaining topping ingredients using a fork until well mixed.
- Sprinkle the topping mixture evenly over the pears.
- Bake for 35-40 minutes until the fruit is bubbling and the topping is golden brown.
Serving
- Allow to cool for 10 minutes before serving, preferably warm with a scoop of ice cream.