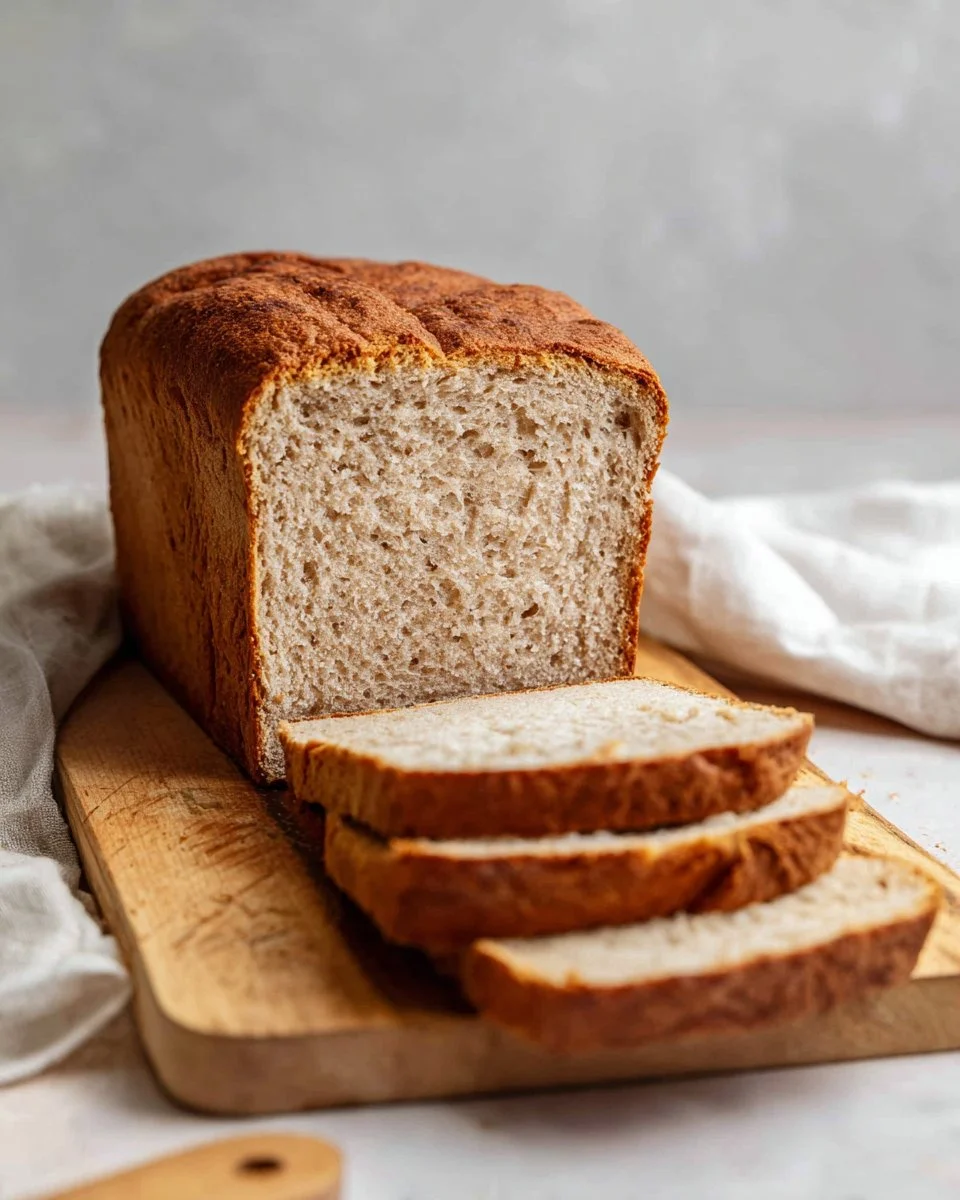
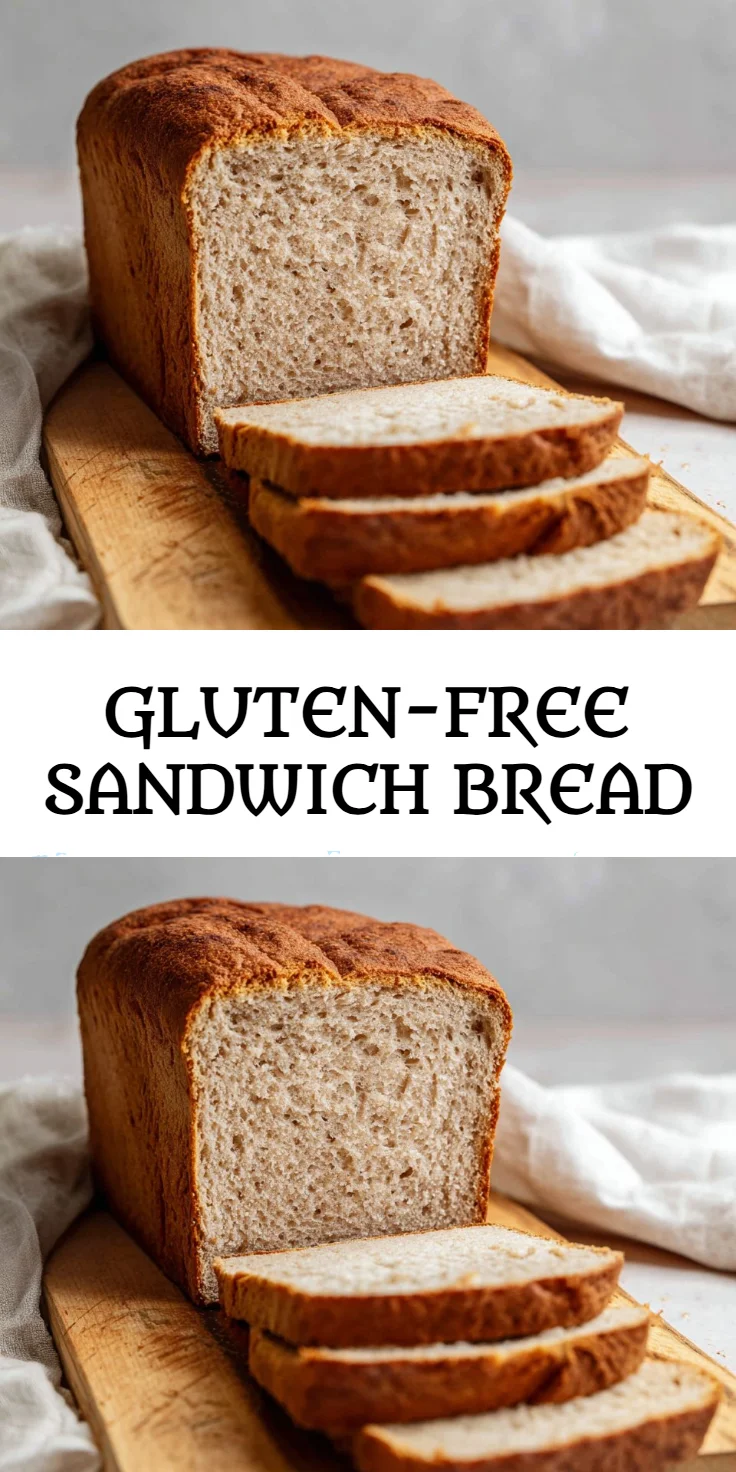
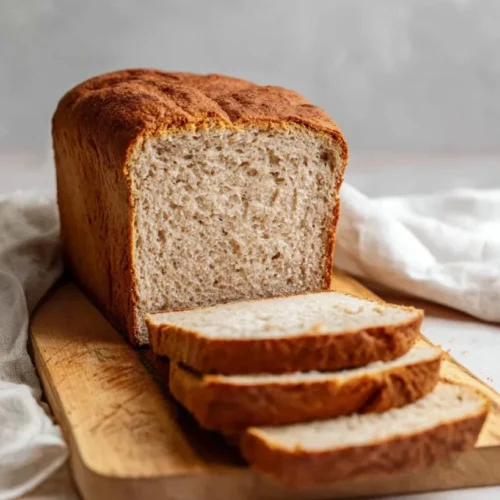
Baking your own bread is not just a culinary skill but a delightful experience that brings warmth and comfort to your home. The aroma of freshly baked gluten-free sandwich bread wafting through your kitchen is enough to make anyone’s mouth water. This recipe creates a soft and fluffy loaf that’s perfect for sandwiches, toasting, or simply enjoying with a pat of butter. While gluten-free bread can sometimes be dense or crumbly, this version achieves a perfect balance of texture, resulting in a light and enjoyable slice every time. Imagine biting into a perfectly toasted piece, crisp on the outside and tender on the inside, making it the ideal vehicle for your favorite fillings. Whether you are gluten-sensitive or just looking for a wholesome alternative, this bread will quickly become a staple in your kitchen.
Why You’ll Love This Recipe
There are numerous reasons to fall in love with this homemade bread. For starters, it’s easy to make, with simple ingredients you might already have in your pantry. The addition of psyllium husk ensures a great texture, while the use of gluten-free oats and a variety of flours will provide essential nutrients and flavor. It’s versatile too, meaning you can customize it by adding herbs, seeds, or even spices to match your taste preferences. Whether you’re creating a classic sandwich or a hearty toasted breakfast, this bread serves as a perfect canvas. Plus, it’s incredibly satisfying to create something from scratch, knowing exactly what goes into your food.
What Makes This Recipe Special
What sets this gluten-free sandwich bread apart is its unique combination of ingredients that work harmoniously to create the perfect loaf. Using gluten-free oats not only contributes to a delightful flavor but also enhances the nutritional profile of the bread. The blend of brown rice flour, potato starch, and tapioca starch provides the necessary structure while keeping it light and fluffy. The key ingredient, psyllium husk, acts as a binding agent, mimicking the properties of gluten without sacrificing texture. This recipe is not just about avoiding gluten; it’s about enjoying quality, mouthwatering bread that rivals its traditional counterparts.
Ingredients
gluten-free oats: Ground to flour, providing the base for a nutty flavor and good texture.
psyllium husk: Essential for binding, giving the bread structure and a chewy texture.
soy milk: Acts as the liquid ingredient, adding moisture and a slight creaminess.
brown rice flour: Adds bulk and a hearty flavor, providing a gluten-free alternative to traditional flours.
potato starch: Contributes to a light texture while enhancing the moisture content.
tapioca starch: Adds a chewy quality and helps create a nice crust.
instant yeast: Responsible for the rise, ensuring the bread is airy and fluffy.
salt: Enhances flavor and controls yeast activity.
baking powder: Provides additional lift for a fluffy texture.
maple syrup: Adds a hint of sweetness and helps activate the yeast.
olive oil: Introduces moisture and richness to the dough.
apple cider vinegar: Helps strengthen the dough and enhances the flavor.
How to Make Gluten-Free Sandwich Bread
STEP 1. Prepare the oat flour. Add the gluten-free oats to a high-speed blender and process until they resemble flour, leaving some larger pieces for texture.
STEP 2. Warm the soy milk. Heat the soy milk to 110ºF/43ºC.
STEP 3. Mix the psyllium husk. Combine the psyllium husk with the warmed soy milk in a measuring cup, mixing well and allowing it to thicken like runny oatmeal.
STEP 4. Combine dry ingredients. In the bowl of a stand mixer fitted with a hook attachment, mix the brown rice flour, oat flour, potato starch, tapioca starch, baking powder, and salt until well combined.
STEP 5. Add yeast. Incorporate the instant yeast into the dry ingredients and mix again.
STEP 6. Blend wet ingredients. Add the psyllium gel, maple syrup, olive oil, and apple cider vinegar to the flour mixture.
STEP 7. Stir the mixture. Mix on low speed until the dry ingredients are incorporated, scraping down the bowl as necessary.
STEP 8. Mix the dough. Increase speed to medium-low and mix for 5 minutes until the dough is smooth and elastic.
STEP 9. Rest the dough. Allow the dough to rest in the bowl for 10 minutes.
STEP 10. Knead the dough. Turn the dough onto a lightly floured surface and knead gently until smooth, then shape it into a rectangle that fits your bread pan.
STEP 11. Shape the loaf. Roll the dough up into a log, tucking the ends under, and place it into a Pullman pan.
STEP 12. Let it rise. Cover the dough and leave it in a warm place for about an hour or until it has doubled in size.
STEP 13. Preheat the oven. Place a pan of water on the bottom rack of your oven and preheat to 400ºF/204ºC.
STEP 14. Bake the bread. Once risen, place the loaf in the preheated oven and immediately reduce the temperature to 375ºF/190ºC. Bake for 30 minutes with steam.
STEP 15. Finish baking. After 30 minutes, remove the steam pan and continue baking for an additional 20-30 minutes until the internal temperature reaches at least 205ºF/96ºC.
STEP 16. Cool completely. Remove the loaf from the oven and let it cool for at least 4 hours before slicing, preferably overnight for the best texture.

Pro Tips
To achieve the best results with your gluten-free sandwich bread, consider these helpful tips. Start by ensuring that all your ingredients are fresh, especially the yeast, which can affect rising. When working with the dough, knead gently; overworking can lead to a dense loaf. For perfect texture, allow the bread to cool completely before cutting it to prevent gumminess inside. If your loaf seems too crusty after baking, putting it in a closed bread bag for a few hours will soften the outer crust nicely. Additionally, if you’re exploring flavors, don’t hesitate to experiment with different flours or add-ins like seeds or nuts for a unique twist. Lastly, patience is key—allow sufficient time for rising and cooling for optimal flavor and texture.
Common Mistakes to Avoid
When baking gluten-free bread, it’s essential to steer clear of common pitfalls. One mistake is not measuring ingredients accurately; be precise with your ingredient weights for the best outcomes. Another issue can arise from not allowing the dough to rise sufficiently; rushing this step can result in a dense loaf. Avoid using cold liquids straight from the fridge, as they should be warmed to create the right conditions for yeast activation. Also, opening the oven door during baking can release heat and disrupt the rising process; keep the door closed until the baking time is complete. If slicing too soon, the bread can be gummy and unpleasant; always wait until it’s completely cool.
Variations
• Add seeds or nuts for texture and flavor.
• Experiment with different non-dairy milk, like almond or oat milk.
• Incorporate herbs like rosemary or thyme for a savory twist.
• Use honey instead of maple syrup for a different sweetness profile.
Serving Ideas
This gluten-free sandwich bread can be enjoyed in various delicious ways. Create classic sandwiches filled with your favorite ingredients like turkey, avocado, or fresh veggies. Slice it thick and toast it for a crunchy breakfast, perfect for topping with jam or nut butter. It’s also an excellent base for French toast, drizzled with maple syrup and sprinkled with cinnamon. For a cozy meal, make open-faced sandwiches piled high with roasted vegetables and hummus or arugula and smoked salmon. Whatever your choice, this bread complements a wide array of flavors and toppings.
Meal Prep & Storage
For optimal freshness, store your gluten-free sandwich bread in an airtight container at room temperature for up to 3 days. If you want to keep it for a more extended period, slice the loaf and freeze individual pieces. Wrap them securely in plastic wrap, followed by aluminum foil, and store in the freezer for up to 3 months. When you’re ready to enjoy a slice, simply toast it directly from the freezer. This technique not only preserves its texture but also provides quick access to a delicious gluten-free option whenever you need it.
FAQs
Can I substitute the gluten-free oats with another flour?
Yes, you can substitute with another gluten-free flour, but the texture and flavor might change.
How do I know when the bread is fully baked?
The bread should reach an internal temperature of at least 205ºF/96ºC and sound hollow when tapped on the bottom.
Can I add other flavorings or spices?
Absolutely! Feel free to experiment with herbs, spices, or even cheese for added flavor.
Why is my bread dense?
Dense bread often results from under-rising or not kneading the dough enough; ensure you give it time to expand properly.
Is this recipe suitable for meal prep?
Yes! The bread freezes well, making it an excellent option for meal prep.
Conclusion
Making gluten-free sandwich bread at home is not only achievable but incredibly rewarding. With just a few simple ingredients and careful attention to detail, you can create a soft, flavorful loaf that makes any meal special. Enjoy the process of baking, and savor the delicious results!
Gluten-Free Sandwich Bread
Ingredients
Dry Ingredients
- 1 cup brown rice flour Adds bulk and a hearty flavor
- 1 cup potato starch Contributes to a light texture
- 1/2 cup tapioca starch Adds a chewy quality
- 1/2 cup oat flour Ground from gluten-free oats
- 1 tbsp baking powder Provides additional lift
- 1 tsp salt Enhances flavor
- 2 tsp instant yeast Responsible for the rise
Wet Ingredients
- 1 cup soy milk Acts as the liquid ingredient
- 1 tbsp olive oil Introduces moisture and richness
- 1 tbsp maple syrup Adds sweetness and helps activate the yeast
- 1 tbsp apple cider vinegar Helps strengthen the dough
- 1 tbsp psyllium husk Essential for binding and texture
Instructions
Preparation
- Prepare the oat flour by adding gluten-free oats to a high-speed blender and processing until resembling flour.
- Warm the soy milk to 110ºF (43ºC).
- Mix the psyllium husk with the warmed soy milk in a measuring cup until it thickens.
- In a stand mixer, combine the brown rice flour, oat flour, potato starch, tapioca starch, baking powder, and salt.
- Add the instant yeast and mix again.
- Blend the psyllium gel, maple syrup, olive oil, and apple cider vinegar into the dry mixture.
- Mix on low speed until incorporated, then increase to medium-low for 5 minutes until smooth.
- Allow the dough to rest in the bowl for 10 minutes.
Baking
- Knead the dough on a floured surface until smooth, then shape into a rectangle fitting the bread pan.
- Shape into a log and place it into a Pullman pan.
- Cover and let rise in a warm place until doubled in size, about 1 hour.
- Preheat the oven to 400ºF (204ºC) with a pan of water on the bottom rack.
- Once risen, place the loaf in the oven, reduce temperature to 375ºF (190ºC), and bake for 30 minutes.
- Remove steam pan and continue baking for an additional 20-30 minutes until the internal temperature reaches at least 205ºF (96ºC).
- Cool completely before slicing, preferably overnight.