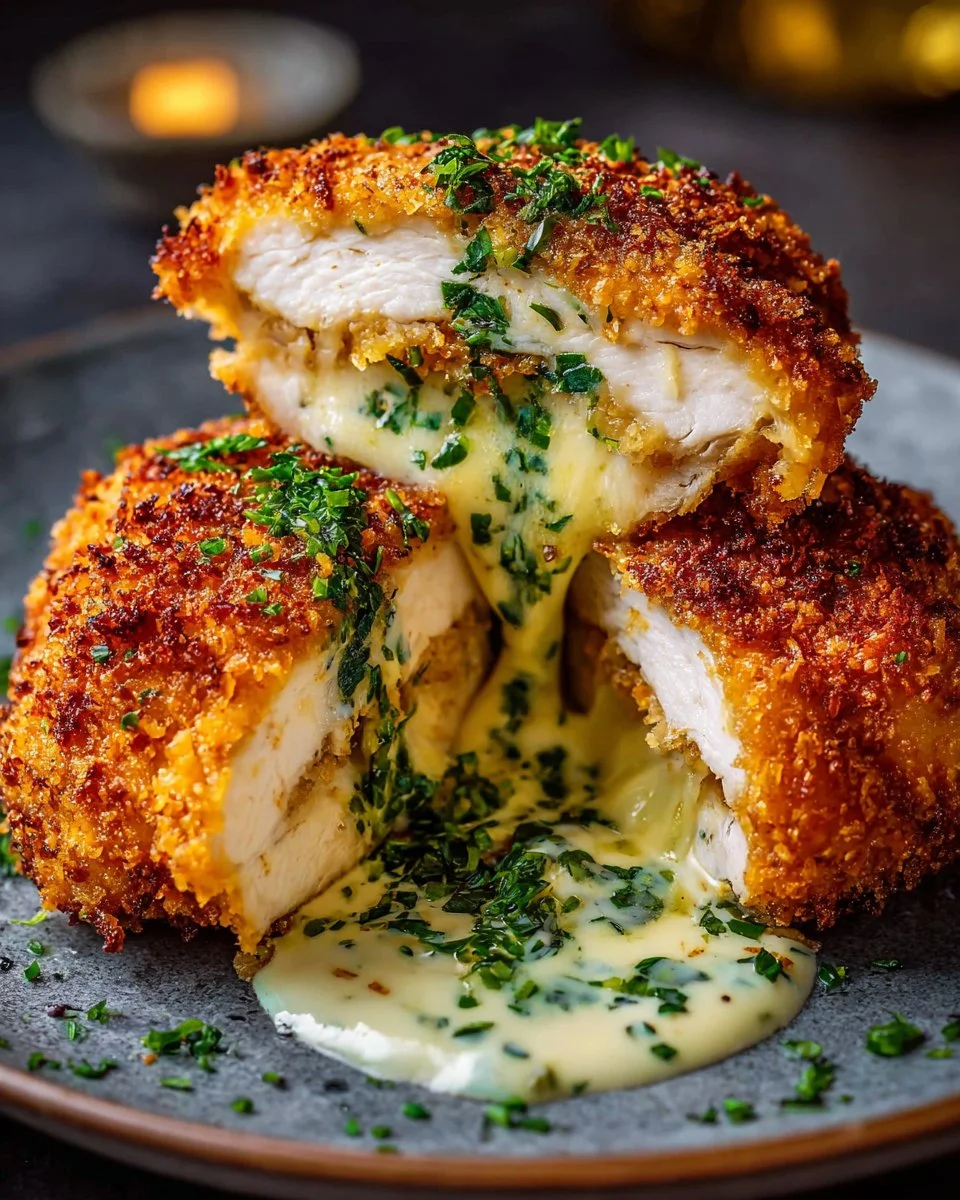
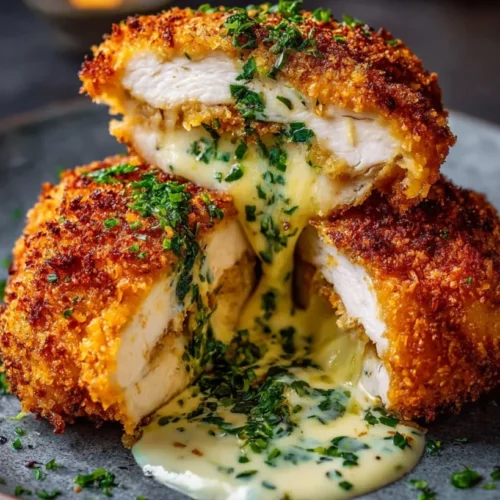
Indulging in a comforting meal is a delightful experience, especially when it features the rich flavors and delightful textures of Easy Chicken Kiev. This dish, with its crispy golden exterior and warm, herbed butter center, makes for a satisfying dinner that busy families will appreciate. Not only is it a hit with the whole family, but it also fits perfectly into a health-conscious meal plan thanks to its wholesome ingredients. Plus, the make-ahead potential means you can savor the ease of meal prep without missing out on flavor. Whether served for a weeknight dinner or as part of a special occasion, this dish never fails to impress and satisfy. Get ready to enjoy a protein-packed, crispy delicious dinner that can be on the table in no time!
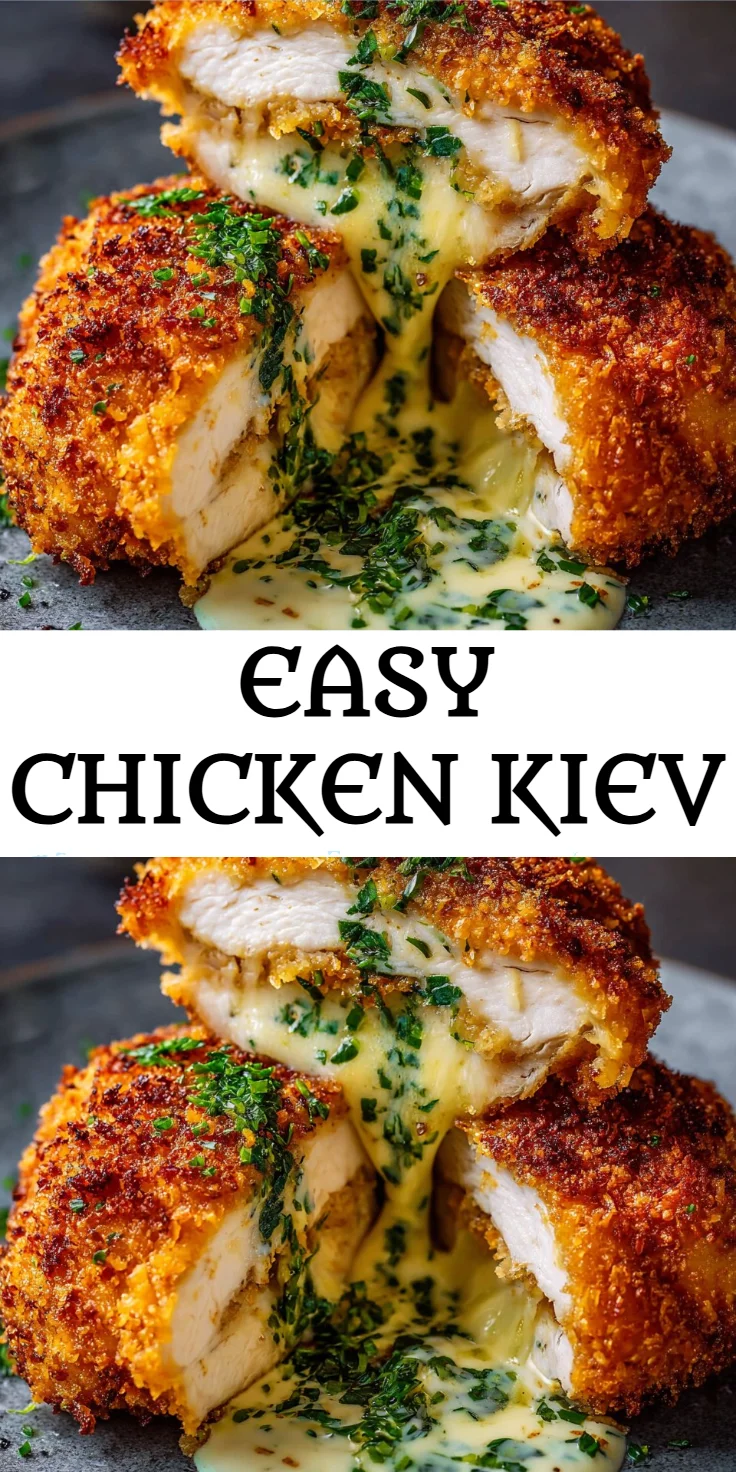
Why You’ll Love Easy Chicken Kiev
Easy Chicken Kiev is a flavorful dish that’s perfect for any busy evening. It combines a crunchy exterior with a rich garlic herb butter filling that will have everyone asking for seconds. Its convenience and make-ahead capabilities make it a great addition to your meal-prep routine. With its satisfying texture and delicious flavor, it’s sure to become a family favorite!
- Deliciously crispy outside with a creamy, herb-filled center
- Perfect for busy weeknights
- Can be made ahead for easy meal prep
- Great way to get protein into your family’s diet
- Fun dish to serve for guests and gatherings
- Freezable for convenience
- Pair well with a variety of sides
Ingredients for Easy Chicken Kiev
- Chicken breasts – tender and juicy for a satisfying meal
- Butter – creamy and flavorful, for the perfect filling
- Garlic – adds a robust flavor to the dish
- Parsley – brings freshness and color
- Lemon juice – adds a zesty brightness
- Bread crumbs – for a crunchy exterior
- Egg – helps bind the coating together
- Flour – for dredging the chicken
Ready to cook? See the recipe card for exact measurements below.
How to Make Easy Chicken Kiev
Phase 1 – Prep
- Begin by preheating your oven to 400°F (200°C).
- In a bowl, combine softened butter, minced garlic, chopped parsley, and lemon juice. Mix until smooth and well incorporated.
- Divide the mixture into portions and shape them into logs. Wrap in plastic wrap and freeze for approximately 30 minutes.
- While the butter is chilling, prepare the chicken by pounding the chicken breasts to an even thickness for uniform cooking.
- Season the chicken with salt and pepper.
Phase 2 – Cook
- Take the chilled butter from the freezer and insert a log into the center of each chicken breast.
- Fold the chicken over the butter and secure with toothpicks if necessary.
- Dredge each piece in flour, dip into beaten eggs, and coat with bread crumbs.
- Place on a baking tray lined with parchment paper and bake in the preheated oven for 25-30 minutes, or until golden brown and the internal temperature reaches 165°F (74°C).
Phase 3 – Serve
- Once cooked, remove the chicken from the oven and let it rest for a few minutes to allow the flavors to meld.
- Carefully remove toothpicks if used.
- Slice and serve immediately for the best flavor and texture.
Pro Tips for the Best Results
- Ensure the butter is well-chilled to prevent it from leaking during cooking.
- Use a meat mallet for even pounding of the chicken breasts.
- Add your favorite herbs to the butter mixture for added flavor.
- Let the chicken rest for a few minutes after baking to lock in moisture.
- Serve with a salad for a fresh boost of nutrition.
- Keep leftovers in an airtight container for freshness.
- Consider using gluten-free breadcrumbs if needed.
Common Mistakes to Avoid
A common mistake is not properly chilling the butter before inserting it into the chicken. This can lead to melted butter leaking out during cooking, resulting in less flavor inside the chicken. To avoid this, ensure that the butter logs are well-frozen before use.
Another frequent issue is overcooking the chicken. This can make it dry and tough. To prevent this, use a meat thermometer to check for doneness at 165°F (74°C) and remove it from the oven promptly.
Finally, skipping the dredging process can lead to a less crispy texture. Make sure to follow all the steps of coating the chicken in flour, egg, and breadcrumbs for the best results.
Recipe Variations
- Add cheese inside for a cheesy twist!
- Experiment with different herbs like dill or thyme for unique flavor profiles.
- Try using turkey instead of chicken for a leaner option.
- For a spicy kick, add red pepper flakes to the butter mixture.
How to Serve Easy Chicken Kiev
- Pairings: Serve with steamed vegetables or a simple green salad.
- Garnishes: Fresh parsley or lemon wedges add color and zest.
- Serving ideas: Great with rice or mashed potatoes for a hearty meal.
Make Ahead & Storage
Can I Meal Prep This?
Absolutely! Easy Chicken Kiev can be prepared in advance and stored in the refrigerator or freezer for an easy meal option later.
Storing Leftovers
Leftovers should be stored in an airtight container in the refrigerator for up to 3 days.
Freezing
This dish freezes well. Wrap individual portions tightly and freeze for up to 3 months. The texture will remain intact if properly stored.
Reheating
To reheat, use an oven at 350°F (175°C) until warmed through, or microwave for a quick option, ensuring the chicken stays moist and delicious.

FAQs
Can Chicken Kiev be prepared ahead of time?
Yes, it can be made ahead and stored in the freezer until ready to bake.
How do I know when Chicken Kiev is done cooking?
Use a meat thermometer to ensure the internal temperature reaches 165°F (74°C).
Can I use other meats instead of chicken?
Yes, turkey or even fish can be used as a substitute for a different twist on the recipe.
Is Chicken Kiev suitable for freezing?
Yes, it freezes well for up to 3 months when properly wrapped.
In conclusion, this Easy Chicken Kiev Recipe is a flavorful, protein-packed option perfect for busy families looking to maintain a healthy lifestyle. We invite you to try it, leave a comment, and rate the recipe! Explore more related recipes on our site.
Easy Chicken Kiev
Ingredients
For the Chicken Kiev
- 4 pieces Chicken breasts Tender and juicy for a satisfying meal
- 1/2 cup Butter Creamy and flavorful, for the perfect filling
- 3 cloves Garlic Adds a robust flavor to the dish
- 1/4 cup Parsley Brings freshness and color
- 1 tablespoon Lemon juice Adds a zesty brightness
- 1 cup Bread crumbs For a crunchy exterior
- 1 large Egg Helps bind the coating together
- 1/2 cup Flour For dredging the chicken
- to taste Salt To season the chicken
- to taste Pepper To season the chicken
Instructions
Preparation
- Preheat your oven to 400°F (200°C).
- In a bowl, combine softened butter, minced garlic, chopped parsley, and lemon juice. Mix until smooth and well incorporated.
- Divide the mixture into portions and shape them into logs. Wrap in plastic wrap and freeze for approximately 30 minutes.
- While the butter is chilling, prepare the chicken by pounding the chicken breasts to an even thickness for uniform cooking.
- Season the chicken with salt and pepper.
Cooking
- Take the chilled butter from the freezer and insert a log into the center of each chicken breast.
- Fold the chicken over the butter and secure with toothpicks if necessary.
- Dredge each piece in flour, dip into beaten eggs, and coat with bread crumbs.
- Place on a baking tray lined with parchment paper and bake in the preheated oven for 25-30 minutes, or until golden brown and the internal temperature reaches 165°F (74°C).
Serving
- Once cooked, remove the chicken from the oven and let it rest for a few minutes to allow the flavors to meld.
- Carefully remove toothpicks if used.
- Slice and serve immediately for the best flavor and texture.