Getting kids involved in science is one of the most rewarding summer activities. Imagine the delight on their faces as they create something as simple yet thrilling as a bouncy ball. DIY projects like this not only spark curiosity but also encourage hands-on learning. Working with homemade materials provides an excellent opportunity to blend fun with education. Watching a ball spring back after a bounce is not only fascinating; it correlates to fundamental principles of chemistry and physics that kids can appreciate. Plus, this experiment is easy on the budget and allows for a creative outlet where kids can add personal touches, such as choosing colors or shapes. So gather your supplies, get ready for some hands-on fun, and dive into the world of science this summer with a delightful homemade bouncy ball experience that combines learning and joy!
Why You’ll Love This Recipe
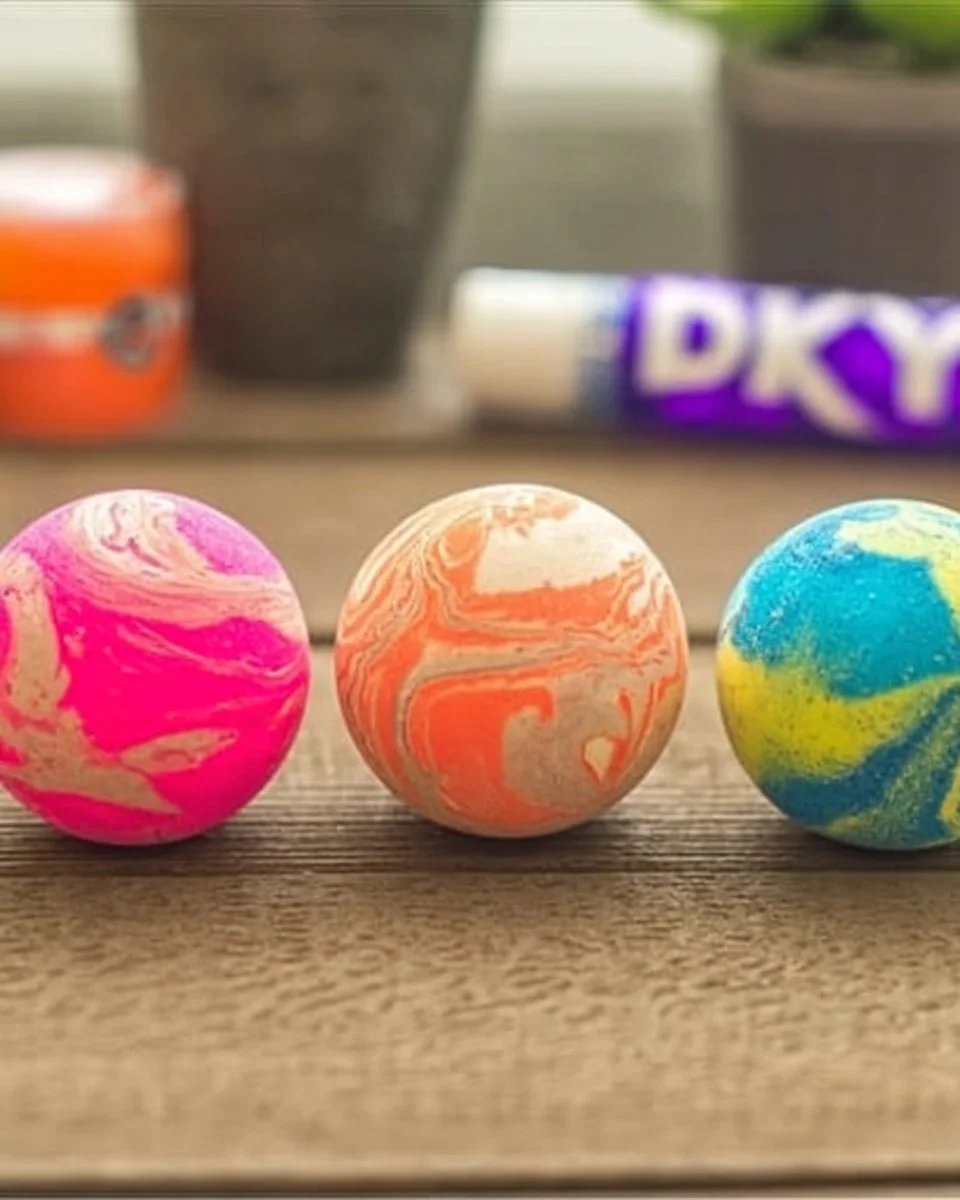
Creating DIY bouncy balls is not just an exciting activity; it’s also a perfect summer experiment that melds creativity with scientific inquiry. The vibrant colors and unique textures that kids can design make every ball one-of-a-kind. Perfect for families, this activity fosters teamwork and communication, making it a memorable bonding experience. Plus, it’s an excellent way to develop fine motor skills as little hands mix and mold the ingredients. Best yet, the simplicity of the materials involved means you don’t need a fully stocked science lab; everything can be found around the house. Kids will feel a sense of achievement seeing their creations bounce high, creating endless opportunities for play and learning!
What Makes This Recipe Special
What sets this DIY bouncy ball project apart from other summer crafts is its blend of education and enjoyment. Unlike typical craft activities, this project dives into the realms of chemistry while allowing children to experiment with different methods and ingredients. This hands-on experience teaches them about properties like elasticity and chemical reactions, making learning more tangible and memorable. Additionally, the excitement of participating in a project they can physically engage with—watching the ingredients react and transform—adds an extra layer of fun. Each bouncy ball becomes a personal masterpiece, encouraging kids to explore scientific concepts while expressing their creativity.
Ingredients
white school glue: Acts as the base of the bouncy ball, providing the necessary adhesive properties for cohesion.
cornstarch: Adds thickness and contributes to the ball’s bounciness and texture.
baking soda: Helps in the reaction and contributes to the ball’s firmness.
food coloring: Allows for personalized color, enhancing the visual appeal of the bouncy balls.
water: A necessary liquid to combine the ingredients, aiding in the mixing process.
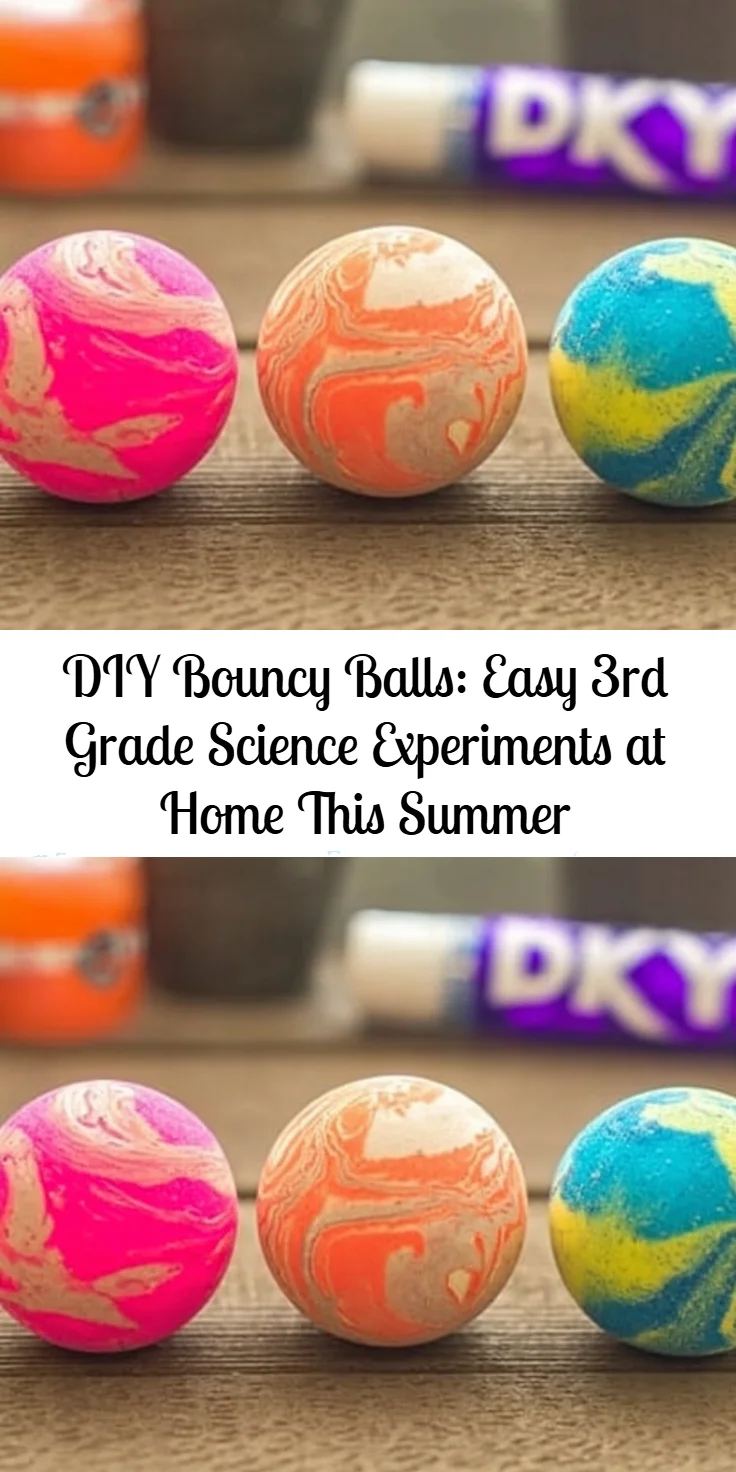
How to Make DIY Bouncy Balls: Easy 3rd Grade Science Experiments at Home This Summer
Phase 1 – Prep
STEP 1. Gather your supplies. Collect white school glue, cornstarch, baking soda, food coloring, and water.
STEP 2. Prepare your work area. Cover your work surface with newspaper or a plastic tablecloth for easy cleanup.
STEP 3. Measure ingredients. Have your child help with measuring the ingredients into small bowls.
Phase 2 – Cook
STEP 4. Mix glue and water. In a bowl, combine the white school glue with a little water and stir until blended.
STEP 5. Add cornstarch and baking soda. Slowly incorporate cornstarch and baking soda into the glue mixture while stirring continuously.
STEP 6. Add food coloring. Integrate a few drops of food coloring to achieve the desired ball color, mixing thoroughly.
STEP 7. Knead the dough. Once it becomes too thick to stir, use your hands to knead the mixture until it resembles play dough.
Phase 3 – Serve
STEP 8. Shape the balls. Roll the dough into small balls using your hands, ensuring they’re compact.
STEP 9. Let them dry. Place the bouncy balls on a drying rack or a clean surface to allow them to set for at least 24 hours.
STEP 10. Test your bouncy balls. Once dry, take them outside for a test bounce and enjoy the results of your fun-filled science experiment!

Pro Tips
To ensure a successful and enjoyable bouncy ball-making experience, consider these pro tips:
- Use smooth, consistent kneading to make the balls more elastic.
- Experiment with varying amounts of baking soda to adjust the firmness and bounciness of the balls.
- Don’t rush the drying process; letting them sit for a full day ensures they hold their shape well.
- For a fun variation, create multi-colored balls by layering different colors of dough before shaping.
- Encourage your kids to brainstorm fun names for their bouncy ball creations, promoting creativity beyond just making.
Common Mistakes to Avoid
While making bouncy balls can be simple, it’s easy to make a few common missteps:
- Skipping the measuring can lead to improper ratios, resulting in balls that either fall apart or are too hard.
- Not kneading the mixture adequately can leave clumps, preventing uniform bounciness.
- Using tap water instead of distilled water can affect the final texture of the bouncy balls.
- Rushing the drying time can result in balls that are too soft and lose their shape quickly.
- Forgetting to cover your workspace can lead to frustration during cleanup, so be sure to use a protective layer.
Variations
• Experiment with different colors and patterns by layering various food coloring in the dough.
• Use glitter to add sparkle and shine to your bouncy balls.
• Create larger balls for a fun twist on the traditional size.
• Try scented oils to give your bouncy balls a fun smell.
• Use different types of glue for varying effects on texture and bounce.
Serving Ideas
Once the bouncy balls are ready, there are many playful ways to enjoy them:
- Use them in a friendly game of catch.
- Set up a mini-basketball hoop for some bouncing challenges.
- Incorporate them into outdoor games like obstacle courses.
- Challenge friends or family members to see who can bounce the ball the highest.
- Create art by dropping paint from the balls onto a canvas for a fun activity.
Meal Prep & Storage
Although bouncy balls aren’t meant for long-term storage, you can prevent them from becoming damaged:
- Store any unused dough in an airtight container to keep it fresh before shaping.
- Once shaped and dried, bouncy balls can be kept in a designated play area to avoid loss.
- Keep them out of direct sunlight to prevent fading of the colors or deterioration of the material.
- If kids want to keep their creations intact, remind them to be gentle to avoid unnecessary damage.
FAQs
Can I use other types of glue?
Yes, experimenting with different types of glue can affect the texture and bounce. Just make sure they are non-toxic.
How long will the bouncy balls last?
With proper care, bouncy balls can last several weeks to a few months. They may lose elasticity over time, so gentle handling is encouraged.
Can this be done inside?
While it can be done inside, it’s best recommended to take the bouncing outdoors to avoid damage or mess.
What should I do if the bouncy balls are too sticky?
If they’re too sticky, simply knead in a little more cornstarch to adjust the texture.
Is this experiment safe for young children?
Yes, as long as they are supervised and the ingredients are non-toxic, this project is safe for young children.
Conclusion
This DIY activity not only makes for a fun and educational summer project but also sparks creativity and critical thinking in kids. Engaging with simple science at home, while creating something tangible, reinforces learning through hands-on experimentation. The joy of seeing their homemade bouncy balls come to life is a memorable experience for children, making it a summer highlight they won’t forget. So gather your materials today and let the bouncing fun begin!
DIY Bouncy Balls
Ingredients
Main Ingredients
- 1 cup white school glue Acts as the base providing adhesive properties.
- 1 tablespoon cornstarch Adds thickness and contributes to bounciness.
- 1 teaspoon baking soda Helps in the reaction and adds firmness.
- Several drops food coloring For personalized color.
- 1/2 cup water A necessary liquid for mixing.
Instructions
Preparation
- Gather your supplies: white school glue, cornstarch, baking soda, food coloring, and water.
- Prepare your work area by covering it with newspaper or a plastic tablecloth.
- Measure the ingredients into small bowls with help from your child.
Cooking
- In a bowl, combine the white school glue with water and stir until blended.
- Slowly incorporate cornstarch and baking soda into the glue mixture while stirring continuously.
- Add drops of food coloring to achieve the desired color, mixing thoroughly.
- Knead the dough with your hands until it resembles play dough.
Shaping & Drying
- Roll the dough into small, compact balls using your hands.
- Place the bouncy balls on a drying rack or clean surface to dry for at least 24 hours.
- After drying, test your bouncy balls outdoors.