
When the world feels overwhelming and big emotions are swirling, creating a calming space can be incredibly soothing. One delightful and hands-on way to achieve serenity is through crafting a glitter jar. This enchanting activity taps into the sensory joys of swirling colors and sparkling glitter, providing a visual treat that can help ground anyone who feels anxious or upset. As you shake the jar and watch the glitter settle, it becomes a physical reminder to breathe, relax, and find calm amidst chaos. It’s not just a craft; it’s a tool for emotional regulation that’s perfect for children and adults alike. Plus, making your own glitter jar can be a wonderful way to spend quality time with loved ones. So gather your materials, unleash your creativity, and watch your worries float away in a breathtaking swirl of colors!
Why You’ll Love This Recipe
Crafting a glitter jar is an engaging experience suitable for all ages. It’s an excellent way to channel creativity while also addressing emotional well-being. Beyond just being visually captivating, these jars can serve various purposes, from helping children express their feelings to providing a moment of mindfulness for adults. Best of all, this project requires minimal supplies and can be made in under an hour, making it a perfect activity for busy families or a calming weekend project. With an array of creative possibilities, each jar can be a unique expression of personality or mood, allowing you to customize the colors and elements to reflect your style. Plus, the soothing effects you reap from using these jars are truly invaluable. They offer a simple yet powerful way to destress and center yourself during life’s many ups and downs.
What Makes This Recipe Special
What sets this craft apart is its dual purpose as both a creative outlet and a calming technique. Each glitter jar serves as a beautiful decoration that can also act as a personal stress-relief tool. The act of making the jar encourages mindfulness, allowing you to focus on the textures and colors while promoting relaxation. Additionally, this project is highly customizable. You can choose from an array of glitter colors, add small treasures such as sequins or beads, and select different bases like water or clear gel. This personal touch not only enhances your creative experience but also makes the jar more meaningful when you display it or use it to soothe anxious moments. Furthermore, it’s a great bonding activity for families, which fosters communication and emotional connection in a creative way. This makes it not just a craft, but a cherished experience.
Ingredients
Clear container: A vessel of choice to hold the glitter and liquid, preferably with a tight lid.
Water: Acts as the base for the glitter and promotes a swirling effect.
Gel medium: Creates a viscosity that slows down the movement of the glitter for a calming effect.
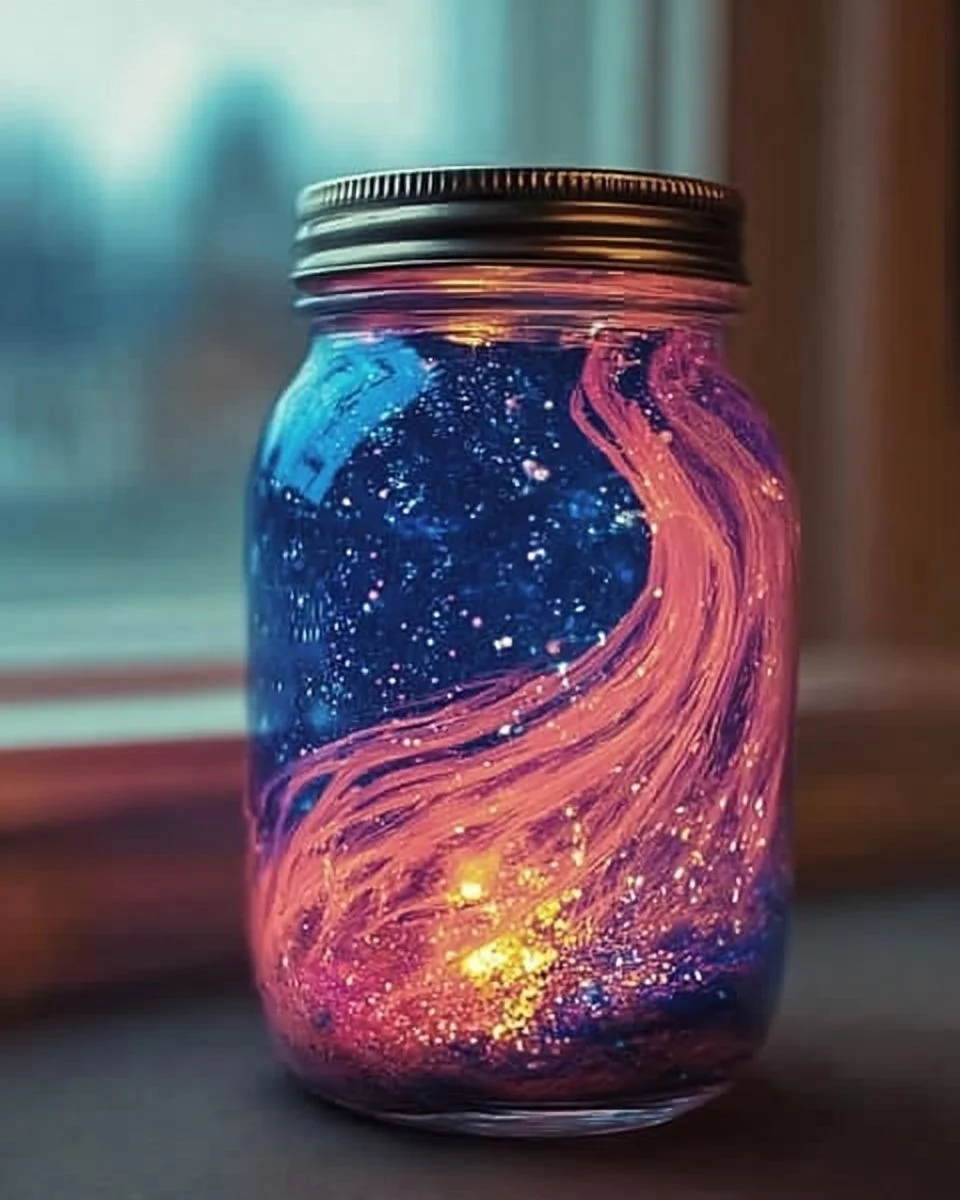
Glitter: Finely crushed reflective particles that create a mesmerizing visual as they move and settle.
Food coloring: Optional addition to enhance the visual appeal with vibrant hues.
Small decorative items: Optional elements like stars or hearts to personalize the jar further.
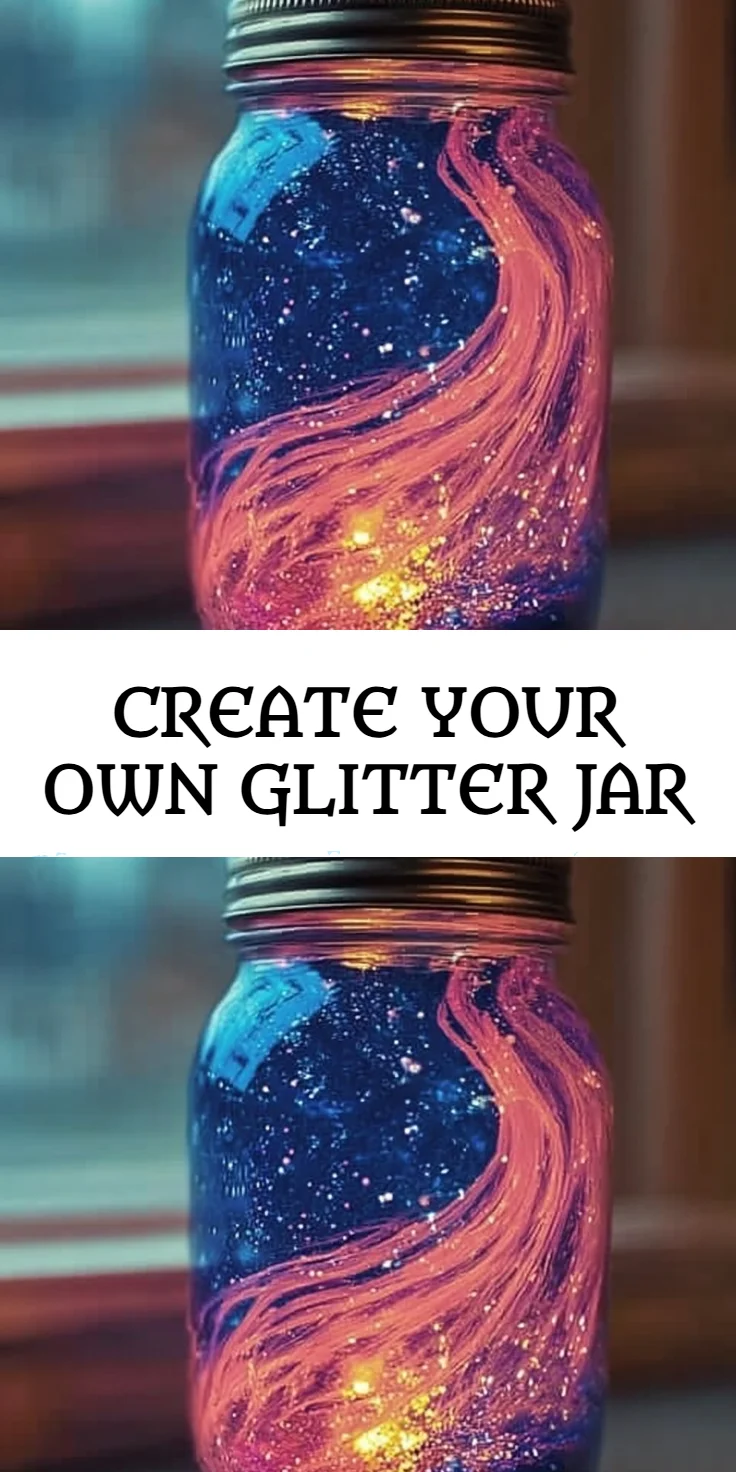
How to Make Create Your Own Glitter Jar: Easy DIY Crafts for Calming Big Feelings
STEP 1. Gather your materials. Ensure that you have all the necessary ingredients ready for crafting.
STEP 2. Prepare the container. Clean and dry your clear container thoroughly to ensure a perfect view of your glitter jar.
STEP 3. Add water. Fill the container about halfway with water, leaving some space for other ingredients.
STEP 4. Include gel medium. Mix in the gel medium to achieve a thicker liquid that will make the glitter swirl beautifully.
STEP 5. Add glitter. Sprinkle in a generous amount of glitter to create an eye-catching effect when you shake the jar.
STEP 6. Incorporate food coloring. If desired, add a few drops of food coloring to enhance the visual aspect of your jar.
STEP 7. Add decorative items. Toss in small sequins or treasures for added interest and personalization.
STEP 8. Stir the mixture. Use a stick or spoon to carefully mix all ingredients and ensure an even distribution throughout.
STEP 9. Seal the container. Secure the lid on tightly to prevent any spills and ensure durability during use.
STEP 10. Test and enjoy. Shake your jar to observe the glitter settle and create a mesmerizing spectacle for relaxation.
Pro Tips
To elevate your glitter jar crafting experience, consider using distilled water for clarity, ensuring no bubbles form in your jar. Experiment with different types and sizes of glitter; larger glitter pieces add unique visual effects. For younger children, avoiding small decorative items is a good safety precaution, while older kids may enjoy adding personalized touches. Seal the lid with glue for added security, especially if younger kids will handle it. When choosing colors, consider calming shades like blues or greens for a more soothing experience. Make it a family tradition by creating jars reflecting different themes throughout the year, such as holidays or personal milestones. Finally, take time to discuss emotions and feelings as you create your jars to reinforce emotional awareness.
Common Mistakes to Avoid
One common mistake is adding too much water, which may lessen the glitter’s visual impact. Ensure the mixture is balanced for best results. Using a container that isn’t fully sealed can result in spills, so double-check that the lid fits firmly. Another issue is not mixing the gel medium properly, which affects how the glitter moves. Remember to stir gently but thoroughly to create the desired swirling effect. Avoid using thick, coarse glitter, as it may not swirl well in your jar and could detract from the calming experience. Additionally, skipping the decorative items may make the jar less personal and visually appealing, so include small items for added charm. Lastly, failing to supervise younger kids during the crafting process could lead to accidents, so always provide guidance.
Variations
• Use different types of glitter, such as holographic or star-shaped, for added fun.
• Experiment with colored gel for a unique base.
• Create themed jars for holidays, like red and green for Christmas.
• Use essential oils in moderation for a calming aromatherapy effect.
• Substitute the container with a mini mason jar for a portable option.
• Add natural elements like small pebbles or dried flowers for a unique touch.
• Create multiple jars with different color schemes for a vibrant collection.
Serving Ideas
These mesmerizing glitter jars can be displayed on a bedside table or a meditation space for easy access during moments of stress. They can also be used as thoughtful gifts for friends or family members, offering a personalized touch to your handmade creations. Incorporate them into sensory play for younger children, allowing them to explore calmness during playtime. Use these jars during mindfulness sessions or in therapy settings to help facilitate discussions about feelings. They can be handy tools in classrooms as calming strategies, helping students settle down after energetic activities.
Meal Prep & Storage
Once your glitter jar is complete, it’s best to store it in a cool, dry place. Ensure the lid remains on tightly to prevent any spills or leaks. If you notice the glitter settling at the bottom over time, gently flip or shake the jar occasionally to redistribute it. For long-lasting enjoyment, avoid exposing the jar to direct sunlight for prolonged periods, as this can alter the colors of the liquid and decorative items inside. If the contents begin to separate or look cloudy, you can refresh the jar by adding a bit more water and gel medium, plus any additional glitter or decorative touches. Keep the jars out of reach of very young children, as choking hazards may exist with small items.
FAQs
What age can kids start making glitter jars?
Kids as young as preschool age can participate in this craft, provided adult supervision is available for the more delicate aspects, like sealing the jar.
Can I use salt instead of gel medium?
While salt may create an interesting effect, it won’t achieve the same slow-motion swirl effect as gel medium.
How long does it take to create a glitter jar?
The crafting process typically takes about 30 to 45 minutes, including preparation and assembly time.
How do I clean the jar if the contents spill?
Carefully clean up any spills with warm, soapy water. If the jar itself becomes dirty, wash using the same method, but ensure it is completely dry before refilling.
Can I make a glitter jar without decorative items?
Yes, a glitter jar can be just as effective without additional decorative items; the glitter alone can be mesmerizing enough.
How do I know if my glitter jar is ready?
Your jar is ready to use when all elements are thoroughly mixed and securely contained, creating a visually appealing product that promotes relaxation.
Conclusion
Creating your own glitter jar offers a beautiful blend of creativity and emotional support. It not only serves as a stunning decorative piece but also a practical tool for cultivating calmness in your life or the lives of others. As you watch the glitter dance and settle, let it remind you to breathe deeply and find peace in the moment. Enjoy crafting your vision today and embrace the tranquility it brings to your daily routine.
Glitter Jar
Ingredients
Base Ingredients
- 1 clear container Clear container A vessel of choice to hold the glitter and liquid, preferably with a tight lid.
- 1 cup Water Acts as the base for the glitter and promotes a swirling effect.
- 1 tablespoon Gel medium Creates a viscosity that slows down the movement of the glitter for a calming effect.
Decoration Ingredients
- 1 tablespoon Glitter Finely crushed reflective particles that create a mesmerizing visual as they move and settle.
- a few drops Food coloring Optional addition to enhance the visual appeal with vibrant hues.
- a handful items Small decorative items Optional elements like stars or hearts to personalize the jar further.
Instructions
Preparation
- Gather your materials. Ensure that you have all the necessary ingredients ready for crafting.
- Clean and dry your clear container thoroughly to ensure a perfect view of your glitter jar.
- Fill the container about halfway with water, leaving some space for other ingredients.
- Mix in the gel medium to achieve a thicker liquid that will make the glitter swirl beautifully.
- Sprinkle in a generous amount of glitter to create an eye-catching effect when you shake the jar.
- If desired, add a few drops of food coloring to enhance the visual aspect of your jar.
- Toss in small sequins or treasures for added interest and personalization.
- Use a stick or spoon to carefully mix all ingredients and ensure an even distribution throughout.
- Secure the lid on tightly to prevent any spills and ensure durability during use.
- Shake your jar to observe the glitter settle and create a mesmerizing spectacle for relaxation.