
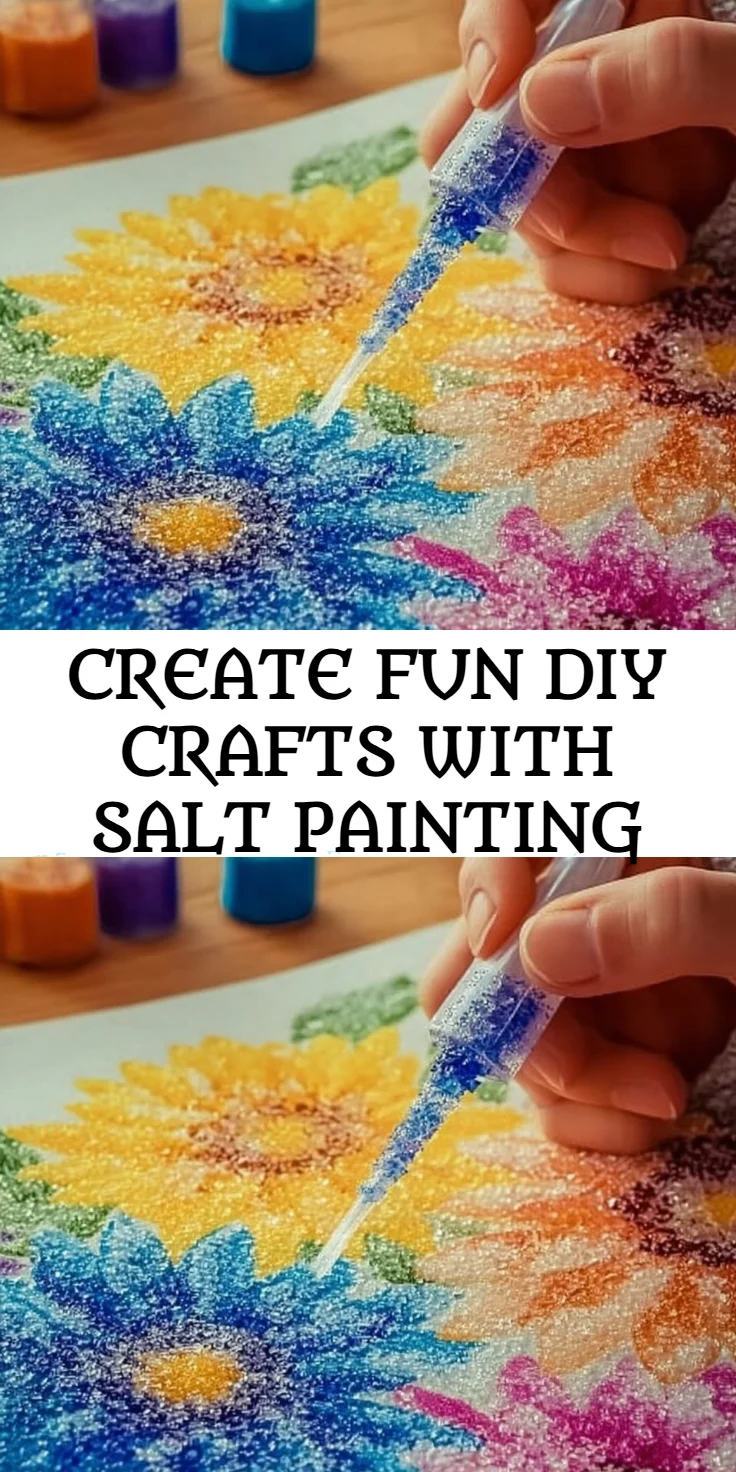
Crafting engages the imagination and brings a sense of joy, especially when it involves color and creativity. One fun and colorful technique you can explore is salt painting, often paired with vibrant liquid watercolor techniques. These engaging crafts are not only enjoyable for children but can also evoke nostalgia in adults, offering a wonderful way to express creativity and shape your artistic vision. Salt painting creates stunning textures and effects while allowing kids to discover the magic of combining different mediums. As the watercolors interact with salt, they produce beautiful patterns that will captivate any viewer. Ready to embark on this delightful craft journey? Let’s dive into the world of colors and textures where you can unleash your creativity and create beautiful DIY art pieces.
Why You’ll Love This Recipe
Engaging in salt painting and liquid watercolor crafts is a fantastic way to foster creativity. This method allows for imaginative expression and exploration, making it perfect for family bonding or group activities. The simplicity of the process ensures that anyone, regardless of skill level, can participate and create something stunning. Watching the salt absorb the colors and transform the artwork is truly mesmerizing. You will appreciate not only the artistic outcome but also the qualitative time spent with loved ones during the process. This craft can be a perfect addition to birthday parties or family gatherings, creating memorable experiences and cherished keepsakes.
What Makes This Recipe Special
The uniqueness of this project lies in the sensory experience it offers. The tactile nature of salt and the fluidity of liquid watercolors allow for a fascinating divergence in both visual appeal and artistic exploration. This hands-on art craft invites individuals to play and experiment with color blending and pattern creation. The reaction between the salt and watercolor produces intricate designs that can’t be replicated with traditional painting methods. It’s a fusion of science and art where the interaction leads to awe-inspiring results, making each creation distinctive and personal. Whether it’s for decoration or gifting, each piece tells a story, embodying the creativity and fun shared during its making.
Ingredients
Watercolor paint: Vibrant colors that provide the artistic medium for your creations.
Salt: Essential for achieving distinct textural effects in your painting.
Water: Mixed with watercolors to activate the colors and allow them to flow.
Paper: Thick paper or watercolor paper to withstand moisture and showcase your artwork.
Brushes: Used for applying watercolors with precision and creativity.
Containers: Small cups or palettes for mixing watercolors.
Dropper: For controlling the amount of liquid applied to the paper.
Newspaper or Plastic Covering: For protecting your work surface from spills and mess.
How to Make Create Fun DIY Crafts with Salt Painting and Liquid Watercolor Techniques
STEP 1. Set up your workspace. Cover your table with newspaper or plastic to protect it from spills and mess.
STEP 2. Prepare watercolor paints. Mix your desired colors in small containers with water to achieve a fluid consistency.
STEP 3. Apply salt to the paper. Use a generous amount of salt to create patterns or designs on your thick paper or watercolor paper.
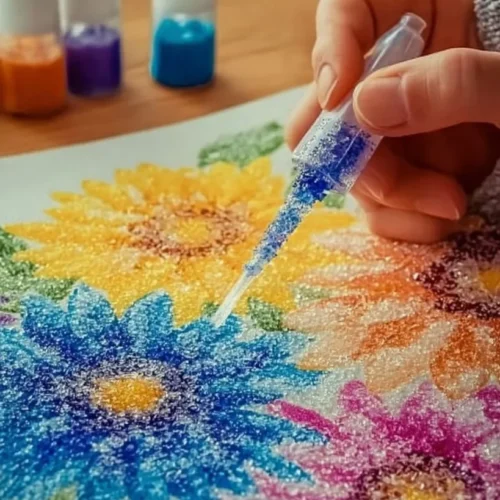
STEP 4. Paint the watercolors. Using brushes or droppers, apply watercolor paint over the salt, watching the colors spread and interact.
STEP 5. Observe the reaction. Allow the paint and salt to work together, creating beautiful designs and textures as the salt absorbs color.
STEP 6. Let it dry. Set your artwork aside to dry completely, usually for several hours, ensuring the colors set and the salt effect is clear.

Pro Tips
To enhance your salt painting experience, consider the following tips. Choose a thick watercolor or watercolor paper, as it will hold moisture better without warping. Allow layers to dry before adding more colors; this prevents muddy colors and enhances the vibrancy of your artwork. For a more controlled application of liquid watercolor, use a dropper or squeeze bottles. Experiment with different textures by varying the amount of salt you use; a light sprinkle offers soft effects, while a heavy application leads to dramatic textures. Always encourage kids to think outside the box; mixing colors and using various patterns can yield delightful surprises on the paper. Lastly, keep a cup of water nearby for rinsing brushes between colors, ensuring clean, crisp outcomes on your masterpieces.
Common Mistakes to Avoid
While creating salt paintings can be fun, there are some common pitfalls. One frequent mistake is using too little salt, which will limit the texture and effects that the painting can achieve. Running too much water into the watercolors can also wash away the vibrancy of the colors. Apply salt while the paint is still wet for the best results, as it interacts better with dripping watercolors. Be cautious with the drying process; avoid excessive humidity or movement which can disturb the artwork while it dries. Lastly, don’t forget to be patient; allowing the painting to dry completely will prevent smudging and preserve the effects created by the salt.
Variations
• Experiment with different types of salt for unique textures.
• Use different types of paper for varied artistic results.
• Incorporate glitter for added sparkle and dimension.
• Layer different colors of watercolor for depth and interest.
• Try using sponges or cotton swabs for applying paint for different effects.
Serving Ideas
Salt paintings can serve as lovely decorations for your home or office space. Display them in colorful frames to enhance their visual appeal and protect them from damage. Consider gifting these unique artworks to family and friends on special occasions, as a sentimental gesture showcasing your creativity. They can also be used as personalized cards for birthdays or holidays by simply adding a heartfelt message on the backside. If you’re feeling artistic, create a themed collection of paintings to hang in a child’s room, adding a personal touch that enhances the overall decor.
Meal Prep & Storage
Once your salt paintings are completely dry, it’s crucial to store them properly to maintain their integrity and beauty. Keep them flat and protected in a portfolio or between sheets of wax paper to prevent bending and damage. If you want to save space, consider rolling them gently and securing them with a rubber band, which can be beneficial for transporting them. Avoid placing heavy items on top of the artwork to preserve its texture and expressions. For long-term storage, consider using a dedicated stackable art box to keep your creations safe. Remember to store in a dry place to prevent moisture damage and fading of colors.
FAQs
What age group is best suited for salt painting?
Salt painting is a great craft for kids aged 5 and up, but adults can enjoy the creative outlet as well!
Can I use table salt for this technique?
Yes, table salt works well, but larger salt crystals (like kosher or sea salt) may provide more interesting textures.
How long does it take for salt paintings to dry?
Typically, allow several hours for complete drying, and it’s best to leave them overnight for optimal results.
Can I display my salt painting outdoors?
It’s best to display them indoors as sunlight and moisture can cause deterioration over time.
Is there a way to preserve my artwork?
Spraying the surface with a clear acrylic sealer can help protect your salt paintings from dust and moisture.
Conclusion
Engaging in salt painting and liquid watercolor techniques is a joyful and creative way to explore art. Not only does it provide a fulfilling craft experience, but it also results in stunning artwork that can brighten up any space. By following the simple steps outlined, you can unleash your inner artist and create beautiful pieces to cherish or gift. So grab your supplies, gather your loved ones, and immerse yourself in the colorful world of DIY crafts!
Salt Painting and Liquid Watercolor Crafts
Ingredients
Painting Supplies
- 1 set Watercolor paint Vibrant colors for artistic medium
- 1 cup Salt Essential for creating textural effects
- 1 cup Water To activate colors and allow flow
- 1 pad Thick paper or watercolor paper To withstand moisture
- 1 set Brushes For applying watercolors
- 1 set Containers For mixing watercolors
- 1 dropper Dropper For controlling the amount of liquid
- 1 piece Newspaper or Plastic Covering For protecting your workspace
Instructions
Preparation
- Set up your workspace. Cover your table with newspaper or plastic to protect it from spills and mess.
- Prepare watercolor paints. Mix your desired colors in small containers with water to achieve a fluid consistency.
- Apply salt to the paper. Use a generous amount of salt to create patterns or designs on your thick paper or watercolor paper.
- Using brushes or droppers, apply watercolor paint over the salt, watching the colors spread and interact.
- Allow the paint and salt to work together, creating designs and textures as the salt absorbs color.
- Set your artwork aside to dry completely, usually for several hours.