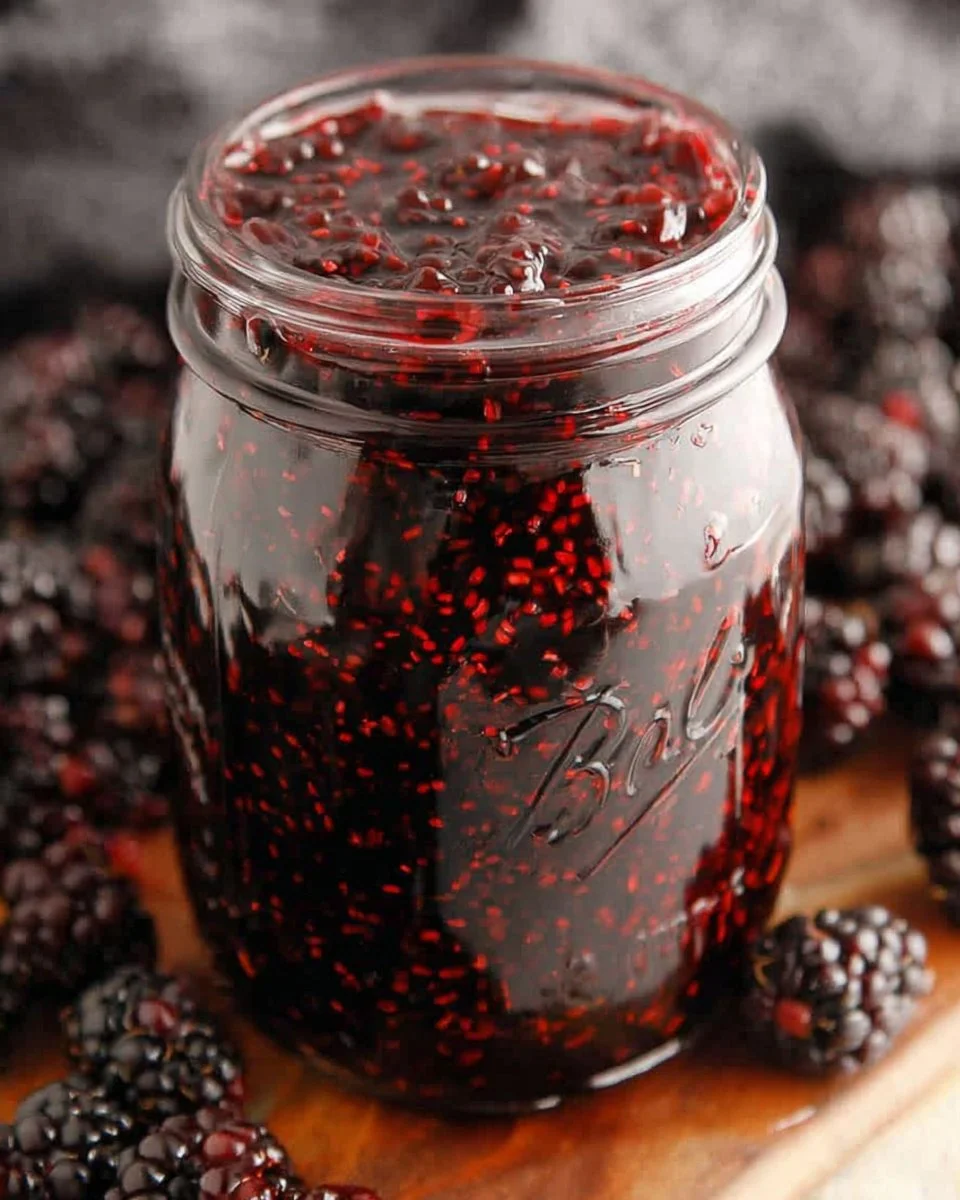
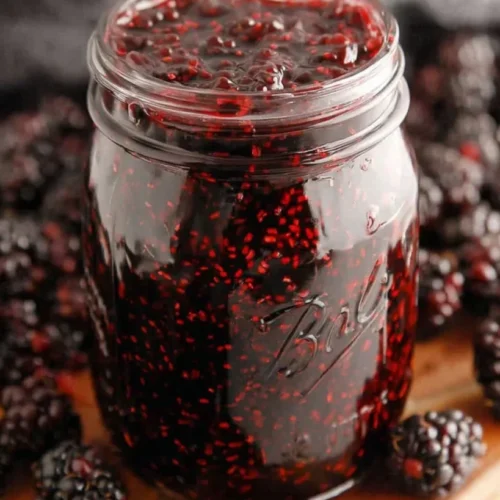
Imagine a sunny morning; you spread a rich, velvety layer of homemade blackberry jam over warm toast, the vibrant purple hue gleaming in the light. Each bite bursts with sweet and tangy notes, awakening your senses and wrapping you in a deliciously cozy embrace. Not only is this Blackberry Jam a delightful addition to your breakfast table, but it also offers glimpses of health—packed with antioxidants, it’s perfect for those mindful of their nutrition goals. Plus, it’s an excellent way to delight your family with wholesome ingredients without the hassle—especially for busy families or meal prep planners.
Whether you’re looking for a protein-packed spread for your morning toast or a blood sugar-friendly topping for whole grain yogurt, this jam checks all the boxes. This is more than just another condiment; it’s a vibrant, nutritious staple that can enliven all your meals with fruit’s natural sweetness and energy without any guilt. As the fruit of late summer ripens, it’s time to capture that flavor and preserve it for chilly winter days.
With just four simple ingredients, you can whip up this homemade blackberry jam in no time—perfect for those seeking quick meal solutions. Plus, it complements a variety of diet plans, making it a go-to for maintaining a healthy lifestyle. So let’s dive into the exciting world of homemade jams and create this flavorful blackberry jam that’s sure to impress—even the pickiest eaters in your household!
Why You’ll Love Blackberry Jam (Creamy, Easy, and Cozy)
This homemade blackberry jam is not only delicious but also quick to prepare, delivering that ideal creamy texture you crave. With vibrant flavor and wholesome ingredients, it’s a game changer in your kitchen.
Blackberry jam brings a burst of delightful fruitiness to your morning routine while remaining pantry-friendly. When you choose to make it at home, you’re taking control of quality and flavor, ensuring it aligns with your macro goals and dietary needs. Not only is it a great way to preserve fresh blackberries, it also saves time during busy weeks when you need quick breakfast boosts. It’s filled with natural sweetness without added preservatives, making it a guilt-free choice for any meal. Here’s why you’ll want to make this jam:
- Quick to prepare, ideal for busy evenings.
- Beautiful, rich color that brightens any dish.
- Nutritious, delivering antioxidants and vitamins.
- Convenient for meal-prepping and storage.
- Pairs wonderfully with breakfast staples or snacks.
- Forms the base for various health-conscious recipes.
Ingredients for Blackberry Jam
- Ripe blackberries – Nature’s candy, full of flavor and nutrients.
- Granulated sugar – Balances the tartness and enhances the sweetness.
- Lemon juice – Adds brightness and helps with preservation.
- Pectin (optional) – Aids in achieving a thicker consistency.
Ready to cook? See the recipe card for exact measurements below.
How to Make Blackberry Jam
Phase 1 – Prep
- Start by washing the blackberries gently under cool water to remove any dirt or debris.
- Set them aside in a colander to drain for a few minutes; this will prevent excess moisture.
- While they dry, prepare your jars: sterilize them by placing them in a boiling water bath for 10 minutes or run them through a hot dishwasher cycle.
- Gather your remaining ingredients and place them nearby for easy access.
Phase 2 – Cook/Assemble
- In a large pot over medium heat, combine the blackberries, granulated sugar, and lemon juice.
- Cook, stirring gently, until the blackberries release their juices, about 10 minutes. You’ll see them soften, which is perfect!
- If using pectin, add it now and continue stirring until it dissolves completely.
- Increase the heat to bring the mixture to a rolling boil. Allow it to boil for another 5-7 minutes until it thickens, stirring occasionally to prevent sticking.
- Perform the plate test: drop a spoonful of jam onto a chilled plate to see if it sets. If not, boil a few more minutes before testing again.
Phase 3 – Serve
- Once thickened, carefully pour the jam into your sterilized jars, leaving about a quarter-inch of space at the top.
- Wipe the rims of the jars with a clean, damp cloth to remove any residue—this ensures a proper seal.
- Seal the jars with lids and band, tightening them just until resistance is met.
- Water bath process for 5-10 minutes to ensure preservation, adjusting times based on elevation as necessary.
- Remove jars and let them cool completely on a clean kitchen towel or a cooling rack. You’ll hear the delightful pop as they seal!
Pro Tips for the Best Results
- Ensure your blackberries are ripe for the best flavor and color.
- If you want a smoother jam, consider mashing the blackberries slightly before cooking.
- For a lower sugar version, experiment with sugar substitutes, but note the texture may differ.
- Label your jars with the date and type of jam for easy reference.
- Store your jam in airtight containers to retain freshness longer.
Common Mistakes to Avoid
One common mistake people make is not measuring the ingredients accurately. When it comes to making jam, the right balance of fruit, sugar, and acid is key to achieving that perfect texture and flavor. Use a kitchen scale or standard measuring cups to ensure consistency with each batch. If you find your jam is too runny, don’t worry; simply boil it for a little longer to help thicken it up.
Another frequent hiccup is improperly sterilizing jars. Not ensuring your jars are clean can lead to spoilage. Always sterilize your jars and lids by boiling them or placing them in the dishwasher on a hot cycle before filling them with jam. This step is crucial for preservation and food safety.
Finally, not testing for doneness can lead to runny or overly firm jam. Before removing your pot from the heat, always do a quick test by placing some jam on a chilled plate. If it’s not thick enough, return to the heat for a few more minutes until you reach your desired consistency.
Recipe Variations
- Gluten-Free: This recipe is naturally gluten-free.
- Spicy: Add a pinch of cayenne pepper for a spicy kick!
- Herbal: Consider infusing with fresh mint leaves during cooking for a refreshing twist.
- Air Fryer: Try making jam in an air-fryer-safe pot, adjusting times and watching closely to prevent burning.
- Instant Pot: Use the sauté function for the initial cooking then seal and pressure cook for a quick alternative.
How to Serve Blackberry Jam
Best Pairings
- Whole grain toast
- Pancakes or waffles
- Greek yogurt
Toppings
- Whipped cream
- Sliced almonds
- Fresh mint
Garnishes
- Drizzle of honey
- Sprinkling of chia seeds for added texture
Make Ahead & Storage
Can I Meal Prep This?
Yes! This blackberry jam is perfect for meal prepping; pour it into jars and store it in your pantry for up to a year.
Storing Leftovers
Refrigerate any opened jars and consume within three weeks. Store in airtight containers to maintain freshness.
Freezing
Your jam can be frozen for up to a year. Just remember that freezing may alter the texture slightly, but the flavor will still be delightful.
Reheating
To reheat, gently warm on the stove over low heat or microwave in short intervals (about 15 seconds) until just warm.

FAQs
Can I use frozen blackberries for this jam? Yes, just ensure they are thawed and drained before cooking for the best results.
Do I need to use pectin? Pectin is optional, as many prefer a more rustic jam. If you like a thicker result, consider adding it.
How can I reduce the sugar in this recipe? You can experiment with sugar substitutes, but be mindful that the texture might vary.
Can I add other fruits to this jam? While this recipe focuses on blackberries, feel free to mix in or substitute them with other fruits for a berry medley!
This Blackberry Jam Recipe is the perfect solution for capturing the essence of summer in a jar, making breakfast feel special and satisfying without the added guilt. Gather your ingredients and try this delectable jam; don’t forget to share your thoughts in the comments and rate the recipe!
Blackberry Jam
Ingredients
Main Ingredients
- 4 cups Ripe blackberries Nature’s candy, full of flavor and nutrients.
- 2 cups Granulated sugar Balances the tartness and enhances the sweetness.
- 1 tablespoon Lemon juice Adds brightness and helps with preservation.
- 1 packet Pectin (optional) Aids in achieving a thicker consistency.
Instructions
Preparation
- Wash the blackberries gently under cool water to remove any dirt or debris.
- Set them aside in a colander to drain for a few minutes to prevent excess moisture.
- Sterilize jars by placing them in a boiling water bath for 10 minutes or running them through a hot dishwasher cycle.
- Gather remaining ingredients and place them nearby for easy access.
Cooking
- In a large pot over medium heat, combine the blackberries, granulated sugar, and lemon juice.
- Cook, stirring gently, until the blackberries release their juices, about 10 minutes.
- If using pectin, add it now and continue stirring until it dissolves completely.
- Increase heat to bring the mixture to a rolling boil. Boil for 5-7 minutes until it thickens, stirring occasionally.
- Perform the plate test: drop a spoonful of jam onto a chilled plate to see if it sets. If not, boil a few more minutes before testing again.
Serving
- Once thickened, carefully pour the jam into sterilized jars, leaving about a quarter-inch of space at the top.
- Wipe the rims of the jars with a clean, damp cloth to remove any residue.
- Seal the jars with lids and bands, tightening them just until resistance is met.
- Process jars in a water bath for 5-10 minutes to ensure preservation.
- Remove jars and let them cool completely on a clean kitchen towel or cooling rack.