
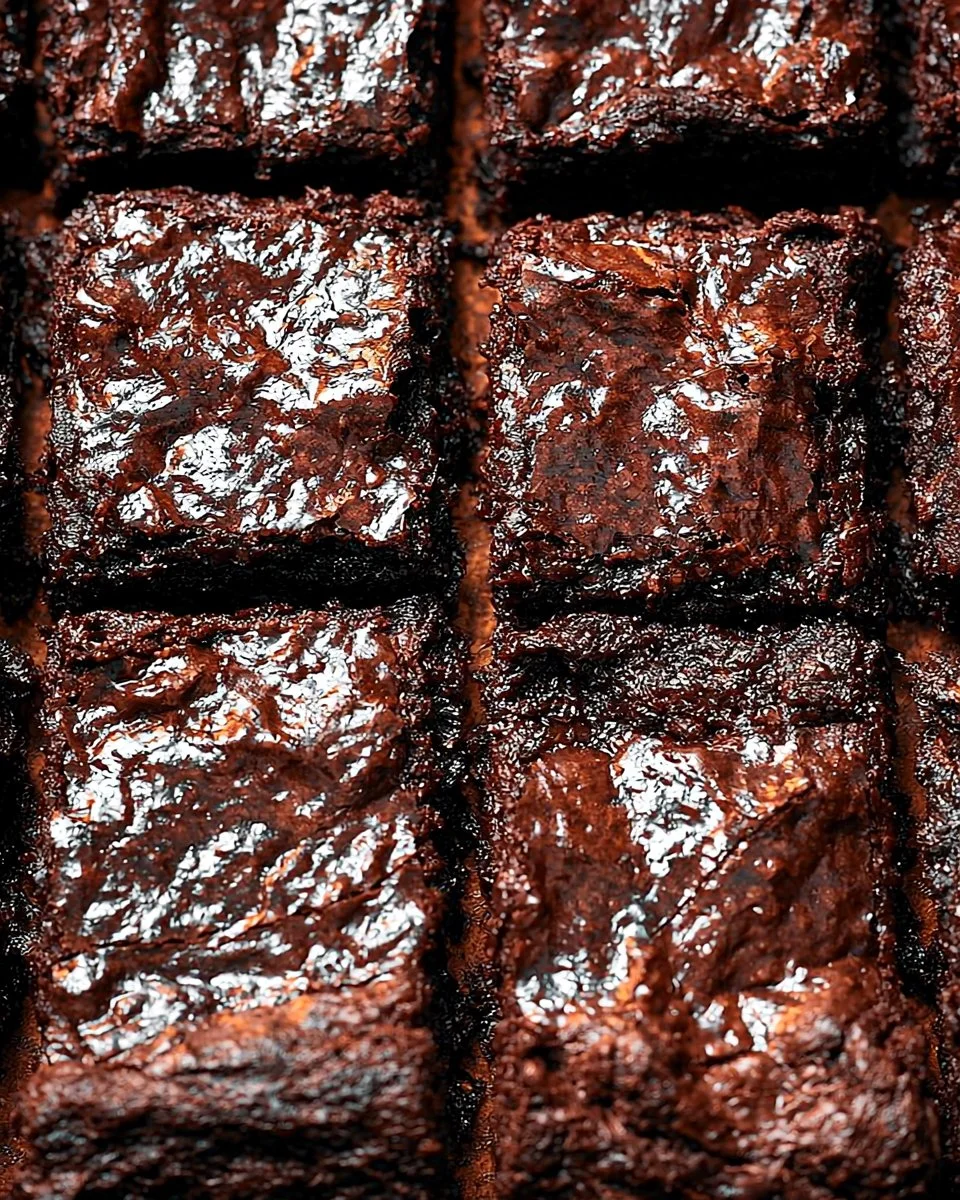
There’s something incredibly satisfying about biting into a rich, fudgy brownie that has a glossy top and a soft interior. Brownies are a timeless treat that evoke feelings of nostalgia, making them the perfect comfort food recipe for any occasion. Imagine the warm aroma of chocolate wafting through your kitchen, inviting friends and family to gather around and share in the joy that these delectable squares provide. They’re not just dessert; they’re a heartwarming experience that can elevate any gathering, from casual family dinners to festive celebrations.
These brownies are designed to have that perfect balance between cakey and fudgy. The shiny top that forms during baking gives them an almost bakery-style appearance, while the moist, chewy center ensures that each bite melts in your mouth, delivering intense chocolate flavor. Whether you enjoy them on their own or dressed up with ice cream and toppings, they’re sure to become a favorite. Get ready to impress your loved ones with these Best-Ever Fudgy (Shiny-Topped!) Homemade Brownies!
Why You’ll Love This Recipe
This brownie recipe is a go-to for anyone seeking the ultimate chocolate experience. Its simplicity makes it accessible for bakers of all skill levels, while the ingredients can be easily found in your pantry. You don’t need any fancy tools or intricate techniques; just a few mixing bowls and a whisk will do. Furthermore, with the ability to prepare these brownies ahead of time, they effortlessly accommodate any occasion, whether you’re hosting a birthday party or simply want to indulge in a sweet treat after a long day.
What makes these brownies even more appealing is their versatility. You can mix in nuts, chocolate chips, or even swirls of peanut butter to customize them to your liking. The possibilities are endless, allowing you to create a unique version that caters to every chocolate lover’s preferences. Plus, the satisfaction you’ll experience once you see the glossy top and taste the fudgy interior is unmatched. This recipe is sure to become a staple in your baking repertoire.
What Makes This Recipe Special
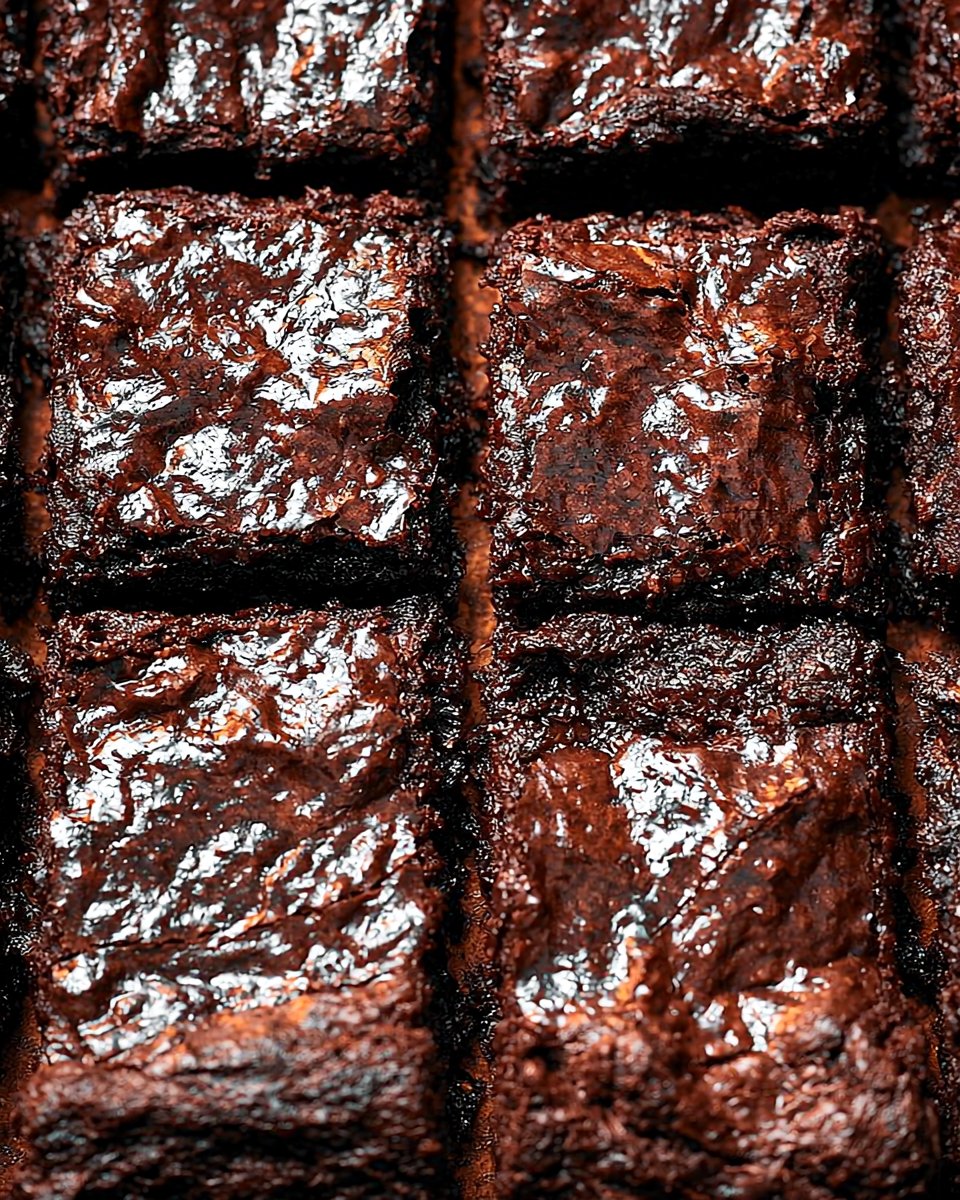
This brownie recipe stands out due to its rich texture and distinctive shiny top, achieved through a careful combination of whipping air into the eggs and melting butter with sugar. These steps create a delightful mouthfeel and a glossy finish that’s visually enticing. While many brownie recipes promise fudginess, what sets this one apart is the balance of dry ingredients to wet. The careful measurements ensure that the brownies don’t turn out too dry or too gooey—only perfectly fudgy.
Moreover, the inclusion of cocoa powder instead of melted chocolate lends a powerful chocolate flavor while keeping the process straightforward. The result is a homemade treat that embraces simplicity without sacrificing taste. With minimal prep and bake time, you can have fresh, warm brownies cooling on your counter in less than an hour. It’s these thoughtful details that make this recipe both practical and irresistible.
Ingredients
unsweetened cocoa powder: Provides a deep chocolate flavor, making the brownies rich and indulgent.
unbleached all-purpose flour: Helps create structure while keeping the brownies moist and fudgy.
baking powder: Adds a slight lift and lightness to the chewy texture.
Kosher salt: Enhances the overall flavor and balances the sweetness.
large eggs: Contributes to structure and richness, helping bind the ingredients for the perfect texture.
butter: Adds richness and flavor; melting it creates the essential fudgy consistency.
granulated sugar: Sweetens the brownies while also aiding in developing the shiny top.
vanilla extract: Adds a warm and aromatic note that enhances the chocolate flavor.
How to Make Best-Ever Fudgy (Shiny-Topped!) Homemade Brownies
STEP 1. Preheat the oven. Set your oven to 350°F and place a rack in the center for even baking.
STEP 2. Prepare the baking pan. Line a 9-inch square baking pan with aluminum foil and butter the foil to prevent sticking.
STEP 3. Mix the dry ingredients. In a large bowl, combine cocoa, flour, baking powder, and salt, whisking thoroughly.
STEP 4. Beat the eggs. In another bowl, beat the eggs vigorously for about one minute until they become thick and foamy.
STEP 5. Melt the butter. In a medium saucepan over medium heat, melt the butter until it becomes hot and is bubbling lightly.
STEP 6. Combine sugar and butter. Add sugar to the melted butter and whisk until the mixture is well combined and resembles wet sand.
STEP 7. Mix wet ingredients. Pour the melted butter-sugar mixture into the beaten eggs, whisking constantly until fully combined.
STEP 8. Add vanilla extract. Mix in the vanilla extract until it is well incorporated into the egg-sugar mixture.
STEP 9. Combine wet and dry mixtures. Add the dry ingredient mix to the wet mixture and whisk until the batter is smooth and free of lumps.
STEP 10. Spread the batter. Pour the batter into the prepared pan, spreading it evenly.
STEP 11. Bake the brownies. Bake for approximately 37-40 minutes until a toothpick inserted into the center comes out clean or with a few moist crumbs.
STEP 12. Let cool. Allow the brownies to cool completely in the pan on a wire rack for at least 30 minutes before cutting them into squares.
Pro Tips
To achieve the best texture and flavor, be sure to use high-quality cocoa powder and butter. The cocoa should be rich and dark, contributing a deeper chocolate taste. If you prefer a richer brownie, opt for salted butter, which will balance out the sweetness beautifully. Whisk the eggs vigorously until they are thick and foamy; this adds essential air to the mixture for a better rise and that coveted shiny top.
Another key element is to avoid overmixing once the dry ingredients are added to the wet. Mix just until combined to prevent the brownies from becoming tough. Let your brownies cool completely before slicing for cleaner cuts and to enhance the fudginess of the bars. If you find you’re unable to wait, a warm brownie topped with a scoop of vanilla ice cream is an indulgent treat that’s too good to pass up.
Common Mistakes to Avoid
One common mistake is not properly measuring the dry ingredients. Too much flour or cocoa can result in dry, crumbly brownies, while too little can lead to a gooey mess. Use a kitchen scale for accuracy or spoon ingredients into measuring cups rather than scooping directly from the container.
Another pitfall is opening the oven door too soon. This can cause fluctuations in temperature, leading to uneven baking and a less impressive rise. Wait until the baking time is nearly complete before testing for doneness with a toothpick.
Also, remember that brownies continue to cook as they cool. Pull them out of the oven when they still show a slight jiggle in the center, which ensures a fudgy finish. Finally, don’t rush the cooling process; letting the brownies set up in the pan will enhance their texture and allow for clean cutting.
Variations
• Add nuts for crunch and texture.
• Swirl in peanut butter or Nutella for extra richness.
• Substitute half the sugar with brown sugar for a deeper flavor.
• Incorporate chocolate chips for a gooey effect.
• Drizzle with caramel sauce once cooled for an indulgent touch.
Serving Ideas
Serve these fudgy brownies warm from the oven for an irresistibly gooey treat, or allow them to cool completely and serve them chilled. They pair perfectly with a scoop of vanilla ice cream, fresh berries, or a dusting of powdered sugar. For an adult twist, consider serving them alongside a cup of coffee or a scoop of espresso ice cream. These brownies also make delightful gifts when packed in decorative boxes, perfect for sharing the love with friends and family.
Meal Prep & Storage
For best results, store brownies in an airtight container at room temperature, where they will remain fresh for up to three days. For longer storage, consider wrapping them tightly in plastic wrap and placing them in the refrigerator, where they will last up to a week. You can also freeze brownies for up to three months. To thaw, simply place them in the refrigerator overnight, or let them sit at room temperature for a few hours.
FAQs
Can I use different types of cocoa powder?
Yes, both natural and Dutch-processed cocoa powders can be used, but they may slightly alter the flavor and texture.
What can I substitute for eggs?
You can replace each egg with a quarter cup of unsweetened applesauce or a flaxseed meal slurry (one tablespoon of flaxseed meal mixed with three tablespoons of water) as a binding agent.
What should I do if my brownies turned out dry?
Make sure to measure your ingredients accurately, especially the flour. Also, avoid overbaking, and next time, reduce the baking time slightly.
Can I make these brownies gluten-free?
Absolutely! Use a gluten-free all-purpose flour blend to replace the regular flour, ensuring a similar texture.
How can I tell when the brownies are done baking?
Insert a toothpick into the center; it should come out with a few moist crumbs. If it comes out clean, the brownies may be overbaked.
Conclusion
These delightful homemade brownies are a chocolate lover’s dream come true. With a rich, fudgy texture and that perfect shiny top, they’re simply irresistible. Whether enjoyed plain or dressed up with your favorite toppings, they are sure to win over hearts and taste buds alike. Whip up a batch today, and experience the magic of these Best-Ever Fudgy (Shiny-Topped!) Homemade Brownies for yourself!