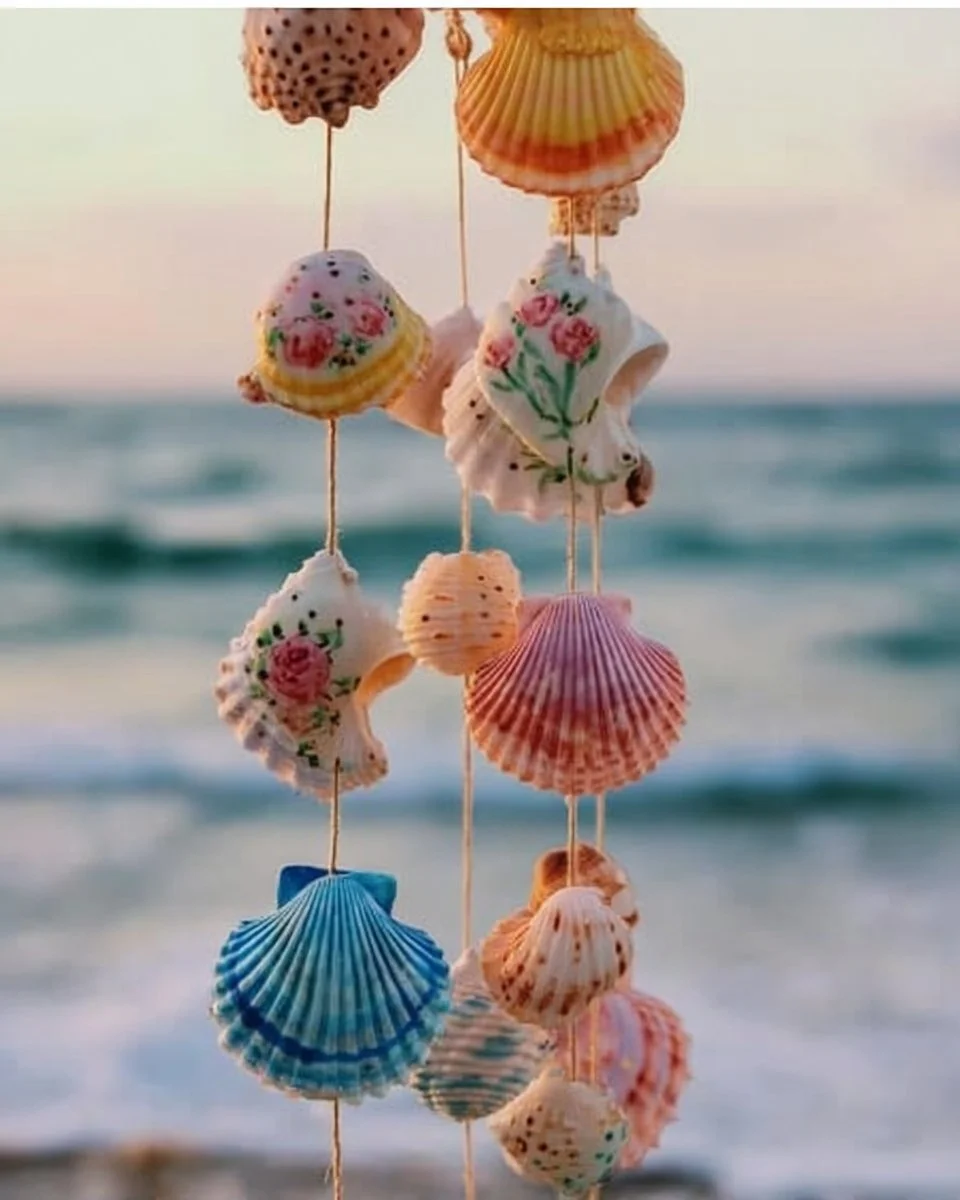
Are you ready to dive into a world of creativity that transforms ordinary seashells into stunning beach-themed decor? This “Art From Sea Shells: Creative Summer Crafts & DIY Beach Decor Ideas” recipe isn’t just about crafting; it’s about creating lasting memories with your family while embracing a healthy lifestyle. Perfect for busy families, these delightful projects are not only quick and affordable; they also encourage togetherness as you recycle and repurpose beach treasures. Imagine the joy of transforming shells into unique pieces that spark conversations! Each crafted piece carries a story, reminding you of sun-soaked days at the beach. With a focus on being calorie conscious and time-saving, you’ll find these projects perfect for your summer adventures.
Why You’ll Love Art From Sea Shells: Creative Summer Crafts & DIY Beach Decor Ideas
This creative endeavor is a perfect blend of fun, creativity, and nostalgia. Not only do these summer crafts elevate your home decor, but they also provide an amazing bonding experience for the whole family, giving everyone a chance to express their artistic side while enjoying nature’s gifts. The tactile texture of the shells adds a unique charm to your space, while the projects are designed to be completed in a short time, fitting perfectly into your busy lifestyle.
- Quick assembly time — perfect for busy schedules.
- Eco-friendly and budget-friendly — great for your wallet and the planet.
- Promotes family bonding — make unforgettable memories together.
- Variety of designs — endless possibilities to unleash your creativity.
- Enhance your home — create beautiful decor that sparks joy.
- Fitness-friendly crafting — engage both your hands and mind.
- Easy to store — keep your supplies organized for next time.

Ingredients for Art From Sea Shells: Creative Summer Crafts & DIY Beach Decor Ideas
- Seashells – natural beauty, perfect for crafting, adds beachy vibe.
- Non-toxic glue – secure your decor, easy to use, dries clear.
- Acrylic paints – vibrant colors, personal touch, great for customization.
- Paintbrushes – apply paints smoothly, available in various sizes.
- Twine or ribbon – tie pieces together or hang, adds rustic charm.
- Beads and embellishments – create unique designs, a touch of sparkle.
- Crafts scissors – safely cut materials, essential for precise work.
Ready to cook? See the recipe card for exact measurements below.
How to Make Art From Sea Shells: Creative Summer Crafts & DIY Beach Decor Ideas
Phase 1 – Prep
- Gather all your materials: shells, glue, paints, and craft tools.
- Clean the seashells to remove any sand or debris. Use a damp cloth if necessary.
- Lay out your workspace with newspaper or a drop cloth to avoid mess.
- Decide on the design for your project, sketching it out can help.
Phase 2 – Cook/Assemble
- Start by painting your seashells as desired; let dry for 30 minutes.
- Use glue to attach shells together or onto wooden bases for added height.
- Decorate your shells with beads or additional accents while the glue is still wet.
- Allow the entire project to dry completely, which may take around 1-2 hours.
Phase 3 – Serve
- Once fully dried, find the perfect spot in your home to display your crafts.
- Consider creating a themed display with multiple pieces to enhance visual appeal.
- Enjoy the compliments from guests and family as they admire your creative handiwork!
Pro Tips for the Best Results
- Use a variety of shell sizes for depth in your designs.
- Try mixing colors for a blended effect on your shells.
- Seal your finished projects with a clear spray sealer for extra durability.
- For a rustic feel, choose jute twine instead of smooth ribbon.
- Keep leftover materials organized in a craft box for future projects.
Common Mistakes to Avoid
One common mistake is using too much glue, which can lead to mess and longer drying times. Instead, use a moderate amount that will sufficiently hold pieces together without oozing out. Remember, crafting is about precision just as much as creativity.
Overloading your shells with paint can obscure their natural beauty. Embrace the shell’s organic textures and colors. Use thin layers, allowing each coat to dry before adding more for the best results.
Forgetting to clean your shells thoroughly will leave residue that can interfere with painting and gluing. Make it a habit to give your beach treasures a good rinse as soon as you bring them home, ensuring your crafts turn out beautifully.
Recipe Variations
- Gluten-free options include using natural materials like driftwood for projects.
- Dairy-free variations focus on alternative adhesives, ensuring safety for all family members.
- Add a spicy twist to your decoration by using neon colors for vibrant projects.
- Herbal touches can come in by incorporating dried seaweed into your arrangements.
- Use an air fryer for shell decorations that need a baked finish for durability.
How to Serve Art From Sea Shells: Creative Summer Crafts & DIY Beach Decor Ideas
Best Pairings
- Pair your crafts with beach-inspired table settings.
- Consider using other natural elements like sand or stones to complement your decor.
- Add beach-themed candles or lanterns for a cozy atmosphere.
Toppings
- Add a sprinkle of glitter for a magical effect!
- Include natural elements like dried flowers to enhance beauty.
- Use seashells of varying colors for vibrant toppings.
Garnishes
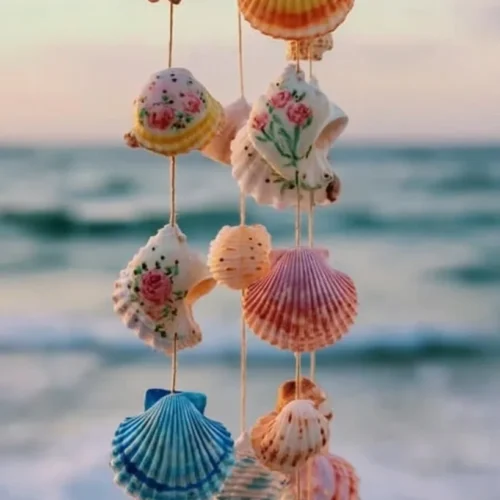
- Shells can be strung together as a beautiful garland.
- Incorporate mini starfish as a fun garnish for your projects.
- Consider a theme, like mermaid or nautical, to tie your decor together.
Make Ahead & Storage
Can I Meal Prep This?
Yes, you can easily prepare several crafts at once for future family activities.
Storing Leftovers
Store leftover shells and supplies in airtight containers in a cool dry place for up to six months.
Freezing
Freezing isn’t applicable for these crafts, but ensure materials are dry before long-term storage.
Reheating
Reworks aren’t necessary, but if you find any faded colors, a quick touch-up with paint will revive your projects.
FAQs
Can I use regular craft glue? Yes, but non-toxic glue is preferred for safety, especially with kids involved.
What types of shells work best? Larger, flatter shells are ideal for crafting, but any shape can add unique flair.
How can I make it more engaging for kids? Let them choose their designs and colors to personalize their creations!
Can I sell my shell crafts? Absolutely! Many people love unique, handmade decor, just be sure to comply with local craft laws.
Incorporating Art From Sea Shells: Creative Summer Crafts & DIY Beach Decor Ideas into your summer plans fosters creativity and connection among family members. You’ll cherish these beautifully crafted decorations while aligning with a protein-packed, calorie-conscious lifestyle.
Art From Sea Shells
Ingredients
Crafting Materials
- various pieces Seashells natural beauty, perfect for crafting, adds beachy vibe.
- 1 bottle Non-toxic glue secure your decor, easy to use, dries clear.
- 3 bottles Acrylic paints vibrant colors, personal touch, great for customization.
- 3 pieces Paintbrushes apply paints smoothly, available in various sizes.
- 1 roll Twine or ribbon tie pieces together or hang, adds rustic charm.
- various pieces Beads and embellishments create unique designs, a touch of sparkle.
- 1 pair Craft scissors safely cut materials, essential for precise work.
Instructions
Preparation
- Gather all your materials: shells, glue, paints, and craft tools.
- Clean the seashells to remove any sand or debris. Use a damp cloth if necessary.
- Lay out your workspace with newspaper or a drop cloth to avoid mess.
- Decide on the design for your project, sketching it out can help.
Assembly
- Start by painting your seashells as desired; let them dry for 30 minutes.
- Use glue to attach shells together or onto wooden bases for added height.
- Decorate your shells with beads or additional accents while the glue is still wet.
- Allow the entire project to dry completely, which may take around 1-2 hours.
Displaying
- Once fully dried, find the perfect spot in your home to display your crafts.
- Consider creating a themed display with multiple pieces to enhance visual appeal.
- Enjoy the compliments from guests and family as they admire your creative handiwork!