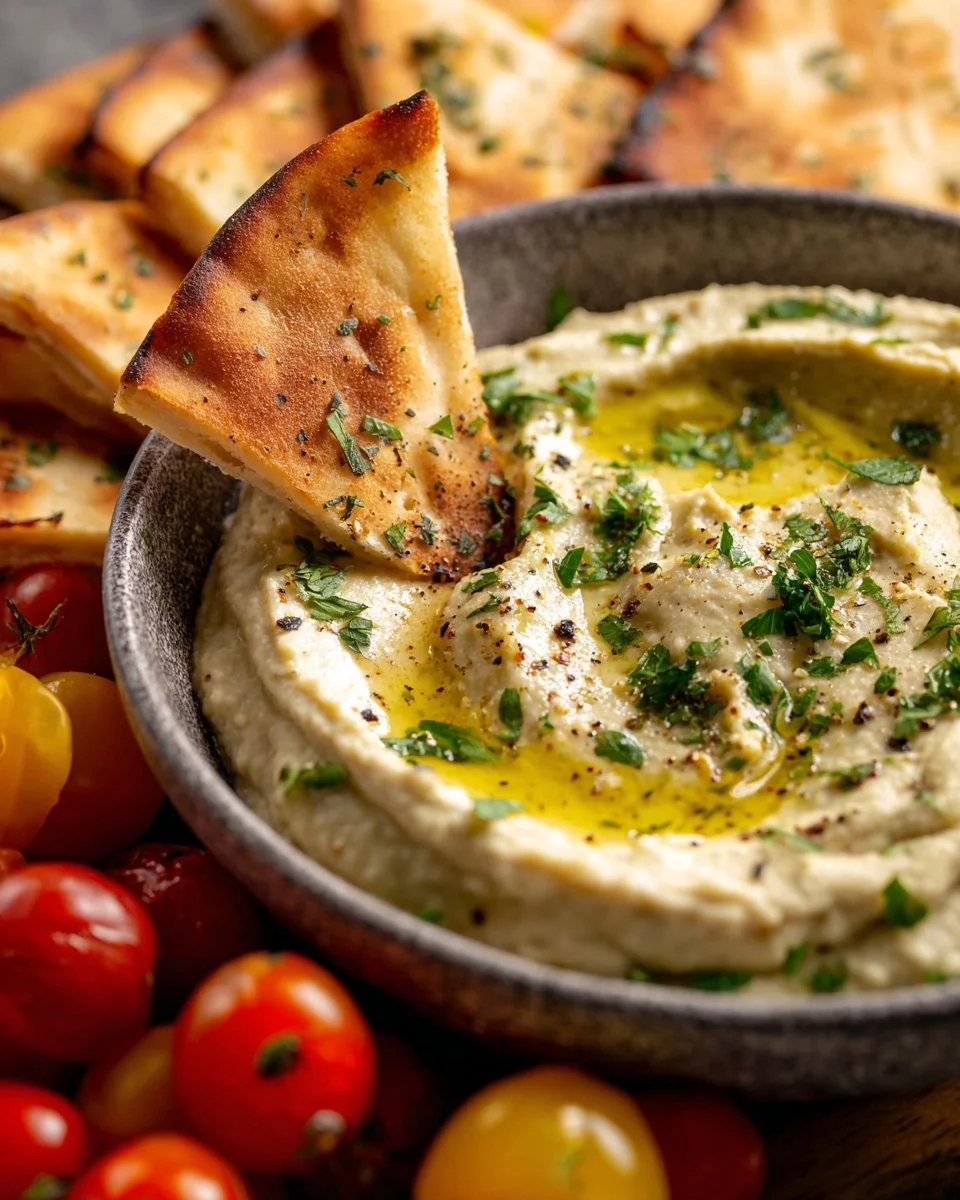
Indulging in a creamy, flavorful dip can elevate any gathering, transforming ordinary snacks into delightful bites. Enter the world of white bean dips, where wholesome ingredients unite to create an irresistibly smooth texture, rich taste, and a burst of freshness from herbs. Roasted garlic takes this dip to another level, offering a savory richness that perfectly complements the mild, buttery flavor of the beans. Ideal for weekend get-togethers or as a snack for movie nights, this dip is versatile and can be paired with various accompaniments, from crunchy vegetables to crispy chips.
Imagine hosting friends and family, watching them savor every bite as they dip into this delightful creation. Best of all, it’s not just about taste; it’s about sharing moments, laughter, and good conversations. Impress your guests with this easy-to-make recipe that fuses simplicity and gourmet flair, making it a fitting addition to your list of go-to recipes!
Why You’ll Love This Recipe
This roasted garlic white bean dip isn’t just another appetizer; it’s a wholesome indulgence that also brings numerous health benefits to the table. White beans are packed with plant-based protein, making them an exemplary choice for anyone looking to enjoy healthy meal prep without compromising on flavor. Moreover, the addition of roasted garlic provides a delightful depth that leaves your palate craving more.
Whether you’re looking for quick family meals, healthy snacks, or comfort food recipes, this dip checks all the boxes. Its creamy texture and vibrant flavors create an all-around appealing dish that can be served at any occasion. You might just find that this recipe becomes a staple in your kitchen, as it beautifully balances health and taste.
What Makes This Recipe Special
What sets this recipe apart is its simplicity combined with gourmet taste. The use of fresh herbs like oregano, basil, and parsley not only enhances its herbal freshness but also adds a delightful color to the presentation. Roasting garlic offers a sweet, caramelized flavor that contrasts beautifully with the beans, giving the dip a rich and indulgent quality.
Furthermore, the ability to customize the dip based on your texture preferences makes it incredibly adaptable. Whether you prefer it thick and chunky or smooth and velvety, this recipe accommodates every whim. The ease of blending it all together ensures that you can whip up a delicious, homemade dip in no time, leaving you more room to enjoy your company and less time in the kitchen.
Ingredients
white beans: The base of this recipe, they provide a creamy texture and a subtle nutty flavor.
roasted garlic: Adds a rich, savory aroma and sweetness that enhances the overall flavor profile.
sea salt: Enhances the natural flavors of the ingredients and balances the taste.
black pepper: Gives a slight kick and depth of flavor to the dip.
olive oil: Adds creaminess and richness, contributing to a smooth texture.
water: Adjusts the consistency for the desired thickness of the dip.
oregano: Introduces an earthy, slightly bitter flavor that complements the garlic.
basil: Brings a fragrant, slightly sweet note that elevates the flavor profile.
parsley: Adds a fresh, vibrant touch to the overall taste.
olive oil: Used for drizzling, enhancing the dip’s flavor and presentation.
parsley: For garnish, providing a pop of color and freshness.
How to Make Roasted Garlic White Bean Dip
STEP 1. Prepare the white beans. Drain the white beans of their liquid and rinse in a strainer. Pat dry.
STEP 2. Blend the ingredients. In a food processor, add all the ingredients. Blend until smooth and creamy.
STEP 3. Adjust the consistency. You can add more olive oil if you prefer your dip to be even thinner, but add extra seasonings to compensate for the extra liquid.
STEP 4. Serve chilled. Serve in a bowl, and if possible, allow to chill for 2 hours before serving so flavors can marry together.
STEP 5. Garnish and enjoy. Drizzle with olive oil, garnish with parsley, and serve with chips.

Pro Tips
To elevate your roasted garlic white bean dip even further, opt for homemade roasted garlic by wrapping whole heads in foil and baking until soft and caramelized. Don’t hesitate to play with the olive oil amount based on your taste preferences; you can also substitute it with avocado oil for a unique flavor twist. For an added touch of texture, consider folding in some finely chopped sun-dried tomatoes or olives post-blending for bursts of flavor. If time allows, making this dip a day in advance enhances the mingling of flavors, providing a richer taste. Lastly, always taste as you go, fine-tuning salt and pepper for the perfect seasoning.
Common Mistakes to Avoid
One common mistake is not rinsing the beans properly, leading to excess sodium or an unappealing texture. Be sure to drain and rinse well before use. Another tip is to be cautious with the olive oil; adding too much too quickly can result in a stretchy dip instead of a creamy one. Balance is key! Also, allowing the dip to chill for at least two hours can significantly enhance flavor—don’t skip this step. When blending, ensure your food processor is powerful enough to achieve a silky smooth consistency; chunks of beans are not desirable. Lastly, make sure to taste your dip before serving, adjusting any seasonings to your liking.
Variations
• Add lemon juice for a zesty twist.
• Incorporate roasted red peppers for a smoky flavor.
• Use different herbs like cilantro for a fresh profile.
• Mix in a pinch of cayenne for some heat.
• Substitute white beans with chickpeas for a different texture.
Serving Ideas
This creamy dip pairs perfectly with a variety of accompaniments. Serve with an assortment of colorful vegetable sticks, such as carrots, cucumbers, and bell peppers for a healthy and vibrant platter. For a crunchier option, offer pita chips or crusty bread. It can also be a delightful spread for sandwiches or wraps, adding moisture and flavor. Don’t hesitate to dollop it on a fresh salad or grain bowl for an extra touch of creaminess. This dip is as versatile as it is delicious!
Meal Prep & Storage
Preparing this roasted garlic white bean dip ahead of time is a fantastic idea, making it perfect for meal prep. Store it in an airtight container and refrigerate for up to a week. This dip also freezes well; simply place it in a freezer-safe container, making sure to leave some space for expansion. When ready to enjoy, thaw in the refrigerator overnight and give it a good stir before serving. Perfectly suitable for quick family meals or as a healthy snack option, this recipe is sure to streamline your cooking routine.
FAQs
Can I use canned beans instead of dried?
Absolutely! Canned white beans are convenient and save time; just make sure to rinse them thoroughly.
How can I make this dip spicier?
Consider adding crushed red pepper flakes or cayenne pepper to elevate the spice level to your taste.
What can I serve with this dip?
This dip pairs beautifully with chips, crackers, vegetable sticks, or even as a spread in wraps and sandwiches.
Can I prepare the dip the day before?
Yes, preparing it in advance enhances the flavors and saves time when hosting.
Is this dip vegan-friendly?
Yes, all the ingredients used in this dip are vegan, making it a well-suited option for plant-based diets.
Conclusion
Crafting a homemade dip can transform any gathering into a flavorful experience. With its creamy texture and herbaceous flavors, this roasted garlic white bean dip is an excellent addition to your culinary repertoire. Enjoying it with friends and family is the cherry on top, making it not just about food, but about shared moments and memories. Happy dipping!
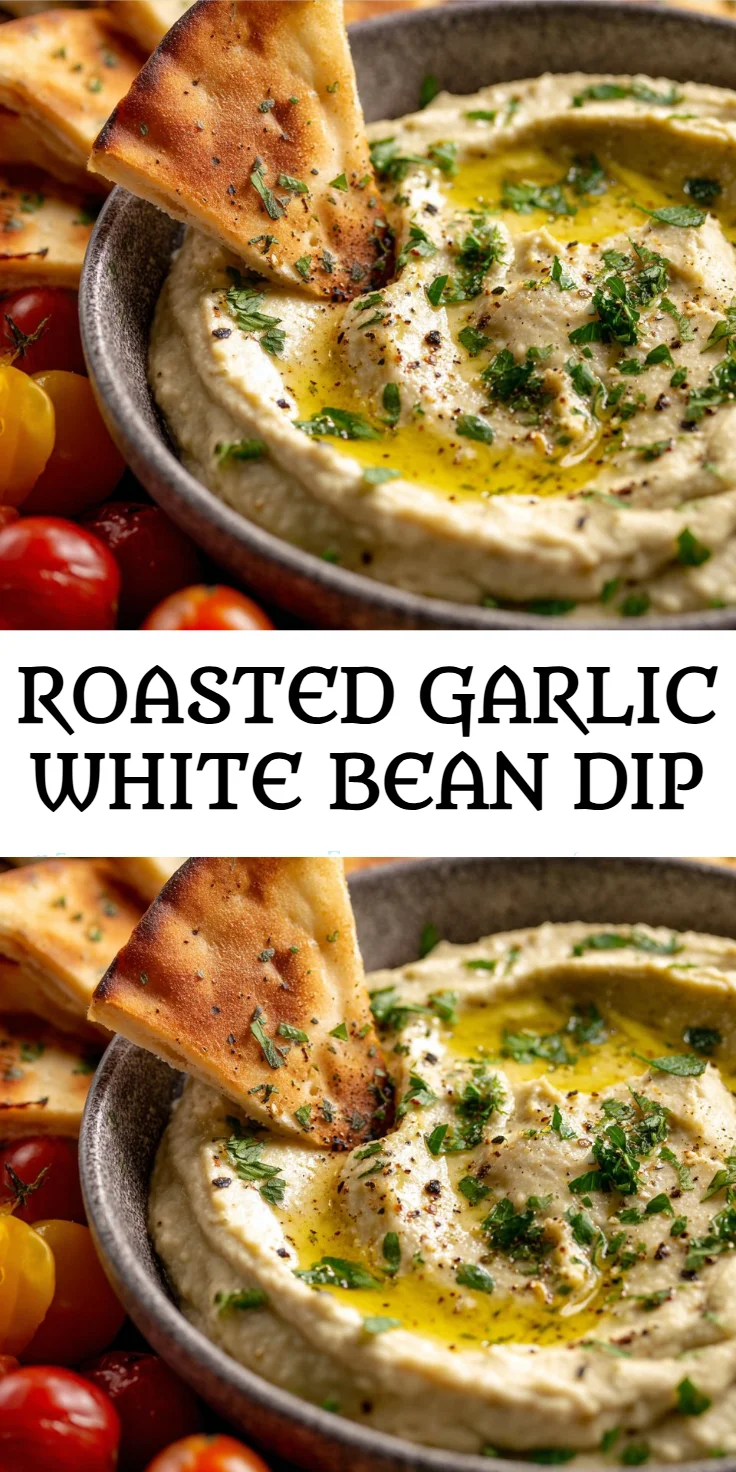
Roasted Garlic White Bean Dip
Ingredients
For the dip
- 1 can white beans Drained and rinsed
- 1 head roasted garlic Homemade or store-bought
- 1 tsp sea salt To taste
- 1/2 tsp black pepper To taste
- 2 tbsp olive oil For blending and drizzling
- 2 tbsp water To adjust consistency
- 1 tbsp oregano Fresh or dried
- 1 tbsp basil Fresh or dried
- 1 tbsp parsley Chopped, plus extra for garnish
Instructions
Preparation
- Drain the white beans of their liquid and rinse in a strainer. Pat dry.
- In a food processor, add all the ingredients. Blend until smooth and creamy.
- You can add more olive oil if you prefer your dip to be even thinner, but add extra seasonings to compensate for the extra liquid.
- Serve in a bowl, and if possible, allow to chill for 2 hours before serving so flavors can marry together.
- Drizzle with olive oil, garnish with parsley, and serve with chips.