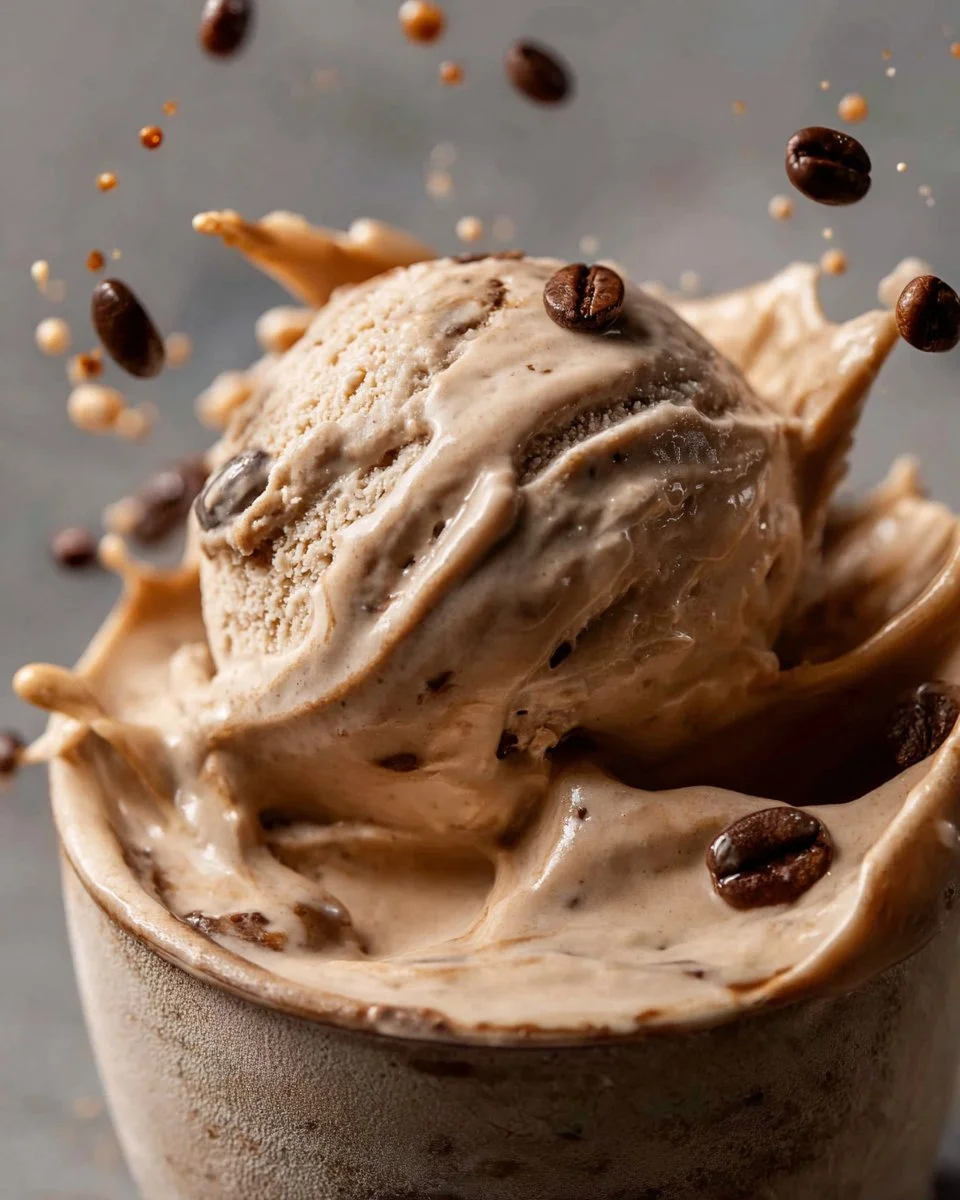
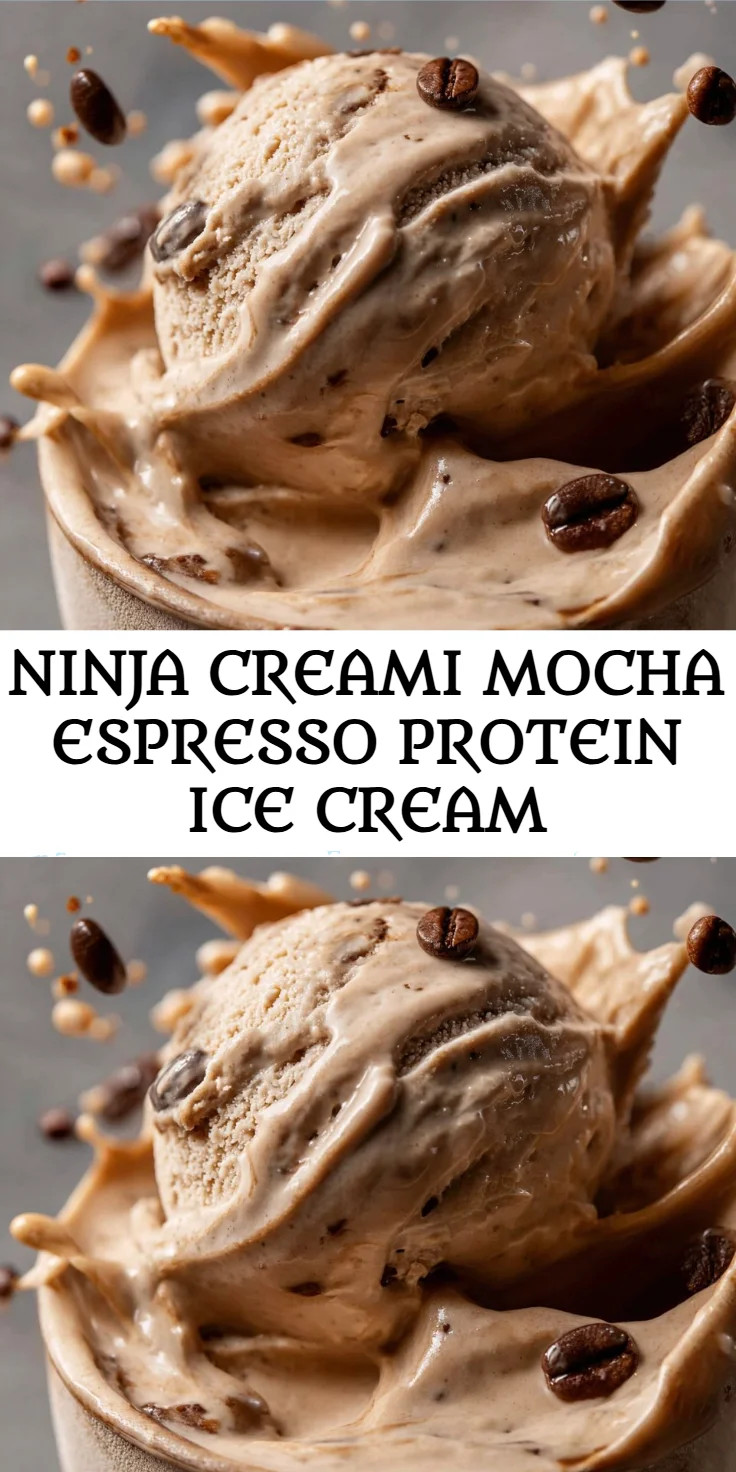
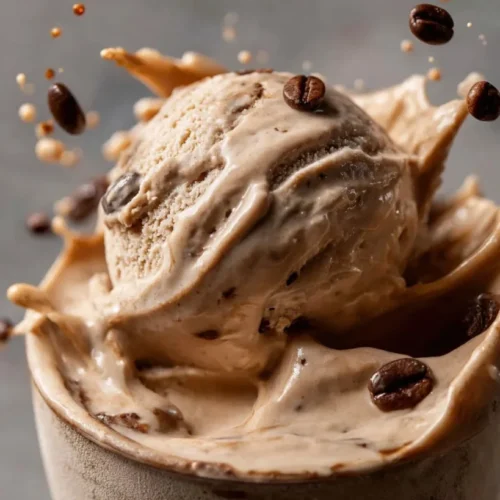
Indulging in a creamy and decadent dessert while maintaining a healthy lifestyle may seem like a challenge, but with the Ninja Creami Mocha Espresso Protein Ice Cream, your cravings can be satisfied without guilt. This delightful frozen treat combines the rich flavors of mocha and espresso, complemented by a creamy texture that’s perfect for warm days or after a satisfying meal. Whether you’re looking for a quick afternoon snack or dessert after dinner, this recipe is tailored for busy families and health-conscious individuals. Packed with protein and low in calories, it’s an ideal addition to your meal plan.
Why You’ll Love Ninja Creami Mocha Espresso Protein Ice Cream
This protein-packed ice cream is a deliciously creamy treat that brings the flavors of your favorite coffee shop to your kitchen. The combination of energizing mocha and espresso not only tantalizes your taste buds but also provides the boost you need during a busy day. It’s an ideal dessert for health-conscious families seeking nutritious snacks for their children or meal-prep planners looking to stay on track with their nutrition goals.
- Rich mocha espresso flavor
- Protein-packed to fuel your day
- Quick and easy prep
- Perfect texture with a creamy finish
- Great for meal prep and portion control
- Calorie-conscious indulgence
- Delights both kids and adults alike
Ingredients for Ninja Creami Mocha Espresso Protein Ice Cream
- Espresso powder – for rich coffee flavor
- Cocoa powder – adds deep chocolatey taste
- Protein powder – boosts nutritional value
- Almond milk – keeps the ice cream creamy and dairy-free
- Honey – a natural sweetener
- Vanilla extract – enhances overall flavor
- Salt – balances sweetness
Ready to cook? See the recipe card for exact measurements below.
How to Make Ninja Creami Mocha Espresso Protein Ice Cream
Phase 1 – Prep
- Gather all ingredients and necessary kitchen equipment, including the Ninja Creami.
- In a mixing bowl, combine the espresso powder, cocoa powder, and protein powder.
- Stir in the almond milk, honey, vanilla extract, and salt until well mixed.
Phase 2 – Cook
- Pour the mixture into the Ninja Creami pint container.
- Follow the manufacturer’s instructions to freeze the mixture for at least 24 hours.
Phase 3 – Serve
- After freezing, remove the pint container from the freezer.
- Insert the container into the Ninja Creami machine and select the “ice cream” function.
- Once the process is complete, scoop the soft serve ice cream into bowls or cones.
Pro Tips for the Best Results
- Use cold ingredients for a smoother texture.
- Experiment with different flavors of protein powder for variety.
- Let the ice cream sit out for a few minutes before scooping for easier serving.
- Store leftovers in an airtight container to prevent freezer burn.
- Blend the mixture longer for a creamier finish prior to freezing.
Common Mistakes to Avoid
One common mistake is not properly mixing the ingredients, which can lead to uneven texture and flavor. Ensure that all components are blended thoroughly before freezing. If you notice your ice cream is too icy, it may be due to a lack of fats or proteins in the mixture, so adjust accordingly for creaminess.
Another common error is under-freezing the mixture. It is essential to freeze the blend for the recommended time to ensure it becomes solid enough for the Ninja Creami to process correctly. Always double-check your setup before using the machine.
Finally, avoiding serving the ice cream too soon after processing is crucial. Allow it to harden for a short while if it’s too soft. This extra patience pays off with better texture for enjoyable scooping.
Recipe Variations
- Add a scoop of your favorite nut butter for an extra creamy consistency.
- Incorporate chocolate chips for a delightful crunch.
- Use coconut milk for a tropical twist.
- Mix in fruits like banana or strawberries for a refreshing addition.
How to Serve Ninja Creami Mocha Espresso Protein Ice Cream
- Pair with almond biscotti for a delightful crunch.
- Top with shredded coconut for added texture.
- Serve in cones or bowls for an enticing presentation.
- Add a drizzle of honey for extra sweetness.
Make Ahead & Storage
Can I Meal Prep This?
Yes, this recipe is excellent for meal prep. You can make a batch ahead of time and store it for easy, healthy snacks or desserts throughout the week.
Storing Leftovers
Store leftovers in an airtight container in the refrigerator for up to 1 week for best flavor and texture.
Freezing
This protein ice cream can be stored in the freezer for up to 2 weeks. However, be mindful of its texture; prolonged freezing may cause it to become too hard.
Reheating
To soften, you can let the ice cream sit out for a few minutes before serving or microwave for 10-15 seconds, checking frequently to avoid melting.

FAQs
Can I use regular milk instead of almond milk?
Yes, regular milk can be used, but it may change the flavor and consistency slightly.
Is this ice cream suitable for children?
Absolutely! It’s a nutritious and delicious dessert option for kids.
Can I use a different kind of sweetener?
Yes, feel free to swap honey for maple syrup or agave nectar based on your dietary preferences.
Is this ice cream dairy-free?
Yes, using almond milk makes it a suitable dairy-free option!
This Ninja Creami Mocha Espresso Protein Ice Cream is the perfect solution for those who want to indulge without compromising their nutrition goals. It’s a unique dessert that satisfies cravings while being protein-packed and delicious. Try it today and experience how easy it is to enjoy a healthier treat! Don’t forget to leave a comment and rate the recipe!
Ninja Creami Mocha Espresso Protein Ice Cream
Ingredients
For the Ice Cream Base
- 2 tablespoons Espresso powder For rich coffee flavor
- 2 tablespoons Cocoa powder Adds deep chocolatey taste
- 1 scoop Protein powder Boosts nutritional value
- 2 cups Almond milk Keeps the ice cream creamy and dairy-free
- 2 tablespoons Honey A natural sweetener
- 1 teaspoon Vanilla extract Enhances overall flavor
- 1 pinch Salt Balances sweetness
Instructions
Preparation
- Gather all ingredients and necessary kitchen equipment, including the Ninja Creami.
- In a mixing bowl, combine the espresso powder, cocoa powder, and protein powder.
- Stir in the almond milk, honey, vanilla extract, and salt until well mixed.
Cooking
- Pour the mixture into the Ninja Creami pint container.
- Follow the manufacturer's instructions to freeze the mixture for at least 24 hours.
Serving
- After freezing, remove the pint container from the freezer.
- Insert the container into the Ninja Creami machine and select the 'ice cream' function.
- Once the process is complete, scoop the soft serve ice cream into bowls or cones.