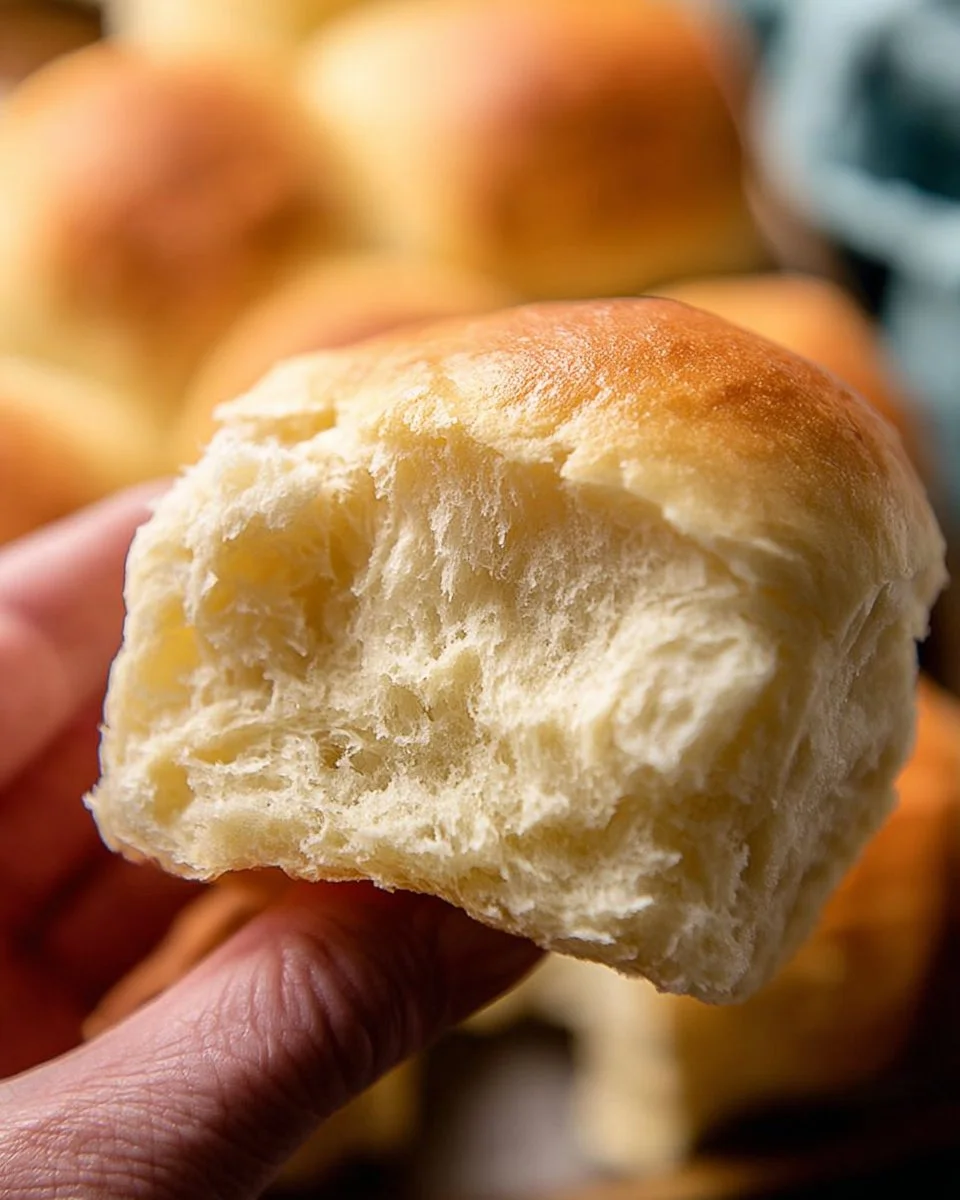
Picture this: A cozy family dinner where the laughter mingles with the aroma of freshly baked bread, and the evening’s meal is as nutritious as it is delicious. Our Homemade Mini Slider Rolls Recipe not only delivers in flavor but also meets your nutritional goals. These rolls are perfect for busy families looking for healthy, high-protein options. Whether you’re preparing a game day feast or just want a wholesome addition to your weeknight meals, these mini slider rolls are versatile, filling, and oh-so-yummy.
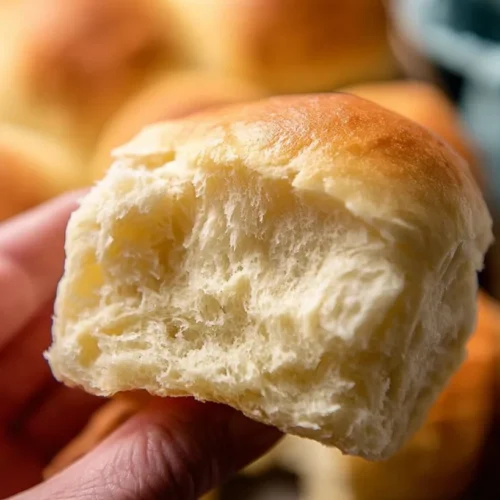
Imagine tearing into a warm, fluffy roll that exudes comfort, yet fits seamlessly into a healthy lifestyle. Each bite gives you that satisfying softness, paired with just a hint of buttery richness, making these rolls essential for your meal prep. You can stuff them with lean proteins, loads of crunchy veggies, or your favorite hearty filling—whatever fits your family’s taste preferences!
If you’re on a mission to eat macro balanced, or even if you’re managing blood sugar, these slider rolls offer a solution. They are easy to make, delightful to share, and best of all, tailored to keep your nutrition goals in check. Gather the family, and let’s create these scrumptious mini slider rolls together, ensuring flavor is never compromised for health.
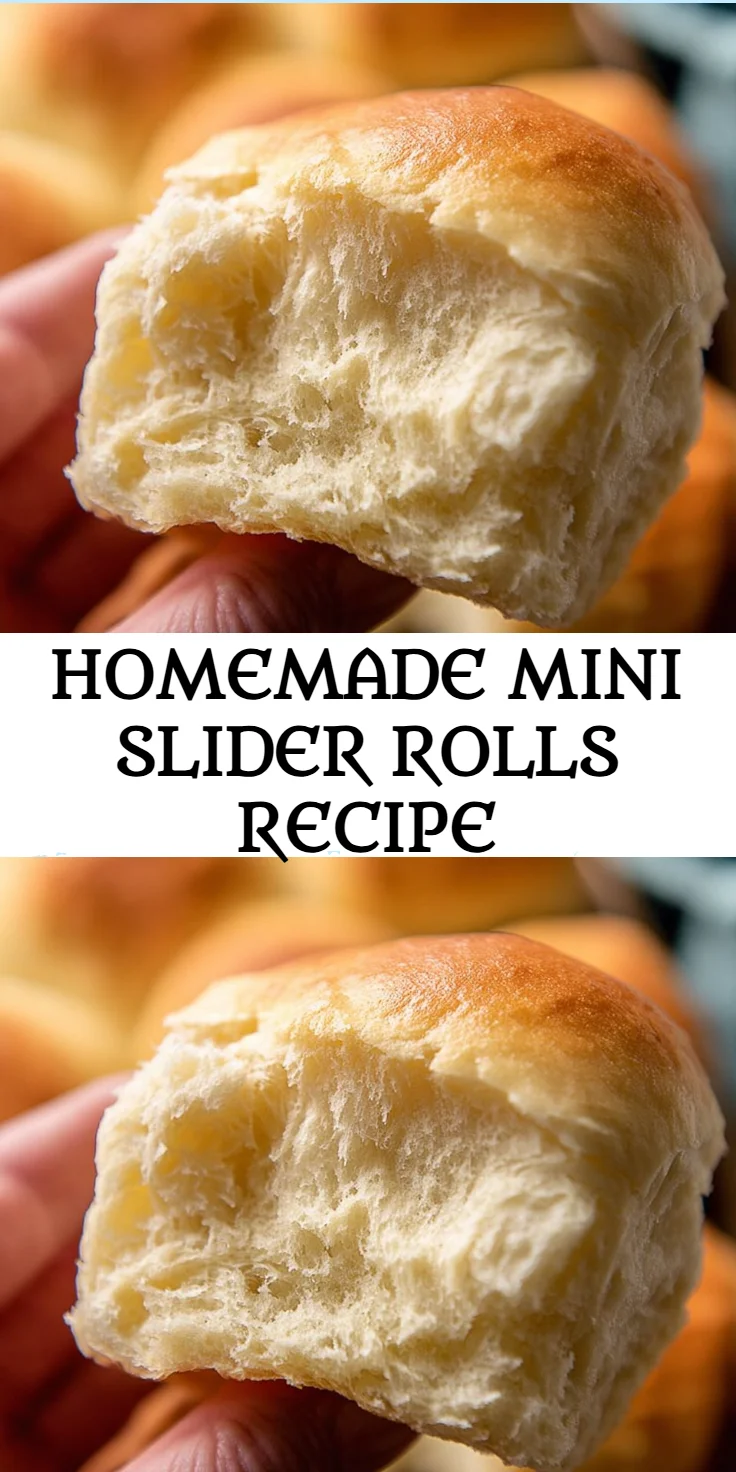
Why You’ll Love Homemade Mini Slider Rolls Recipe (Creamy, Easy, and Cozy)
These mini slider rolls are not just tasty; they’re a meal prep game-changer! They boast a transformative texture that makes every meal feel like a treat while being gentle on your nutrition plans.
Warm, fluffy, and perfect for any occasion, our homemade slider rolls are designed with the health-conscious family in mind. They leverage pantry staples, ensuring preparation is quick and hassle-free. Work or life can get busy, but that doesn’t mean your meals have to compromise on health or taste. Save time with these versatile rolls that can be paired with various fillings or enjoyed on their own—your choice!
- Speed: Quick to prepare and bake, ideal for busy weeknights.
- Texture: Light and airy, perfect for sandwiches or snacks.
- Pantry-Friendly: Uses affordable and common ingredients.
- Meal-Prep Friendly: Make a batch ahead for the whole week!
- Dietary Notes: High-protein and macro-friendly for maintaining a healthy diet.
- Customizable: Easy to adapt with various fillings based on your preferences.
Ingredients for Homemade Mini Slider Rolls Recipe
- Warm Milk – Feeds the yeast for a light texture.
- Granulated Sugar – Activates the yeast for a fluffy rise.
- Dry Active Yeast – Essential for perfect rising; do not use instant yeast.
- Unsalted Butter – Adds richness; ensure it’s melted and cooled.
- Large Egg – Binds the dough and enriches the flavor.
- Salt – Enhances overall flavor; essential in baking.
- All-Purpose Flour – The base of our rolls; adjust for dough consistency.
Ready to cook? See the recipe card for exact measurements below.
How to Make Homemade Mini Slider Rolls Recipe
Phase 1 – Prep
- In a large bowl, combine warm milk and sugar. Sprinkle the yeast over and let it sit for 5 minutes until foamy.
- Add the melted and cooled butter, egg, and salt to the yeast mixture. Mix well to combine.
- Gradually add 2 cups of flour, mixing until a soft dough forms. If the dough is too sticky, add flour, a tablespoon at a time, until it pulls away from the bowl.
Phase 2 – Cook/Assemble
- Turn the dough out onto a floured surface. Knead for about 5–7 minutes until smooth and elastic.
- Place the dough in a greased bowl, cover with a clean towel, and let it rise in a warm area for about 1 hour or until doubled in size.
- Preheat your oven to 375°F (190°C). Once risen, punch down the dough and divide it into 12 equal pieces. Shape each piece into a ball and place them on a baking sheet lined with parchment paper.
Phase 3 – Serve
- Cover the rolls with a towel again and let them rise for another 30 minutes until puffy.
- Brush the tops with a beaten egg mixed with a tablespoon of water for a golden finish.
- Bake in the preheated oven for 15–20 minutes, or until golden brown and sound hollow when tapped. Let them cool slightly before serving.
Pro Tips for the Best Results
- For a richer flavor, add herbs or garlic powder to the dough.
- Ensure your butter is cooled before mixing; hot butter can ruin the yeast activation.
- Store leftovers in an airtight container for up to 3 days to maintain freshness.
- Adjust flour based on humidity for ideal dough consistency.
- Feel free to brush raw dough with olive oil before the second rise for added moisture.
Common Mistakes to Avoid
One common mistake is not using warm enough milk, which may halt yeast activation. Milk should feel comfortably warm, around 110°F (43°C). To fix this, use a kitchen thermometer and learn to feel the right warmth in your hand.
Another issue is over-kneading the dough, which can lead to tough rolls. Knead just until smooth and elastic, about 5–7 minutes. If you find your dough is sticking too much, add a little flour to the surface for easier handling.
Don’t skip the resting time; it’s crucial for allowing the yeast to rise and develop flavor. If you’re short on time, try to find a warm spot in your house to encourage faster rising.
Recipe Variations
- Gluten-Free: Substitute with a 1:1 gluten-free flour blend.
- Dairy-Free: Use almond or oat milk in place of whole milk and coconut oil instead of butter.
- Spicy: Incorporate jalapeños or pepper flakes into the dough for extra kick.
- Herbal: Add chopped fresh herbs like rosemary or thyme for added flavor.
- Air Fryer: Cook at 320°F (160°C) for 10-12 minutes or until golden brown.
How to Serve Homemade Mini Slider Rolls Recipe
- Best Pairings: Pair with lean turkey or chicken for a filling meal.
- Toppings: Try avocado spread or homemade garlic butter for flavor.
- Garnishes: Top with sesame seeds or fresh herbs before baking.
Make Ahead & Storage
Can I Meal Prep This?
Yes! You can prepare these slider rolls ahead of time and freeze them before baking.
Storing Leftovers
Store in an airtight container in the fridge for up to 3 days. Reheat before serving for the best flavor.
Freezing
These rolls freeze well for up to 2 months. Wrap them tightly in plastic wrap and then place in a freezer bag. Keep an eye on their texture upon thawing.
Reheating
For reheating, warm in a preheated oven at 350°F (175°C) for about 5-7 minutes. For faster options, place in the microwave for 15-20 seconds.

FAQs
Can I use whole wheat flour instead of all-purpose flour?
Yes, but the texture will be denser. You may need to add a bit more liquid to achieve the right consistency.
How do I know when the rolls are done baking?
The rolls are done when they are golden brown and sound hollow when tapped on the bottom.
Can I make mini slider rolls without sugar?
While sugar helps activate the yeast, you can reduce the amount or use alternatives, but flavor and rising might be affected.
What can I use instead of milk?
You can substitute any non-dairy milk, such as almond or soy milk, for a lactose-free option.
These Homemade Mini Slider Rolls are perfect for your meal prep strategy, ensuring every bite remains a delight without sacrificing your nutrition goals. Join the fun, try this recipe, and don’t forget to rate it or check out our related recipes like High-Protein Turkey Sliders for delicious sandwich ideas or explore our meal prep recipes for more options!
Mini Slider Rolls
Ingredients
Dough Ingredients
- 1 cup Warm Milk Feeds the yeast for a light texture.
- 2 tablespoons Granulated Sugar Activates the yeast for a fluffy rise.
- 2 teaspoons Dry Active Yeast Essential for perfect rising; do not use instant yeast.
- 2 tablespoons Unsalted Butter Adds richness; ensure it’s melted and cooled.
- 1 large Egg Binds the dough and enriches the flavor.
- 1 teaspoon Salt Enhances overall flavor; essential in baking.
- 2-3 cups All-Purpose Flour The base of our rolls; adjust for dough consistency.
Instructions
Preparation
- In a large bowl, combine warm milk and sugar. Sprinkle the yeast over and let it sit for 5 minutes until foamy.
- Add the melted and cooled butter, egg, and salt to the yeast mixture. Mix well to combine.
- Gradually add 2 cups of flour, mixing until a soft dough forms. If the dough is too sticky, add flour, a tablespoon at a time, until it pulls away from the bowl.
Cooking
- Turn the dough out onto a floured surface. Knead for about 5–7 minutes until smooth and elastic.
- Place the dough in a greased bowl, cover with a clean towel, and let it rise in a warm area for about 1 hour or until doubled in size.
- Preheat your oven to 375°F (190°C). Once risen, punch down the dough and divide it into 12 equal pieces. Shape each piece into a ball and place them on a baking sheet lined with parchment paper.
Serving
- Cover the rolls with a towel again and let them rise for another 30 minutes until puffy.
- Brush the tops with a beaten egg mixed with a tablespoon of water for a golden finish.
- Bake in the preheated oven for 15–20 minutes, or until golden brown and sound hollow when tapped. Let them cool slightly before serving.