
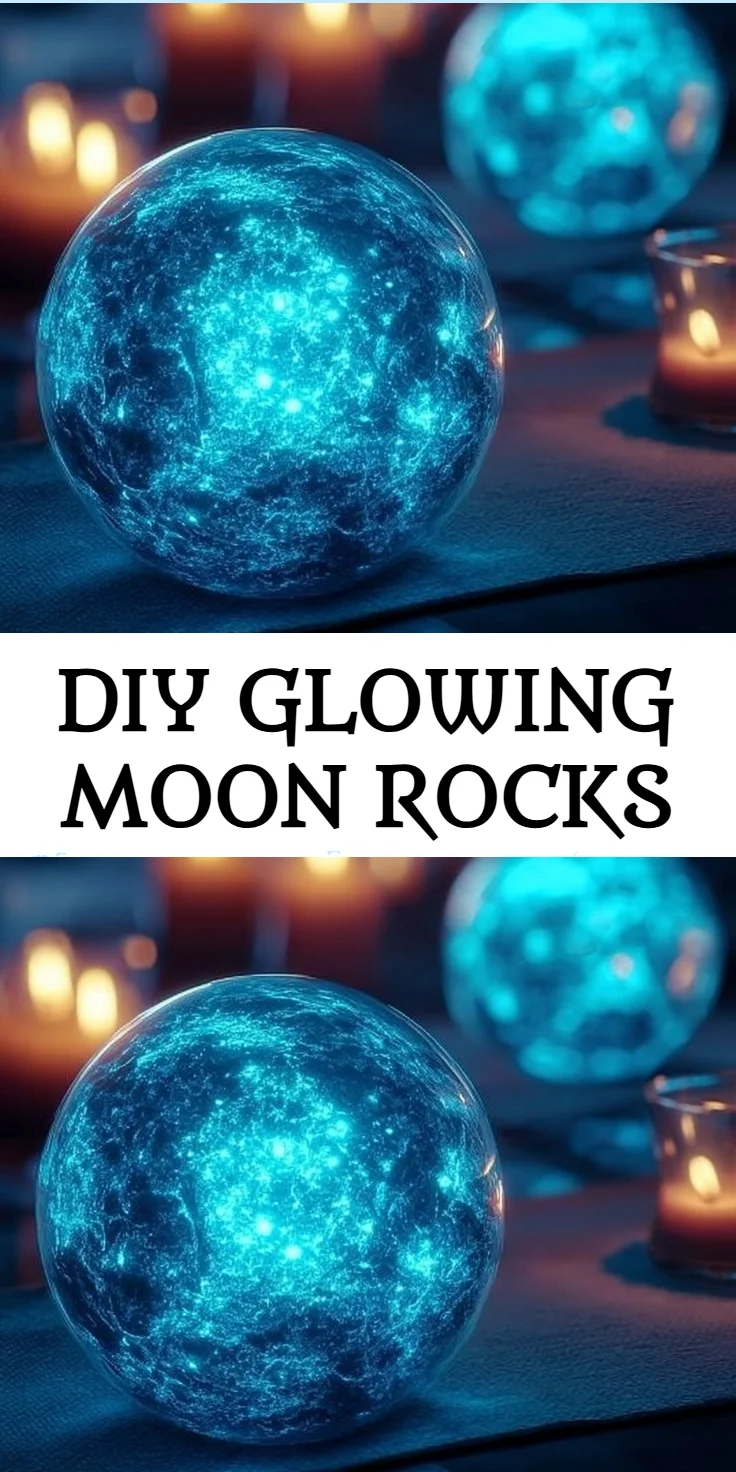
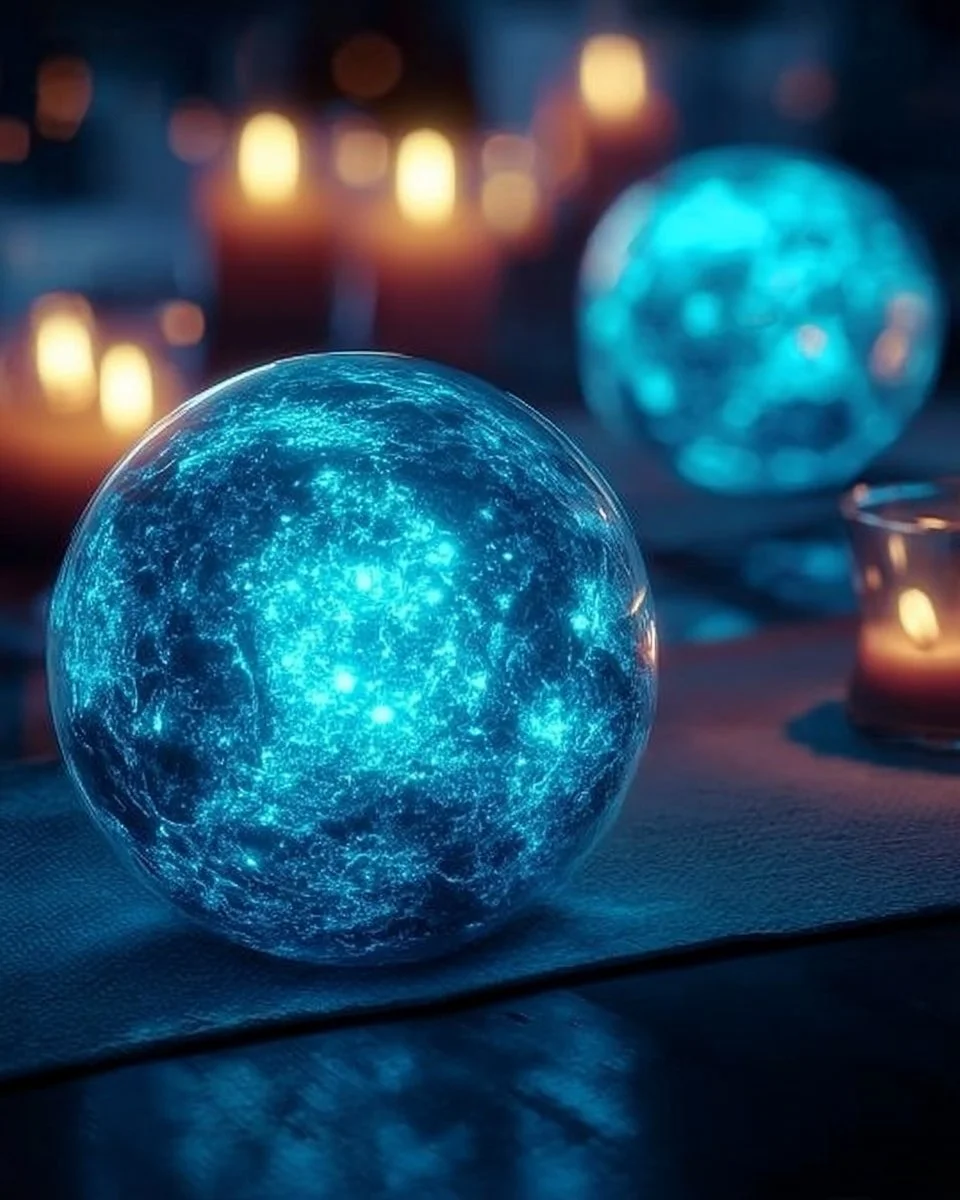
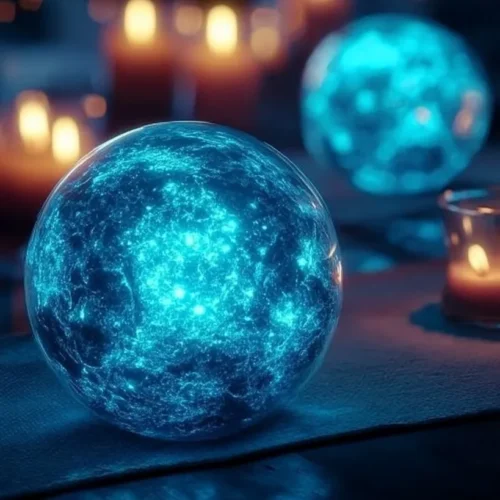
DIY Glowing Moon Rocks Recipe: A Fun and Wholesome Treat for Busy Families
Imagine a snack that not only dazzles the eyes but also fits perfectly into your health-conscious lifestyle. Our DIY Glowing Moon Rocks are the answer to your quest for a delicious yet nourishing treat. These delightful creations are rich in flavor and provide a vibrant, playful twist that your kids will adore while being a great option for any meal prep strategy. With glowing colors that captivate, these snacks are also a fantastic way to sneak some fun into your family’s healthy eating routine. Say goodbye to traditional snacks that don’t align with your nutrition goals. These moon rocks are easy to prepare and serve, making them ideal for busy weeknights or lively weekend gatherings.
Take a bite and experience a soft, chewy texture that gives way to a sweet, subtle flavor. The beautiful luminescence brings a magical element that makes healthy snacking exciting for everyone. Feel confident serving these to your loved ones, knowing they’re not only a hit but are also crafted with simple, wholesome ingredients. So, gather your family and make your next meal prep easy and enjoyable with these charming treats!
Why You’ll Love DIY Glowing Moon Rocks (Creamy, Easy, and Cozy)
You’ll love DIY Glowing Moon Rocks because they are fun, creative, and perfect for any occasion. This unique, healthy snack is quick to prepare and gives a whimsical twist to healthy eating.
Making snacks at home helps you control the ingredients and ensure they align with your family’s health and nutrition goals. Families often struggle to find appealing snacks that everyone enjoys, particularly those who are busy and conscious of their diets. This is where DIY Glowing Moon Rocks shine—literally! Combining the light-heartedness of a childhood favorite with a nutritious spin, these treats are perfect for after-school snacks or a delightful dessert. Plus, they’re incredibly versatile—great for meal prep or as a centerpiece for parties.
- Quick and easy preparation—perfect for busy weeknights.
- Visually stunning, which encourages healthier eating in kids.
- Pantry-friendly ingredients that you likely already have.
- A wonderful choice for meal prep that keeps well in storage.
- Dietary friendly—complies with various dietary needs while being low-calorie.
- Versatile usage for both snacks and fun desserts.
- Encourages creativity—kids will love helping make these!
Ingredients for DIY Glowing Moon Rocks
- Baking soda – Helps create the right texture for the moon rocks.
- Water – Necessary to combine and activate the baking soda.
- Corn syrup – Adds sweetness and helps bind the ingredients together.
- Glow-in-the-dark paint or powder – The star attraction that makes these moon rocks shine.
- Food coloring (optional) – For a burst of color, making your moon rocks even more fun.
Ready to cook? See the recipe card for exact measurements below.
How to Make DIY Glowing Moon Rocks
Phase 1 – Prep
- Gather all ingredients in a small mixing bowl or container.
- Preheat your workspace by ensuring it’s clean and ready for crafting.
- Prepare your glow-in-the-dark paint or powder according to package instructions if necessary.
- If using food coloring, choose your colors and keep them handy for the next phase.
Phase 2 – Cook/Assemble
- In your bowl, mix a sufficient amount of baking soda with water until you achieve a paste-like consistency.
- Add corn syrup gradually, mixing thoroughly to ensure your mixture is cohesive.
- Stir in your glow-in-the-dark powder to add the magical glow while incorporating any food coloring you desire.
- Use your hands to shape the mixture into small, bite-sized rocks.
- Place the shaped moon rocks on a flat, clean surface to dry for 1-2 hours, depending on humidity.
Phase 3 – Serve
- Once dried, carefully check that the moon rocks hold their shape and gently place them in a serving bowl.
- Dim the lights to showcase their glow, adding an element of surprise for your guests.
- Enjoy your moon rocks immediately or store them for later snacking.
Pro Tips for the Best Results
- Use a mix of food coloring for a rainbow effect that appeals to children.
- Stir thoroughly to avoid lumps in your mixture for a smooth texture.
- Allow the moon rocks to dry in a shaded area to maintain their vivid colors.
- Store in a sealed container to keep them fresh longer.
- Experiment with different glow-in-the-dark products to enhance the aesthetic effect.
- Involve your kids in the process; it’ll be a great family activity!
Common Mistakes to Avoid
One common mistake is not mixing the baking soda and water properly, leading to a lumpy texture. This happens when the baking soda clumps instead of creating a smooth paste. To avoid this, ensure you gradually add water while stirring consistently, allowing the mixture to reach a creamy consistency.
Another pitfall is overcomplicating the ingredient list. Many home cooks may feel tempted to add extra flavors or textures. Remember, this recipe is designed to be simple and effective. Stick to the ingredients mentioned for the best results.
Lastly, failing to let the moon rocks dry completely can result in a gooey mess rather than a solid snack. Ensure they are adequately dried for at least one to two hours before serving to help them maintain their fun shape and enjoyable texture.
Recipe Variations
- Make them gluten-free by ensuring your baking soda is certified gluten-free.
- Try a spicy twist by adding a dash of cayenne pepper to the mixture.
- For a more herbal flavor, mix in finely chopped fresh mint leaves.
- Use an air fryer to create crunchy versions by lightly drying them.
- Experiment with different flavors by adding flavor extracts like vanilla or mint.
How to Serve DIY Glowing Moon Rocks
- Best Pairings: Serve alongside fresh fruits or yogurt.
- Toppings: A drizzle of honey can enhance the sweetness if desired.
- Garnishes: Top with a sprinkle of edible glitter for added sparkle.
Make Ahead & Storage
Can I Meal Prep This?
Yes! These DIY Glowing Moon Rocks are perfect for meal prep. You can make them in advance and have a fun, healthy snack ready for your week.
Storing Leftovers
Store any leftovers in an airtight container at room temperature for up to 5 days. This ensures they stay fresh and maintain their fun texture.
Freezing
You can freeze these moon rocks for up to 3 months. Just place them in a freezer bag with as much air removed as possible. Thaw in the fridge before enjoying, although the texture might be slightly different.
Reheating
To regain some of their initial texture, place the moon rocks in a preheated oven at 200°F (93°C) for about 5-10 minutes. If using a microwave, heat in short intervals of 10-15 seconds to avoid melting them.
FAQs
What makes DIY Glowing Moon Rocks glow? They glow due to the special glow-in-the-dark paint or powder mixed into the ingredient list.
Are DIY Glowing Moon Rocks safe for kids? Yes, as long as non-toxic glow-in-the-dark materials are used, these snacks are safe and fun for children.
Can I customize the color of my moon rocks? Absolutely! Adding food coloring allows you to create vibrant or themed colors for any occasion.
How long do DIY Glowing Moon Rocks last? When stored properly in an airtight container, they can last up to 5 days at room temperature.
If you want a fun, visually exciting recipe that aligns with your healthy lifestyle, these DIY Glowing Moon Rocks are a perfect fit. They are not only vibrant and fun but also serve as a reminder that healthy eating can be enjoyable for the entire family! Don’t forget to rate this recipe, leave a comment, or explore another delightful creation from our collection like our High-Protein Cauliflower Soup or Healthy Meal Prep Bowls.
DIY Glowing Moon Rocks
Ingredients
Main Ingredients
- 1 cup Baking soda Helps create the right texture for the moon rocks.
- 1/2 cup Water Necessary to combine and activate the baking soda.
- 1/4 cup Corn syrup Adds sweetness and helps bind the ingredients.
- 1 tbsp Glow-in-the-dark paint or powder The star attraction that makes these moon rocks shine.
- to taste Food coloring (optional) For a burst of color, making your moon rocks even more fun.
Instructions
Preparation
- Gather all ingredients in a small mixing bowl or container.
- Preheat your workspace by ensuring it’s clean and ready for crafting.
- Prepare your glow-in-the-dark paint or powder according to package instructions if necessary.
- If using food coloring, choose your colors and keep them handy for the next phase.
Cook/Assemble
- In your bowl, mix a sufficient amount of baking soda with water until you achieve a paste-like consistency.
- Add corn syrup gradually, mixing thoroughly to ensure your mixture is cohesive.
- Stir in your glow-in-the-dark powder to add the magical glow while incorporating any food coloring you desire.
- Use your hands to shape the mixture into small, bite-sized rocks.
- Place the shaped moon rocks on a flat, clean surface to dry for 1-2 hours, depending on humidity.
Serve
- Once dried, carefully check that the moon rocks hold their shape and gently place them in a serving bowl.
- Dim the lights to showcase their glow, adding an element of surprise for your guests.
- Enjoy your moon rocks immediately or store them for later snacking.