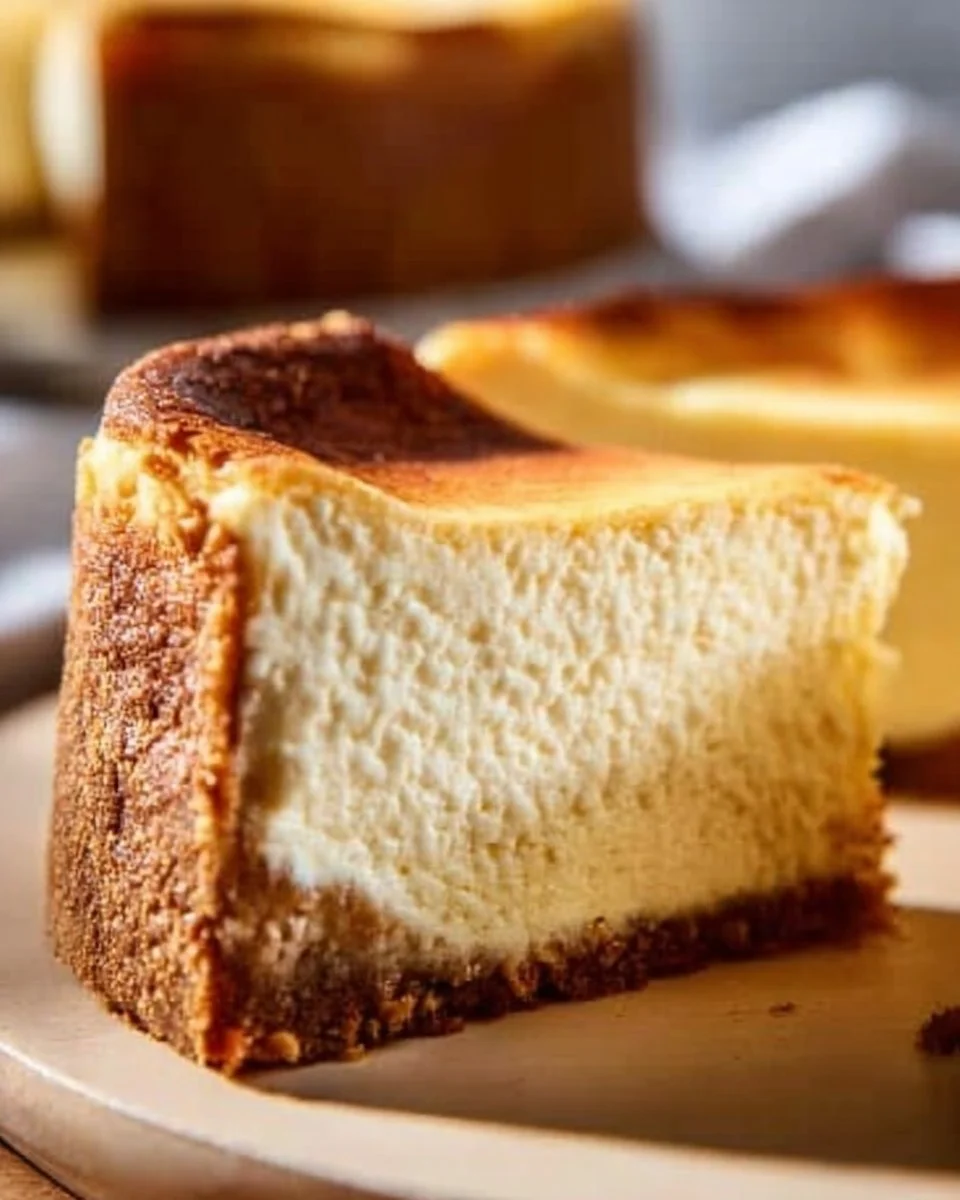
Imagine indulging in a rich, creamy cheesecake that melts in your mouth, bursting with flavor and perfect for every occasion. That’s exactly what you’ll achieve with this homemade cheesecake recipe. It’s not just any cheesecake; it’s a masterpiece packed with protein, designed for those who are health-conscious but still crave that sweet, decadent taste. This cheesecake is not only a delight for your taste buds but also fits seamlessly into your meal prep plans, making it an essential dish for busy families. With each bite, you’ll experience a balance of sweetness from the creamy filling, complemented by the buttery crust. You’ll savor the feeling of satisfaction as you enjoy a slice that’s as good as, if not better than, your favorite takeout dessert. And the best part? You can whip it up in no time.
Whether it’s a special occasion or a casual family dinner, this cheesecake brings comfort and joy to the table. Plus, it’s a wonderful way to make your health goals manageable without sacrificing flavor. So, if you’re looking for a dessert that satisfies your cravings while being mindful of your nutrition goals, this is it. Prepare to impress your family and friends with a stunning cheesecake that’s worthy of any celebration while keeping it aligned with a healthy lifestyle.
Why You’ll Love How To Make Cheesecake Better Than Takeout (Creamy, Easy, and Cozy)
This cheesecake is creamy and rich without being heavy. It’s perfect for those watching their sugar intake while still satisfying that dessert craving.
This recipe is more than just a dessert; it’s a comforting treat that fits perfectly into a healthy lifestyle. With its high-protein content and low-carb nature, you can enjoy it guilt-free while remaining committed to your meal prep goals. Imagine slicing into a beautiful cheesecake that looks as good as it tastes, each bite delivering a velvety texture that’s sure to delight your palate. You won’t just be feeding your family; you’ll be nourishing them with a wholesome dessert that complements their nutrition goals.
- Time-saving: Quick prep and easy assembly make this a weeknight winner.
- Texture perfection: A blend of creamy filling with a crunchy crust.
- Pantry-friendly: Uses common ingredients you’d likely have on hand.
- Meal-prep friendly: Easily made in advance for busy weeks ahead.
- Dietary compatible: Works well with low-carb and high-protein diets.

Ingredients for How To Make Cheesecake Better Than Takeout
- Graham cracker crumbs – forms the delicious crust that adds nice crunch.
- Granulated sugar – sweetens the crust and filling for a balanced flavor.
- Unsalted butter – binds the crust, adding richness and depth.
- Cream cheese – the creamy base that provides the signature cheesecake texture.
- Sour cream – adds tanginess while keeping the texture smooth.
- Eggs – give structure and stability to the cheesecake.
- Vanilla extract – enhances the overall flavor profile with warmth.
Ready to cook? See the recipe card for exact measurements below.
How to Make How To Make Cheesecake Better Than Takeout
Phase 1 – Prep
- Preheat your oven to 325°F (160°C).
- In a mixing bowl, combine the graham cracker crumbs, sugar, and melted butter until crumbly.
- Press the mixture firmly into the bottom of a springform pan to form your crust.
- Set aside while you prepare the cheesecake filling.
Phase 2 – Cook/Assemble
- In a large mixing bowl, beat the softened cream cheese until smooth and creamy.
- Add in the granulated sugar and vanilla extract, mixing until well combined.
- Incorporate the eggs one at a time, mixing gently to avoid overbeating.
- Fold in the sour cream until just combined, ensuring a smooth consistency.
- Pour the cheesecake batter over the prepared crust in the springform pan.
Phase 3 – Serve
- Bake in the preheated oven for 50-60 minutes or until the edges are firm and the center slightly jiggles.
- Turn off the oven and let the cheesecake cool inside for 1 hour to prevent cracks.
- Once cooled, refrigerate for at least 4 hours, ideally overnight, for best flavor and texture.
- When ready to serve, carefully remove the sides of the springform pan and slice.
- Enjoy your cheesecake chilled or at room temperature with your favorite toppings.
Pro Tips for the Best Results
- Swap store-bought crust with this homemade version for much better flavor.
- Ensure your cream cheese is at room temperature for easier blending.
- Don’t rush the cooling process; let it set in the fridge for optimal texture.
- Use a water bath for the cheesecake to help it bake evenly.
- Garnish with fresh berries or a dusting of powdered sugar for an elegant touch.
Common Mistakes to Avoid
One common mistake is overmixing the batter, which can lead to cracks and a dense texture. This happens when ingredients get whipped too vigorously, incorporating too much air. To fix this, mix just until combined, especially when adding the eggs.
Another frequent error is not preparing the springform pan properly, leading to leakage. If you’re using a water bath, ensure the pan is tightly sealed. Applying a thin layer of butter around the edges can help prevent sticking. If using a water bath, wrap the pan in foil to keep water out.
Finally, impatience can ruin the cheesecake. Jumping straight to slicing after baking can cause it to fall apart. Always allow it to cool in the oven, then refrigerate it adequately to achieve that creamy texture that sets perfectly.
Recipe Variations
- Gluten-Free: Substitute graham cracker crumbs with a gluten-free option.
- Dairy-Free: Use a vegan cream cheese alternative and dairy-free sour cream.
- Spicy: Add a pinch of cinnamon or nutmeg for a warm flavor twist.
- Herbal: Incorporate lemon or lavender for a refreshing touch.
- Air Fryer: Adjust cooking time and temperature for air fryer methods.
How to Serve How To Make Cheesecake Better Than Takeout
- Best Pairings: Enjoy with a cup of coffee or your favorite fruit tea.
- Toppings: Consider fresh berries, whipped cream, or a fruit coulis.
- Garnishes: A sprinkle of chocolate shavings can elevate the presentation.
Make Ahead & Storage
Can I Meal Prep This?
Yes! This cheesecake is perfect for meal prep and can be made in advance for busy weeks.
Storing Leftovers
Store leftovers in an airtight container in the fridge for up to 5 days, ensuring they stay fresh and delicious.
Freezing
You can freeze slices for up to 3 months. Wrap each slice tightly in plastic wrap to preserve texture.
Reheating
For optimal flavor, thaw slices in the refrigerator overnight. If needed, warm them slightly in the oven at 250°F (120°C) for about 10 minutes, or in the microwave for 15-20 seconds.

FAQs
Can I use light cream cheese? Yes, but the texture may be slightly different; it may not be as rich.
How do I avoid cracks in the cheesecake? Bake at a lower temperature and cool gradually to prevent cracks.
Can I add flavors to the cheesecake? Absolutely! Consider chocolate, lemon zest, or fruit purees for variation.
What should I do if the cheesecake is too soft? Refrigerate it longer or serve it frozen as a delicious treat.
With this recipe on how to make cheesecake better than takeout, you’ll blend convenience with nutrition, ensuring your family enjoys a delightful dessert that fits their healthy lifestyle. Feel free to rate this recipe, leave a comment, or explore our meal prep recipes for more delicious ideas!
How To Make Cheesecake Better Than Takeout
Ingredients
For the Crust
- 1 cup Graham cracker crumbs Forms the delicious crust that adds nice crunch.
- 1/4 cup Granulated sugar Sweetens the crust.
- 1/2 cup Unsalted butter Binds the crust, adding richness.
For the Filling
- 32 oz Cream cheese The creamy base for the cheesecake.
- 1 cup Granulated sugar Sweetens the filling.
- 3 large Eggs Provides structure and stability.
- 1 cup Sour cream Adds tanginess and keeps the texture smooth.
- 1 tbsp Vanilla extract Enhances the overall flavor.
Instructions
Preparation
- Preheat your oven to 325°F (160°C).
- In a mixing bowl, combine the graham cracker crumbs, sugar, and melted butter until crumbly.
- Press the mixture firmly into the bottom of a springform pan to form your crust.
- Set aside while you prepare the cheesecake filling.
Cooking
- In a large mixing bowl, beat the softened cream cheese until smooth and creamy.
- Add in the granulated sugar and vanilla extract, mixing until well combined.
- Incorporate the eggs one at a time, mixing gently to avoid overbeating.
- Fold in the sour cream until just combined.
- Pour the cheesecake batter over the prepared crust in the springform pan.
- Bake in the preheated oven for 50-60 minutes or until the edges are firm and the center slightly jiggles.
Cooling & Serving
- Turn off the oven and let the cheesecake cool inside for 1 hour to prevent cracks.
- Once cooled, refrigerate for at least 4 hours, ideally overnight, for best flavor and texture.
- Carefully remove the sides of the springform pan and slice.
- Serve chilled or at room temperature with your favorite toppings.