
Are you ready to jump into a world of colorful fun? DIY Rainbow Bouncy Balls hold the promise of vibrant hues and bouncy textures, making them an irresistible project for families. Not only are these bouncy balls a fantastic science craft that engages kids, but they also encourage sensory engagement and offer an excellent opportunity for family bonding. Just imagine the thrill on your children’s faces as they bounce these colorful creations all around the house! This healthy and low-calorie project is perfect for meal-prepping fun and complements your busy lifestyle.
With the right materials on hand, you can create these fizzy, fun bouncy balls that sparkle with the colors of nature. The tactile experience of crafting them will captivate your children’s imaginations and spark an interest in exploring science together. Plus, they fit neatly into your family’s health-conscious ethos, allowing for quality time spent together without veering off course from your nutrition goals. So, roll up your sleeves, and let’s make some delightful bouncy balls that double up as a delicious screen-free activity!
Why You’ll Love DIY Rainbow Bouncy Balls — Fun Science Craft for Kids
DIY Rainbow Bouncy Balls are easy to create, and they encourage creativity while helping kids learn about chemical reactions in a delightful way!
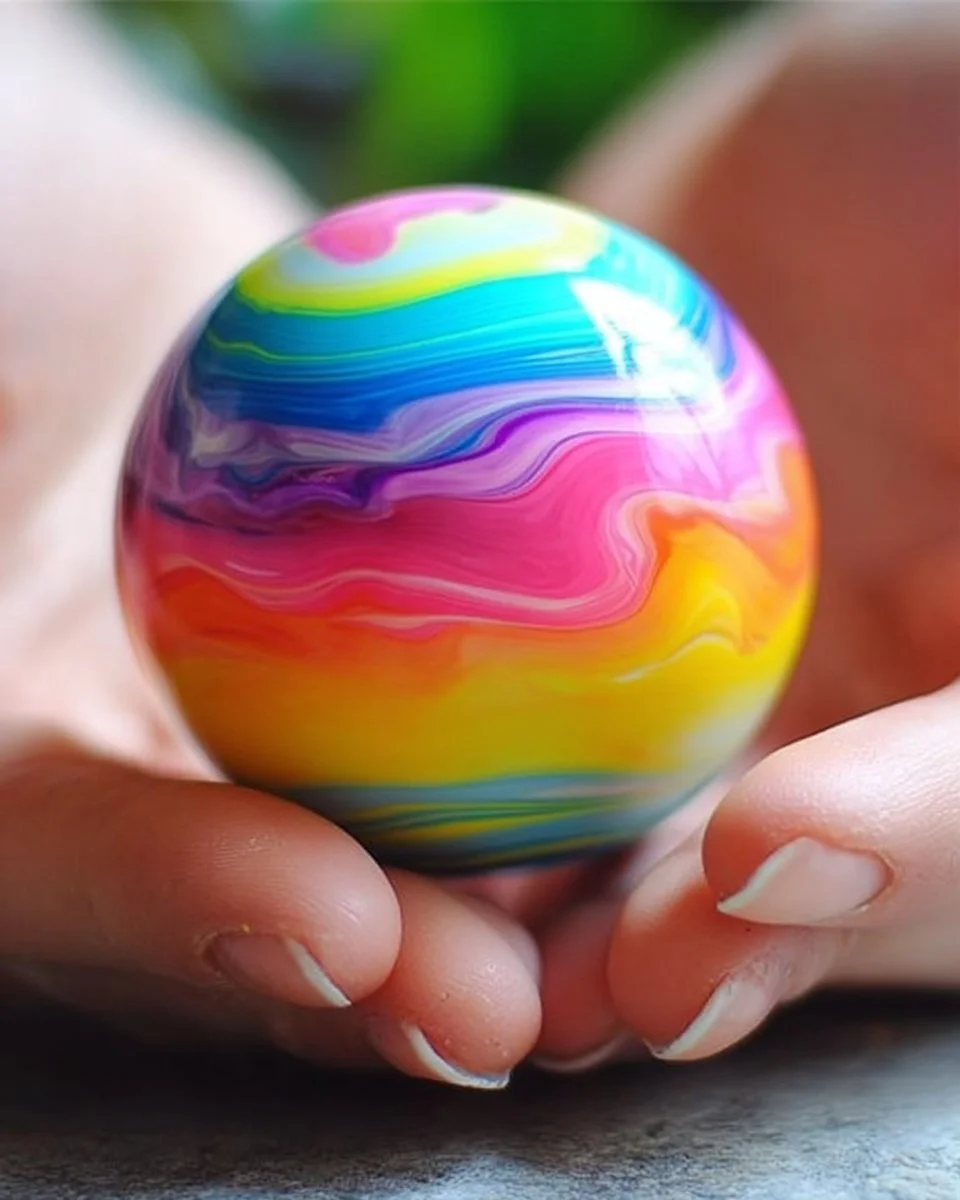
Imagine a colorful afternoon where laughter fills the air as little hands mold and shape magical, bouncing orbs. The bouncy balls provide a satisfying tactile experience, serving not only as a playful item but also as a unique science project that cleverly weaves fun and learning together. These beautiful, vibrant spheres can awaken creativity and imagination, making them a perfect activity for craft days or rainy afternoons.
- Quick and easy to assemble, saving you precious family time.
- High in fun and educational value, sparking curiosity in your kids.
- Crafting uses pantry-friendly ingredients you likely already have.
- Offers a creative outlet for kids while promoting a healthy lifestyle.
- Great for sensory play, enhancing motor skills and coordination.
- Perfect for family meal prep days, giving everyone a hands-on experience.
- Customizable in colors made from natural dyes, intriguing kids and adults alike.
Ingredients for DIY Rainbow Bouncy Balls — Fun Science Craft for Kids
- Water – crucial for blending ingredients smoothly, creating a cohesive mix.
- White glue – provides structure and stability to the bouncy balls.
- Baking soda – helps with the bouncy texture when combined with glue.
- Liquid food coloring – adds vibrant colors to each ball, making them eye-catching.
- Cornstarch – gives the bouncy balls their traditional shape and body.
- Vinegar – a key player in the chemical reaction that creates that delightful bounciness.
Ready to cook? See the recipe card for exact measurements below.
How to Make DIY Rainbow Bouncy Balls — Fun Science Craft for Kids
Phase 1 – Prep
- Gather all your ingredients and tools: bowls, measuring spoons, and stirring sticks.
- Protect your workspace with newspaper or an old tablecloth to catch any spills.
- Pre-measure your glue, baking soda, and cornstarch to keep the process flowing.
- Set up your coloring stations with food dyes ready for use.
- Have fun mixing up vibrant colors before starting the actual assembly!
Phase 2 – Cook/Assemble
- In a medium bowl, mix 1 tablespoon of white glue with 1 tablespoon of water until combined.
- Add 1/2 tablespoon of baking soda. Stir until fully mixed; it should start to thicken.
- Slowly add 1/2 tablespoon of vinegar. Expect a fizz and mix until cohesive.
- Add 1-2 drops of food coloring for vibrancy, adjusting as desired.
- Incorporate the cornstarch, adjusting until the mixture is moldable but not sticky.
- Shape the final mix into rounded balls. This step is key to achieving that delightful bouncy texture!
- Let the bouncy balls set at room temperature for about 30 minutes to firm up.
Phase 3 – Serve
- Inspect each ball after setting. They should be firm and able to bounce when dropped gently on a hard surface.
- Store them in a dry area, and enjoy the bouncy fun during playtime!
- Encourage your kids to design their games using the bouncy balls — it enhances creativity!
- Consider setting up a “bouncy ball competition” with targets for extra excitement.
- Enjoy the delightful pops of color as they bounce around your living area!
Pro Tips for the Best Results
- For a firmer ball, allow them to dry longer for a bouncier result.
- Add more cornstarch for a denser texture, perfect for bouncing competitions.
- Keep leftover mixture for future crafting fun — it can be stored in an airtight container!
- Experiment with various shapes beyond balls for added creativity!
- Consider using natural dyes for a healthier touch and a lovely visual experience.
Common Mistakes to Avoid
One common mistake is not mixing the glue and water thoroughly, leading to a runny mixture that won’t hold shape. Make sure to blend these ingredients well for optimal bounciness and structure.
Another issue is rushing the drying phase. If you don’t let them set adequately, the balls may not bounce as expected. Patience is key — allowing more time ensures you achieve the desired texture and fun!
Finally, over-adding food coloring can lead to an overly sticky mixture that doesn’t form correctly. Stick to the recommended amounts for best results and adjust only slightly to maintain the balance.
Recipe Variations
- Gluten-free options: All ingredients listed are already gluten-free!
- Dye-free variations: Use natural fruit juices or vegetable purees for color.
- Spicy twist: Introduce spicy color powders for a unique textured ball.
- Herbal scent: Add dried herbs for a fun, aromatic touch!
- Experiment with different shapes using muffin tins or cookie cutters for variety.
How to Serve DIY Rainbow Bouncy Balls — Fun Science Craft for Kids
- Best Pairings: Match the bouncy balls with fun outdoor games or a colorful craft day.
- Toppings: Customize them with stickers or paint for added flair!
- Garnishes: Use small treat bags for party favors or gifts at kids’ events.
Make Ahead & Storage
Can I Meal Prep This?
Yes, you can prepare the balls ahead of time and store them for later use. Just follow the steps above, and let them dry properly before storing.
Storing Leftovers
Store leftover supplies in an airtight container and keep them in a cool, dry place, ensuring no moisture seeps in.
Freezing
These bouncy balls do not freeze well, as it alters their texture. Instead, make them fresh when you’re ready for fun!
Reheating
Reheating isn’t applicable here; just use the bouncy balls directly for endless fun and games!
FAQs
How long do DIY Rainbow Bouncy Balls last? With proper storage, these bouncy balls can last a few weeks before showing wear.
Can I add scents to my bouncy balls? Yes! A few drops of essential oils in the mixture can enhance sensory play.
What if my bouncy balls don’t bounce? This could be due to insufficient drying time. Make sure to let them dry completely.
Are these bouncy balls safe for young children? Yes, they are made from non-toxic ingredients. However, always supervise young children during play.
These DIY Rainbow Bouncy Balls not only bring lively joy into your home but also encourage creativity while being a wonderful science experiment! Enjoy crafting these imaginative spheres with your family, and don’t forget to share your experience! We would love for you to rate and comment! For more exciting recipes, check out our family-friendly crafts or try our nutritious snack ideas for healthy meal prep!

DIY Rainbow Bouncy Balls
Ingredients
Main Ingredients
- 1 tablespoon white glue Provides structure and stability
- 1 tablespoon water Crucial for blending ingredients smoothly
- 0.5 tablespoon baking soda Helps with the bouncy texture
- 0.5 tablespoon vinegar Key player in the chemical reaction
- 1-2 drops liquid food coloring Adds vibrant colors to each ball
- 1 tablespoon cornstarch Gives bouncy balls their traditional shape and body
Instructions
Preparation
- Gather all your ingredients and tools: bowls, measuring spoons, and stirring sticks.
- Protect your workspace with newspaper or an old tablecloth.
- Pre-measure your glue, baking soda, and cornstarch.
- Set up your coloring stations with food dyes ready for use.
Cook/Assemble
- In a medium bowl, mix 1 tablespoon of white glue with 1 tablespoon of water until combined.
- Add 1/2 tablespoon of baking soda and stir until fully mixed.
- Slowly add 1/2 tablespoon of vinegar and mix until cohesive.
- Add 1-2 drops of food coloring and adjust as desired for vibrancy.
- Incorporate cornstarch until the mixture is moldable but not sticky.
- Shape the mixture into rounded balls.
- Let the bouncy balls set at room temperature for about 30 minutes.
Serve
- Inspect each ball. They should be firm and able to bounce.
- Store them in a dry area for playtime.
- Encourage kids to design games with the bouncy balls.