
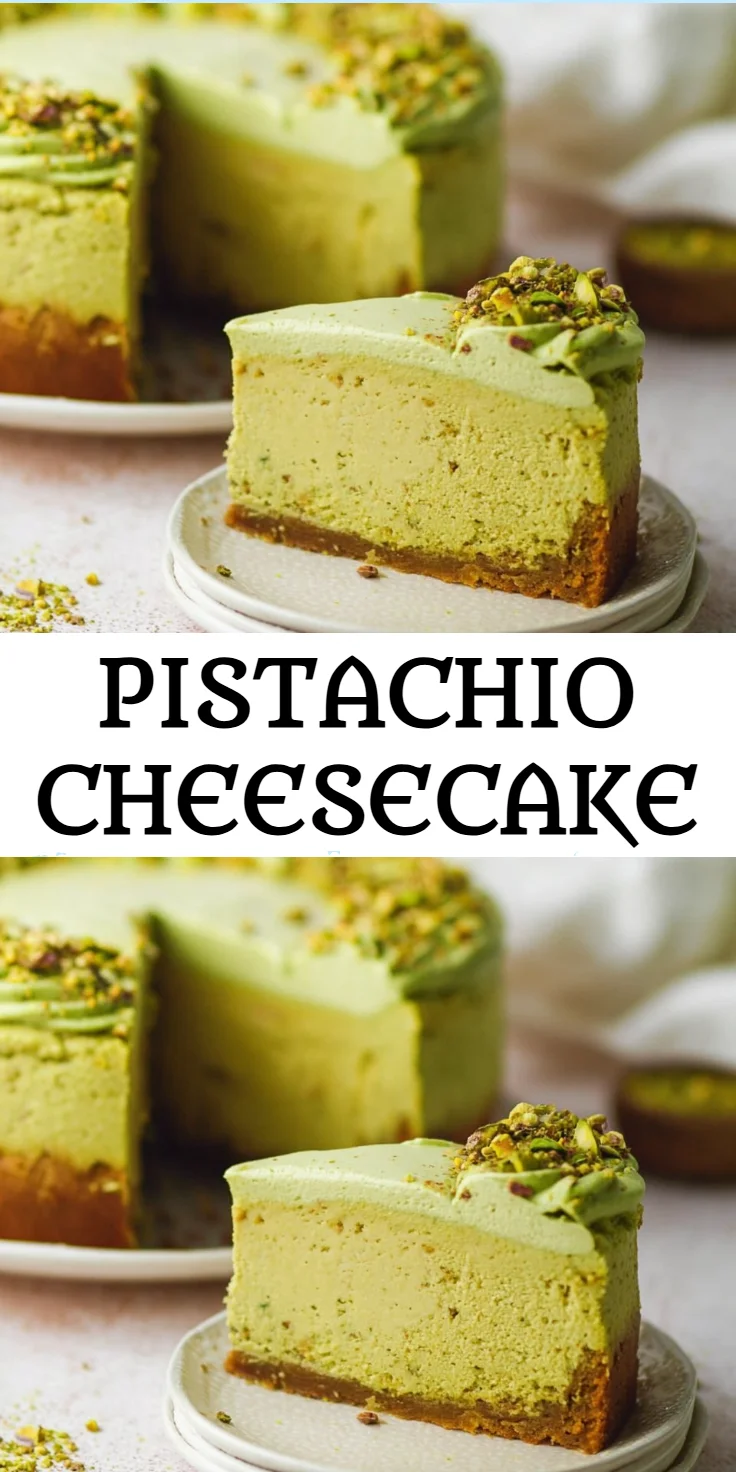
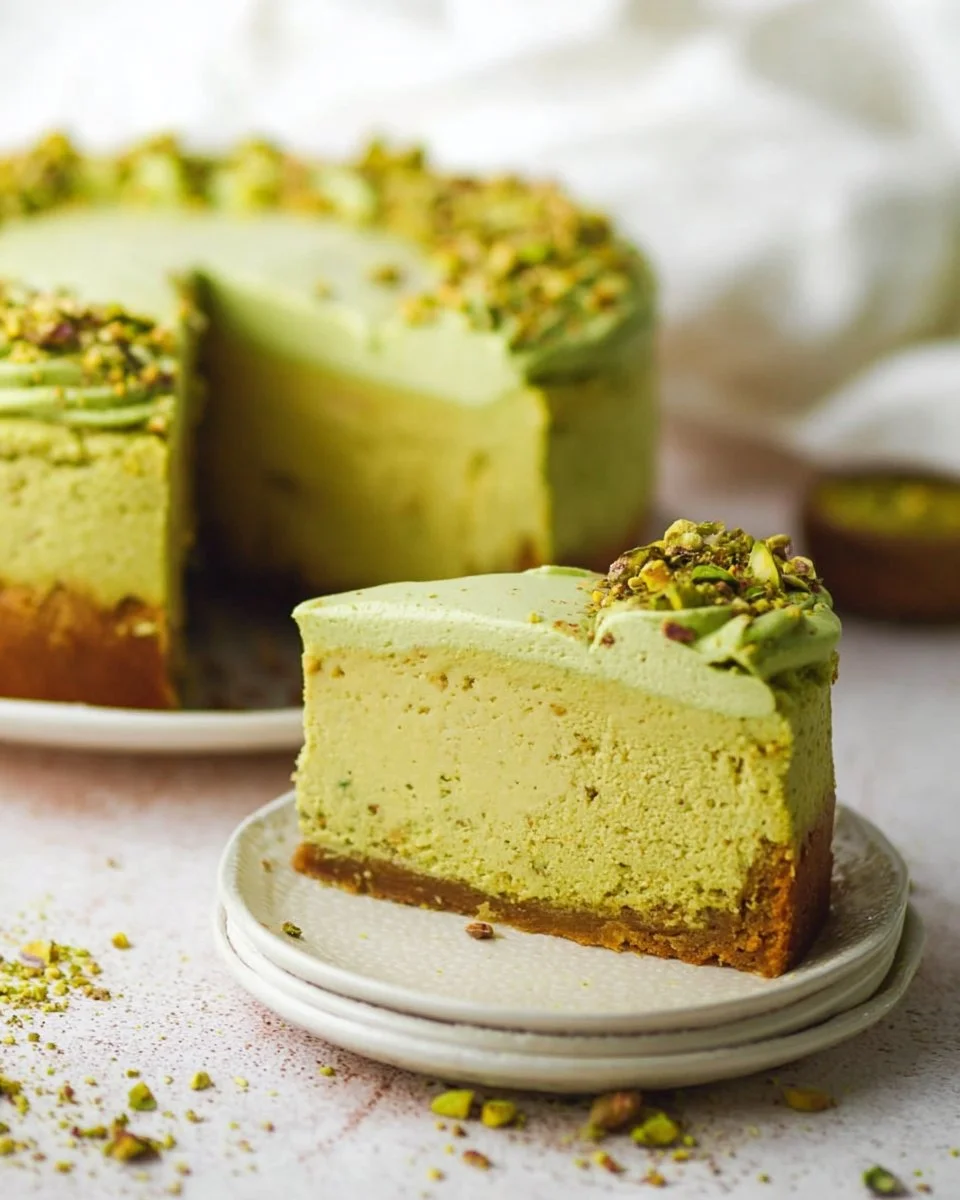
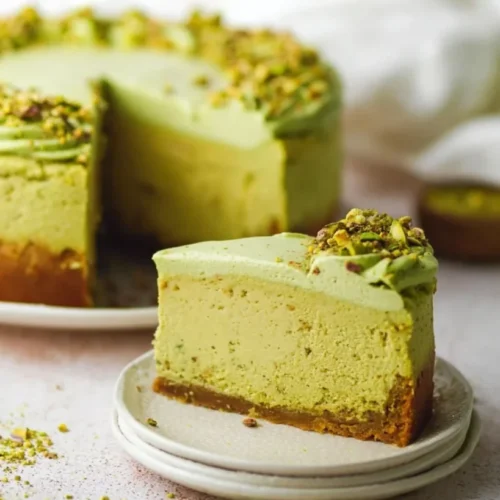
Indulging in dessert doesn’t have to mean sacrificing your health goals. This Pistachio Cheesecake is creamy and decadent yet perfectly aligned with your nutrition aspirations. The vibrant green hue of the pistachios makes this dessert not only a treat for your taste buds but also a feast for the eyes, making it a perfect centerpiece for any gathering. With a rich, velvety texture and a nutty undertone, this cheesecake promises to captivate your family, whether for a special occasion or a weekly meal prep. Imagine slicing into the cheesecake, the smooth filling contrasting with a subtly crunchy graham cracker crust. Every bite melts in your mouth, taking you to a place of bliss, all while being mindful of your dietary needs. This recipe is particularly beneficial for those on a weight loss journey, as it provides a satisfying dessert without the guilt. So, if you’re looking for a protein-packed, low-carb treat that’s also diabetic-friendly, you’re in the right place!
Why You’ll Love Pistachio Cheesecake (Creamy, Easy, and Cozy)
This Pistachio Cheesecake is creamy, indulgent, and surprisingly easy to make. It’s a perfect treat that aligns with your health goals while satisfying your sweet tooth.
Eating healthy doesn’t mean you need to compromise on flavor. This cheesecake is designed for those busy family evenings when you want something delightful yet nutritious. The key ingredient, pistachio, lends a rich flavor and health benefits, offering a dose of protein and healthy fats that make you feel good inside and out. Armed with this recipe, you can whip up a dessert that nourishes and satisfies. It’s comforting and perfect for meal prep; enjoy a slice after dinner or pack one for lunch the next day. This cheesecake manages to be indulgent without packing on the calories, making it an essential recipe for your healthy lifestyle.
- Rich in protein, perfect for weight loss
- Gluten-free option available
- Deliciously creamy and satisfying
- Great for meal prep
- Pistachios are heart-healthy
- Perfect balance of sweetness and nuttiness
- Suitable for diabetic-friendly diets
Ingredients for Pistachio Cheesecake
- Shelled Pistachios – adds rich flavor and creamy texture
- Graham Cracker Crumbs – provides a sweet, crunchy crust
- Sugar – balances the flavors for a delightful sweetness
- Unsalted Butter – binds the crust ingredients together
- Cream Cheese – creates the creamy filling texture
- Pistachio Paste – enhances the pistachio flavor
- All-Purpose Flour – aids in setting the cheesecake
- Sour Cream – adds richness and creaminess
- Vanilla Extract – provides a complementary sweet flavor
- Almond Extract – adds a unique nutty depth
- Eggs – combines everything to create a wonderfully rich filling
- White Chocolate Chips – brings a touch of sweetness and creamy mouthfeel
- Heavy Whipping Cream – used for a luscious topping
- Additional Pistachios – optional garnish for a beautiful finish
Ready to cook? See the recipe card for exact measurements below.
How to Make Pistachio Cheesecake
Phase 1 – Prep
- Preheat your oven to 325°F (163°C).
- Prepare a springform pan by greasing it lightly.
- Crush the graham cracker crumbs to a fine powder in a food processor.
- Combine the crushed crumbs, sugar, and melted butter in a bowl until it resembles wet sand.
- Press the crust mixture firmly into the bottom of the prepared pan.
- Bake the crust for about 10 minutes, or until lightly golden. Remove and let cool.
Phase 2 – Cook/Assemble
- In a mixing bowl, beat the cream cheese until smooth and creamy.
- Add in the sugar, pistachio paste, and flour, mixing until well combined.
- Incorporate the sour cream, vanilla extract, and almond extract, mixing until smooth.
- Add the eggs one at a time, mixing on low speed until each is fully incorporated.
- Fold in the white chocolate chips gently.
- Pour the cheesecake batter over the cooled crust and spread it evenly.
- Bake in the preheated oven for 55-60 minutes, or until the edges are set and the center is slightly jiggly.
Phase 3 – Serve
- Turn off the oven and crack the oven door, allowing the cheesecake to cool for about an hour.
- Transfer the cheesecake to the fridge and chill for at least 4 hours, preferably overnight.
- Before serving, whip the heavy cream until soft peaks form.
- Top the cheesecake with whipped cream and additional pistachios for garnish.
- Slice and serve chilled, sharing the joy with family and friends!
Pro Tips for the Best Results
- Use room-temperature cream cheese for a smooth batter without lumps.
- For a gluten-free version, substitute the graham cracker crumbs with almond flour or gluten-free cookie crumbs.
- To avoid cracks, bake your cheesecake in a water bath.
- Store any leftovers in an airtight container for up to 3 days in the fridge.
- For a lighter version, reduce the amount of sugar in the filling.
Common Mistakes to Avoid
One common mistake is overmixing the cheesecake batter, often leading to cracks on the top. This happens because incorporating too much air into the batter causes it to expand while baking and then collapse as it cools. Mix just until combined to keep it smooth.
Another mistake is not allowing the cheesecake to cool gradually in the oven. Rapid temperature changes can cause cracking. Always turn off the oven and let the cheesecake sit inside for at least an hour with the door ajar.
Lastly, make sure your ingredients are at room temperature. Using cold eggs or cream cheese can lead to a batter that doesn’t mix well, resulting in an uneven texture. Bring everything to room temperature before you start mixing.
Recipe Variations
- For a gluten-free cheesecake, use almond flour instead of graham crumbs.
- Add a pinch of cayenne pepper for a spicy kick.
- Incorporate fresh herbs like mint for a unique flavor twist.
- Try using an air fryer for a quicker version—check it regularly to avoid overcooking.
How to Serve Pistachio Cheesecake
- Best Pairings: Pair with fresh fruit or a berry coulis.
- Toppings: Whipped cream, crushed pistachios, or dark chocolate drizzle.
- Garnishes: Fresh mint leaves or edible flowers for a pop of color.
Make Ahead & Storage
Can I Meal Prep This?
Yes! This cheesecake is perfect for meal prep and can be made ahead of time.
Storing Leftovers
Store leftovers in the fridge in an airtight container for up to 3 days for the best quality.
Freezing
You can freeze this cheesecake for up to 3 months. Just wrap it tightly in plastic wrap, followed by aluminum foil. Thaw in the fridge before serving for optimal texture.
Reheating
For serving, enjoy it cold straight from the fridge, or warm individual slices in the microwave for about 15-20 seconds for a slightly different experience.
FAQs
Can I use a different nut other than pistachios? Yes, almonds or hazelnuts can work well, but expect a different flavor profile.
Is this cheesecake suitable for diabetics? With its low sugar content and healthy fats, it can be a good option, but always consult your doctor.
How do I prevent my cheesecake from cracking? Ensure even mixing, cool it gradually, and avoid overbaking.
What can I substitute for sour cream? Plain Greek yogurt is a great alternative that provides similar creaminess.
If you’re excited about creating this delightful Pistachio Cheesecake, remember that it’s not just a treat—it’s a step towards maintaining balanced nutrition goals. We’d love for you to try this recipe, and if you do, leave a comment or rate it so our community can gain more delicious ideas. Explore more recipes, like our high-protein cauliflower soup or meal-prep chicken meals, to keep your healthy lifestyle going strong!
Pistachio Cheesecake
Ingredients
For the crust
- 1 cup Graham Cracker Crumbs Provides a sweet, crunchy crust
- 1/4 cup Sugar Balances the flavors for a delightful sweetness
- 1/2 cup Unsalted Butter Binds the crust ingredients together, melted
For the filling
- 16 oz Cream Cheese Creates the creamy filling texture, room temperature
- 3/4 cup Sugar For the filling sweetness
- 1/2 cup Pistachio Paste Enhances the pistachio flavor
- 1/4 cup All-Purpose Flour Aids in setting the cheesecake
- 1 cup Sour Cream Adds richness and creaminess
- 1 tsp Vanilla Extract Provides a complementary sweet flavor
- 1 tsp Almond Extract Adds a unique nutty depth
- 3 large Eggs Combines everything to create a wonderfully rich filling
- 1/2 cup White Chocolate Chips Brings a touch of sweetness and creamy mouthfeel
- 1 cup Heavy Whipping Cream Used for a luscious topping
- 1/4 cup Additional Pistachios Optional garnish for a beautiful finish
Instructions
Preparation
- Preheat your oven to 325°F (163°C).
- Prepare a springform pan by greasing it lightly.
- Crush the graham cracker crumbs to a fine powder in a food processor.
- Combine the crushed crumbs, sugar, and melted butter in a bowl until it resembles wet sand.
- Press the crust mixture firmly into the bottom of the prepared pan.
- Bake the crust for about 10 minutes, or until lightly golden. Remove and let cool.
Cooking
- In a mixing bowl, beat the cream cheese until smooth and creamy.
- Add in the sugar, pistachio paste, and flour, mixing until well combined.
- Incorporate the sour cream, vanilla extract, and almond extract, mixing until smooth.
- Add the eggs one at a time, mixing on low speed until each is fully incorporated.
- Fold in the white chocolate chips gently.
- Pour the cheesecake batter over the cooled crust and spread it evenly.
- Bake in the preheated oven for 55-60 minutes, or until the edges are set and the center is slightly jiggly.
Serving
- Turn off the oven and crack the oven door, allowing the cheesecake to cool for about an hour.
- Transfer the cheesecake to the fridge and chill for at least 4 hours, preferably overnight.
- Before serving, whip the heavy cream until soft peaks form.
- Top the cheesecake with whipped cream and additional pistachios for garnish.
- Slice and serve chilled, sharing the joy with family and friends!