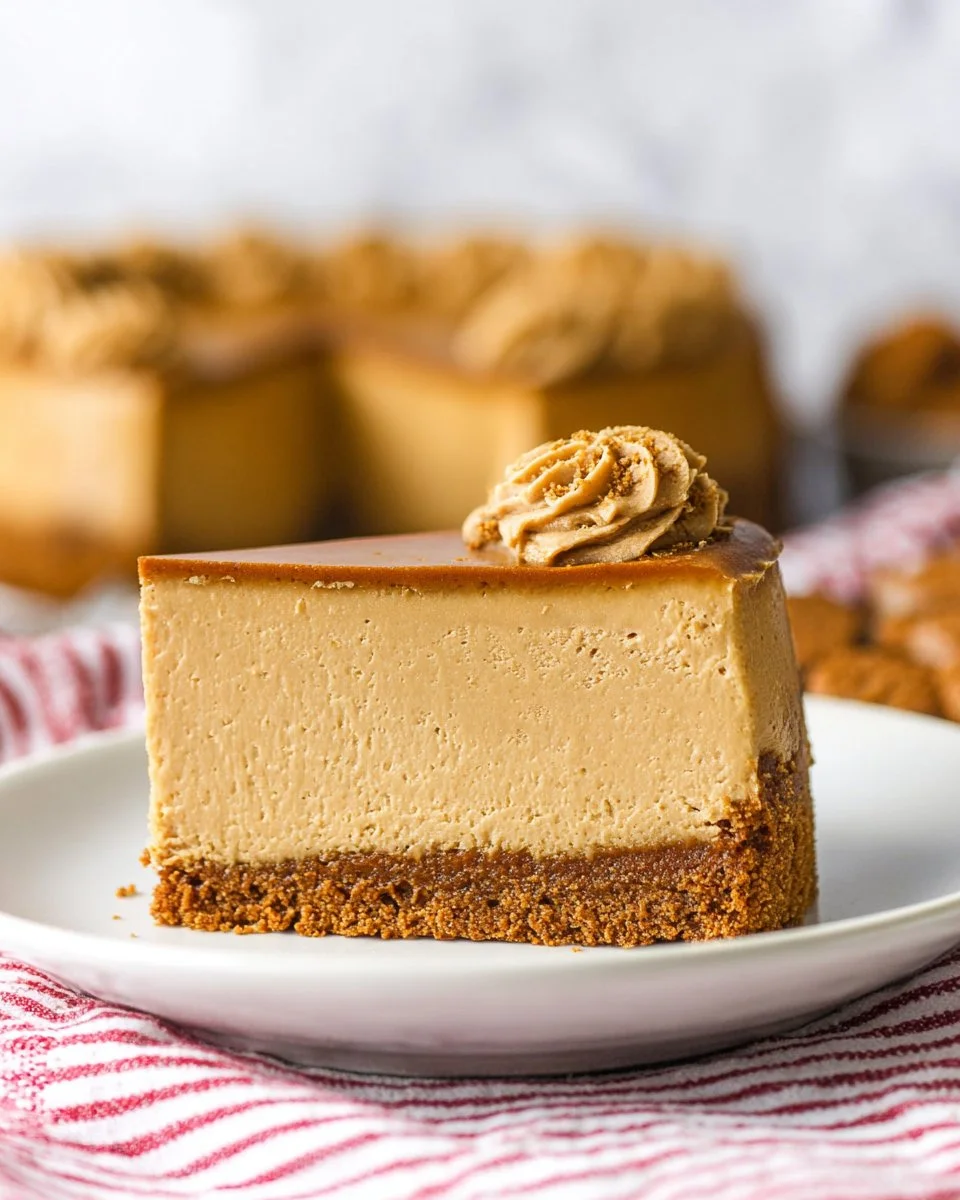
If you’re searching for a dessert that’s both indulgent and health-conscious, look no further than this Biscoff Cheesecake. Picture a creamy cake that melts in your mouth, with a rich flavor and a slightly spiced aroma that makes it perfect for any occasion. This dessert balances the deliciousness of Biscoff cookie spread and the comforting texture of cheesecake, creating a harmony of flavor that’s truly irresistible. Plus, it’s designed for busy families and meal-prep planners who crave something special without the guilt. With high protein content, this Biscoff Cheesecake serves a dual purpose: it’s a delightful treat and a smart choice for your nutrition goals. Whether you’re enjoying it after a long week or preparing it for a family gathering, you’ll find that it checks all the boxes for satisfying those sweet cravings in a healthy way.
Imagine serving this to your family or friends, not just as a dessert but as a centerpiece that pulls everyone’s attention. The worry about processed sugars is put to rest, knowing that this recipe curates your health alongside your cravings. As you delve into the smooth layers of our cheesecake, each bite offers a wonderful escape into flavor town. Let’s dive in and learn why this Biscoff Cheesecake is going to be your new favorite!
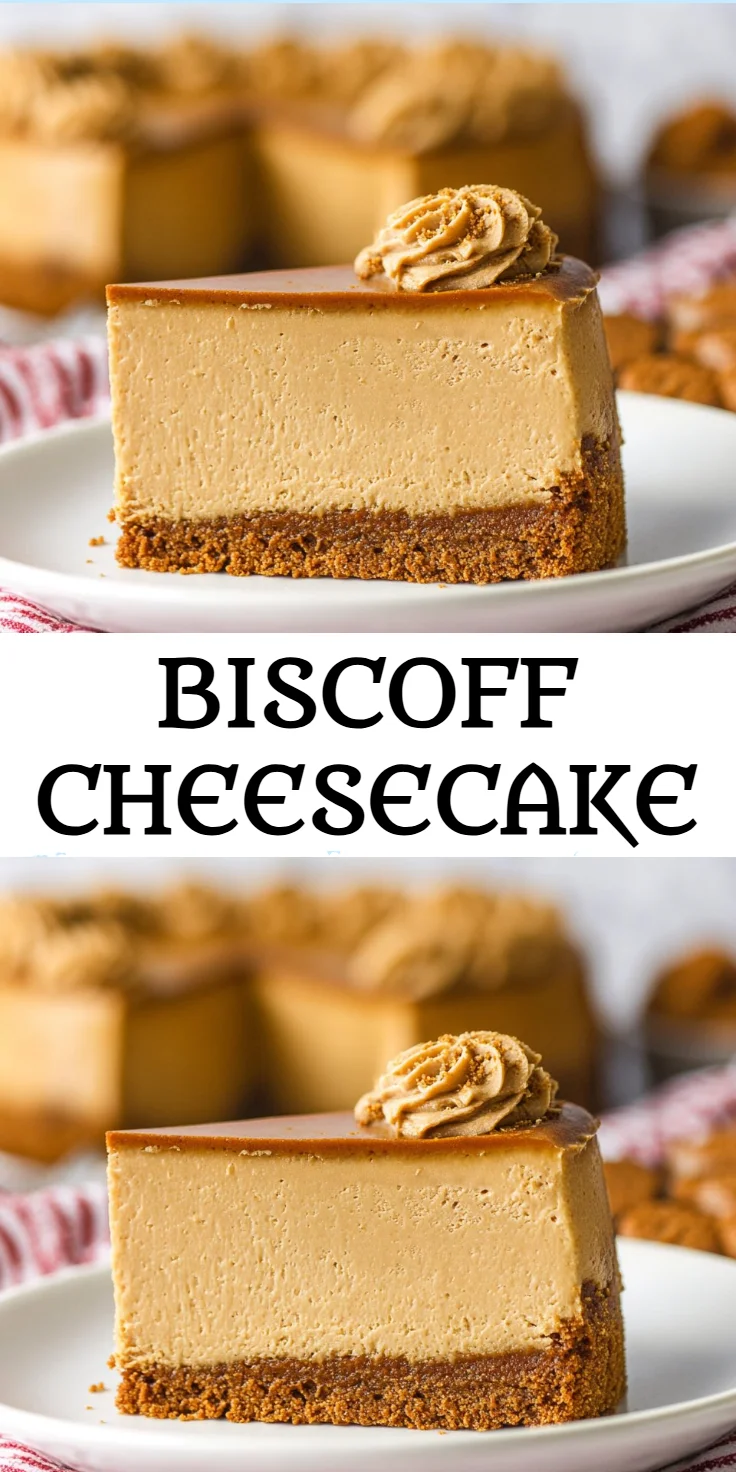
Why You’ll Love Biscoff Cheesecake (Creamy, Easy, and Cozy)
Biscoff Cheesecake is a delectable dessert that combines creamy, rich flavors with the comforting spices of Biscoff cookies, making it a must-try for health-conscious families.
Imagine presenting a beautiful cheesecake at your next family gathering while knowing you’ve made a healthy choice. The creamy richness of this cheesecake is balanced with several advantages: it’s perfect for meal prep, satisfying, and best of all, fits well within various dietary needs. Plus, you won’t have to worry about processed sugars because this recipe incorporates protein-packed ingredients that keep both you and your family feeling full and satisfied without excess calories. This cheesecake stands out not only for its flavor but also for its versatility, making it suitable for different occasions, whether it’s a cozy night in or a holiday celebration. Here are some benefits you’ll appreciate:
- High protein content meets macro-balanced needs.
- Perfect for meal prep, making your busy weeks easier.
- Creamy texture that melts delightfully in your mouth.
- Easy to whip up using pantry-friendly ingredients.
- Dietary-friendly approach caters to various health goals.
- Delicious and satisfying without feeling heavy.
Ingredients for Biscoff Cheesecake
- Biscoff cookie crumbs – provides the base with an irresistible flavor.
- Light brown sugar – adds a hint of caramel sweetness.
- Unsalted butter – binds the crust for a rich texture.
- Cream cheese – creates the creamy and smooth filling.
- Biscoff cookie spread – elevates the cheesecake with spiced flavor.
- All-purpose flour – helps stabilize the cheesecake.
- Sour cream – adds creaminess and a slight tang.
- Vanilla extract – enhances the overall flavor profile.
- Eggs – ensures the cheesecake sets perfectly.
Ready to cook? See the recipe card for exact measurements below.
How to Make Biscoff Cheesecake
Phase 1 – Prep
- Preheat your oven to 325°F (160°C).
- Prepare a 9-inch springform pan by greasing the sides with a small amount of melted butter.
- In a bowl, combine Biscoff cookie crumbs, light brown sugar, and melted butter. Stir until fully mixed.
- Press this mixture firmly into the bottom of the prepared springform pan to form a crust.
- Place the pan in the refrigerator while you prepare the filling, allowing the crust to set.
Phase 2 – Cook/Assemble
- In a large mixing bowl, combine cream cheese and Biscoff cookie spread, mixing at medium speed until creamy and smooth.
- Add in the light brown sugar, flour, sour cream, and vanilla extract; mix until combined.
- Incorporate the eggs one at a time, mixing on low after each addition until just blended — avoid overmixing.
- Pour the cheesecake filling into the prepared crust, smoothing the top.
- Bake in the preheated oven for 45-50 minutes until the outer edges are set but the center is slightly jiggly.
Phase 3 – Serve
- Once baked, turn off the oven and let the cheesecake cool inside for one hour.
- Remove from the oven and allow it to chill in the refrigerator for at least four hours or overnight for the best results.
- When ready to serve, gently remove the sides of the springform pan, slice, and serve immediately.
Pro Tips for the Best Results
- Make sure cream cheese is at room temperature for smoother mixing.
- Replace the all-purpose flour with almond flour for a gluten-free option.
- Monitor your baking time closely to avoid overcooking the cheesecake.
- Cool the cheesecake with the oven door ajar to prevent cracking.
- Store leftovers in an airtight container to maintain freshness.
Common Mistakes to Avoid
One common mistake is overmixing the eggs, which can lead to a dense cheesecake. It’s crucial to mix just until combined after adding each egg. Overmixing introduces too much air, making it rise unevenly and crack during baking. Remember, creamy and smooth is the goal!
Another pitfall is not using room-temperature ingredients. Cream cheese that’s too cold can create lumps in the filling, leading to a lumpy texture rather than the desired smooth finish. To counter this, plan ahead and allow your ingredients to warm to room temperature before mixing.
A frequent storage mistake is placing the cheesecake directly in the refrigerator without allowing it to cool first. Letting it cool at room temperature for about an hour after baking helps prevent moisture buildup, which could compromise its texture. Always store it in an airtight container for lasting freshness.
Recipe Variations
- Gluten-free – Substitute the cookie crumbs with gluten-free alternatives.
- Dairy-free – Use vegan cream cheese and yogurt for a dairy-free version.
- Spicy – Add a pinch of cinnamon or nutmeg to the filling for a warm flavor twist.
- Air fryer – Cook the cheesecake at 300°F (150°C) for about 35-40 minutes.
How to Serve Biscoff Cheesecake
- Best Pairings: Pair with fresh berries or a dollop of whipped cream for an added touch.
- Toppings: Drizzle extra Biscoff cookie spread or chocolate sauce on top.
- Garnishes: Sprinkle with crushed Biscoff cookies for textural contrast.
Make Ahead & Storage
Can I Meal Prep This?
Yes! This cheesecake is perfect for meal prep and can be made a day ahead of time for convenience.
Storing Leftovers
Store leftovers in the refrigerator for up to 5 days in an airtight container to keep the cheesecake fresh.
Freezing
You can freeze any leftovers for up to 2 months. Wrap slices tightly in plastic wrap to preserve texture.
Reheating
For optimal texture, let the cheesecake thaw overnight in the refrigerator before enjoying. If desired, reheat individual slices in the microwave for 15-20 seconds.

FAQs
Can I make this cheesecake without eggs? You can use egg substitutes like applesauce or flaxseed meal, but the texture may vary.
How can I get a smoother cheesecake? Ensure all ingredients are at room temperature before mixing to achieve the creamiest texture.
What’s the ideal baking temperature for cheesecake? Bake at 325°F (160°C) for the best balance of cooking and gentle setting.
Can I use other cookie spreads? Yes, any cookie butter or creamy nut spread can be a fun twist on this recipe!
Indulging in this Biscoff Cheesecake not only satisfies your sweet tooth but also aligns with your health goals, presenting a delightful blend of flavor and nutrition. I encourage you to give this recipe a try, and don’t forget to rate and comment on your experience! Explore our healthy desserts category or check out our high-protein pumpkin bread for more delicious options that fit your lifestyle.

Biscoff Cheesecake
Ingredients
For the crust
- 1 cup Biscoff cookie crumbs Provides the base with an irresistible flavor.
- 2 tbsp light brown sugar Adds a hint of caramel sweetness.
- 4 tbsp unsalted butter, melted Binds the crust for a rich texture.
For the filling
- 16 oz cream cheese Creates the creamy and smooth filling.
- 1/2 cup Biscoff cookie spread Elevates the cheesecake with spiced flavor.
- 2 tbsp all-purpose flour Helps stabilize the cheesecake.
- 1/2 cup sour cream Adds creaminess and a slight tang.
- 1 tsp vanilla extract Enhances the overall flavor profile.
- 3 large eggs Ensures the cheesecake sets perfectly.
Instructions
Preparation
- Preheat your oven to 325°F (160°C).
- Prepare a 9-inch springform pan by greasing the sides with a small amount of melted butter.
- In a bowl, combine Biscoff cookie crumbs, light brown sugar, and melted butter. Stir until fully mixed.
- Press this mixture firmly into the bottom of the prepared springform pan to form a crust.
- Place the pan in the refrigerator while you prepare the filling, allowing the crust to set.
Cooking
- In a large mixing bowl, combine cream cheese and Biscoff cookie spread, mixing at medium speed until creamy and smooth.
- Add in the light brown sugar, flour, sour cream, and vanilla extract; mix until combined.
- Incorporate the eggs one at a time, mixing on low after each addition until just blended — avoid overmixing.
- Pour the cheesecake filling into the prepared crust, smoothing the top.
- Bake in the preheated oven for 45-50 minutes until the outer edges are set but the center is slightly jiggly.
Serving
- Once baked, turn off the oven and let the cheesecake cool inside for one hour.
- Remove from the oven and allow it to chill in the refrigerator for at least four hours or overnight for the best results.
- When ready to serve, gently remove the sides of the springform pan, slice, and serve immediately.