
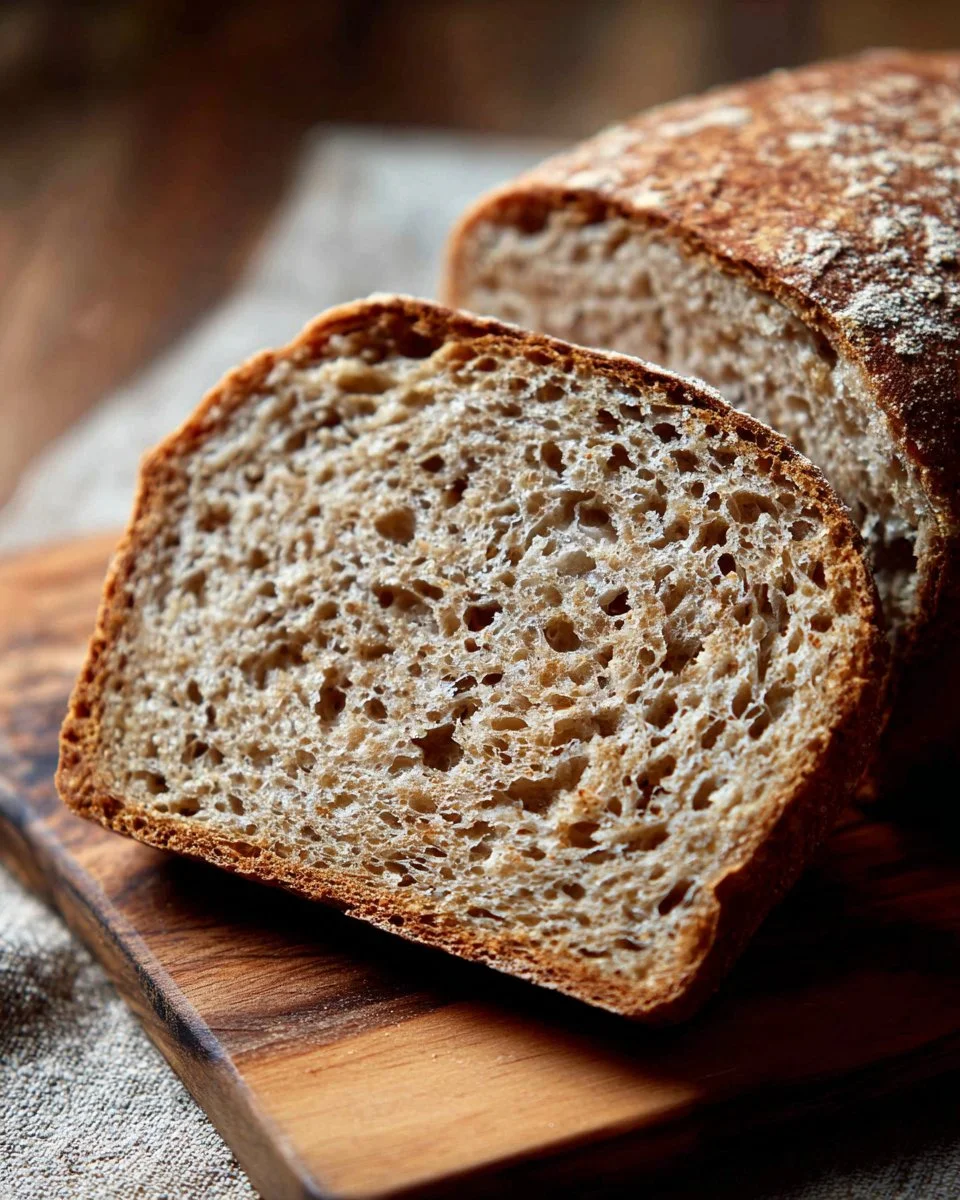
Imagine pulling a freshly baked loaf of rye bread from the oven, the warm aroma enveloping your kitchen and inviting everyone in. This comforting bread is not only a staple in many households but also a delightful experience for your taste buds. Its rich, earthy flavors and slightly nutty undertones create the perfect canvas for an array of toppings, from creamy spreads to savory meats. The texture of homemade rye bread is wonderfully hearty, with a crisp crust that gives way to a soft, chewy interior. Each slice is a testament to the love and care you put into making it, transforming an ordinary meal into something extraordinary. Whether savored on its own, toasted for breakfast, or used to create healthy sandwiches, homemade rye bread is bound to become a favorite in your recipe repertoire.
Why You’ll Love This Recipe
This homemade rye bread is not just about flavor; it’s about the experience of creating something wholesome and satisfying. The blend of bread flour and rye flour brings an irresistible density to the loaf, making it filling and nutritious. You’ll adore how simple ingredients come together to produce a comforting staple that fits perfectly into a variety of meals. It’s a fantastic option for quick family meals and healthy meal prep, elevating any dish it accompanies. Plus, the added caraway seeds provide that traditional taste that many people love. Homemade bread always surpasses store-bought options, offering the joy of unprocessed, freshly baked goodness. Your kitchen will smell enticing, and your family will relish the healthy benefits of fresh ingredients.
What Makes This Recipe Special
This rye bread recipe stands out for its simplicity and the wholesome ingredients it employs. With just a few pantry essentials and a little bit of patience, you can create a loaf that’s far superior to anything you’ll find in a store. The use of honey or maple syrup lends a subtle sweetness that balances the earthy flavors of the rye and provides moisture, making your bread perfectly tender. What makes this recipe even more enjoyable is the proofing process, where the dough rises to create that delightful airy texture. The quick prep time and relatively short baking duration allow you to easily fit baking into your busy lifestyle. Each slice not only nourishes but also offers comfort—perfect for any meal or as a standalone snack.
Ingredients
bread or all-purpose flour: Creates the structure for the loaf, providing essential gluten for rise.
rye flour: Adds depth of flavor and a hearty texture, characteristic of traditional rye bread.
kosher salt: Enhances flavor and helps control yeast activity.
instant yeast: A fast-acting leavening agent that helps the dough rise quickly.
caraway seeds: Optional spice that adds a distinct, aromatic flavor to the bread.
lukewarm water: Activates the yeast and hydrates the dough for the perfect texture.
honey or maple syrup: Natural sweetener that adds flavor and moisture.
extra-virgin olive oil: Adds richness and helps keep the bread tender.
softened unsalted butter: For greasing the loaf pan to prevent sticking.
How to Make How to Make Homemade Rye Bread
STEP 1. Mix the dry ingredients. In a large bowl, whisk together the bread flour, rye flour, salt, instant yeast, and caraway seeds if using.
STEP 2. Combine wet ingredients. In a medium bowl, whisk the lukewarm water and honey until the honey is fully dissolved.
STEP 3. Create the dough. Pour the water mixture into the flour mixture, then add 1 tablespoon of the olive oil. Use a rubber spatula to mix until a sticky dough forms.
STEP 4. Let the dough rise. Cover the bowl with a damp tea towel or plastic wrap and set it aside in a warm spot to rise for 2 to 3 hours, until doubled in volume.
STEP 5. Preheat the oven. Set your oven to 375ºF and grease a loaf pan generously with softened butter.
STEP 6. Prepare the dough for the pan. Once the dough has doubled, drizzle the remaining tablespoon of olive oil over the top and coat it with your hands.
STEP 7. Shape the dough. Carefully release the dough from the bowl, flip it over so the oiled side is down, and roll it into a coil or loaf shape. Transfer to the prepared pan seam side down.
STEP 8. Final rise. Let the dough rise on the countertop for 45 minutes to 1 hour until it domes above the rim of the pan by about one inch.
STEP 9. Bake the bread. Transfer the pan into the preheated oven and bake for 45 minutes or until golden brown on top.
STEP 10. Cool the loaf. Remove the pan from the oven and turn the loaf onto a cooling rack. Let it cool for at least 30 minutes before slicing.
Pro Tips
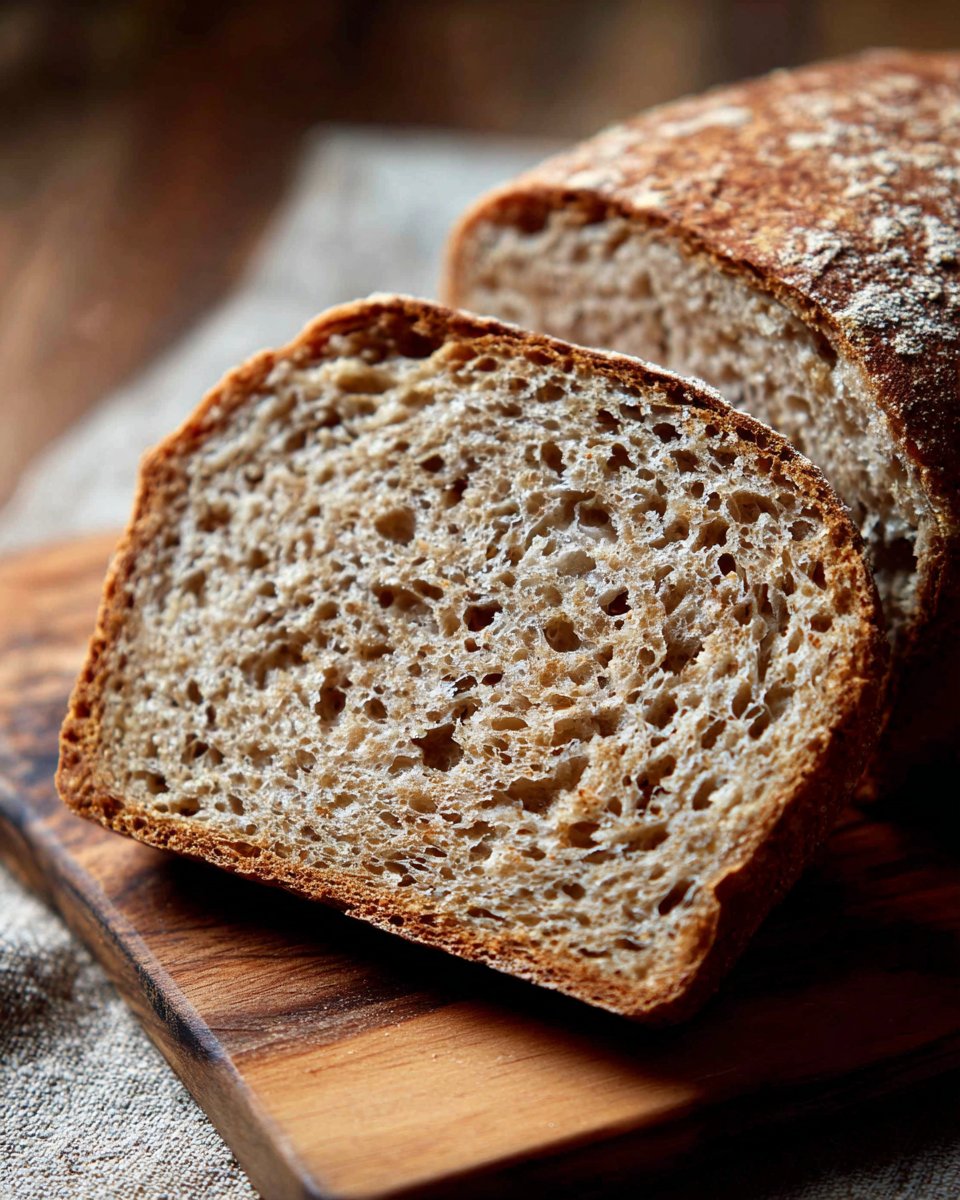
To ensure your rye bread turns out perfectly every time, consider these handy tips. Use a kitchen scale for more precision when measuring ingredients, especially when working with different types of flour. If you want a lighter texture, aim to mix bread flour with rye flour in a 70/30 ratio. Always allow the dough to rise in a warm, draft-free area; this improves yeast activation and ensures a good rise. If your kitchen is cool, you might use your oven (turned off) as a warm spot. For a more robust flavor, consider toasting the caraway seeds before adding them to the mixture. Lastly, let the bread cool completely before slicing to avoid gummy slices and to maintain the perfect crumb structure.
Common Mistakes to Avoid
When making rye bread, a few common pitfalls can lead to disappointing results. One mistake is not allowing enough time for rising; inadequate proofing will lead to denser bread. Ensure you’re using fresh yeast—expired yeast won’t activate properly. Additionally, over-handling the dough can also lead to a tough texture; mix just until combined. Using the wrong flour type can affect the flavor and structure; rye flour should complement bread flour, not overwhelm it. Lastly, avoid skipping the cooling stage after baking; slicing too early can compress the bread and ruin its texture.
Variations
• Add seeds like sunflower or pumpkin for additional texture and flavor.
• Incorporate dried herbs such as thyme or rosemary for a fragrant twist.
• Use malt syrup instead of honey for a deeper color and flavor.
• Experiment with whole grain or spelt flour mixed with rye for added nutrition.
Serving Ideas
Homemade rye bread pairs beautifully with various accompaniments. For breakfast, top with creamy avocado and a sprinkle of salt and pepper. At lunch, use slices for hearty sandwiches filled with turkey, cheese, and crisp lettuce. Serve alongside a steaming bowl of soup or chili for a comforting dinner. You can also enjoy it as a base for bruschetta topped with tomatoes and basil for a delightful appetizer. Rye bread can also be made into amazing croutons for salad or enjoyed simply with butter and jam as a satisfying snack.
Meal Prep & Storage
This homemade rye bread is perfect for meal prep, as it stores well for later use. Once cooled, wrap the bread tightly in plastic wrap or aluminum foil to keep it fresh. Store it at room temperature for up to three days, or for extended storage, freeze slices in a resealable plastic bag for up to three months. To thaw, simply leave the slices out at room temperature or toast them directly from the freezer for a quick treat. For easy snacks, slice the bread beforehand, so it’s ready to grab whenever you need a nourishing bite.
FAQs
Can I use whole rye flour instead of a blend?
Yes, using whole rye flour will result in a denser loaf, but it can enhance flavor and nutrition.
What do I do if the dough isn’t rising?
Ensure your yeast is fresh and active. If the environment is too cold, try placing the bowl in a warmer spot or the oven (turned off) with the light on.
Can I add additional flavorings?
Absolutely! Experiment with spices, seeds, or even nuts for a unique bread tailored to your taste.
How can I tell when the bread is done baking?
The loaf should be golden brown on top and sound hollow when tapped. An internal thermometer reading of about 190°F indicates it’s fully baked.
Is this bread suitable for sandwiches?
Yes! Its hearty texture makes it ideal for sandwiches, particularly with robust fillings.
Conclusion
Crafting your own loaf of rye bread is a rewarding endeavor that not only fills your home with delightful aromas but also adds a nutritious, homemade touch to your meals. The combination of flavors and textures makes it a truly versatile addition to your kitchen repertoire. Embrace the joy of baking and experience the comfort of homemade rye bread.