
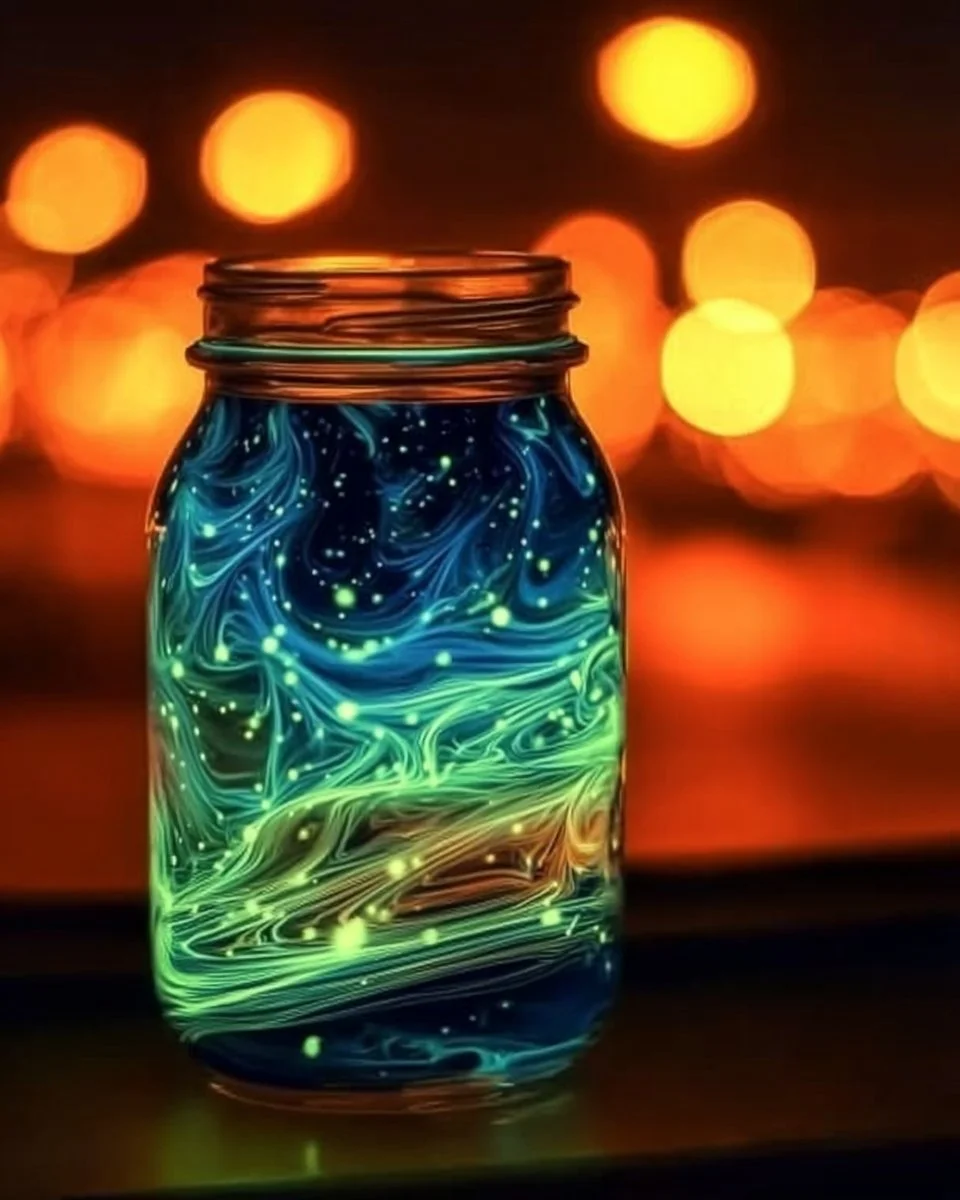
Unleashing creativity can be such an exciting endeavor, especially when it involves fun and science! Imagine a night sky filled with vibrant colors and sparkling lights, all contained within a charming jar. This delightful craft project combines art and science to create mesmerizing glow-in-the-dark fireworks that will captivate both children and adults alike. Not only is it a fantastic way to introduce kids to basic scientific principles, but it also provides an opportunity for hands-on learning and imaginative play.
This DIY project creates an enchanting display that glows brightly when the lights go out, making it a perfect addition to sleepovers, family game nights, or simply an evening of creative exploration. The use of safe materials ensures that even the littlest crafters can enjoy the experience without worry. As the colors swirl and glow, children will marvel at their own creations, fostering a sense of accomplishment and joy. Whether you’re looking for fun crafts for kids or a captivating science experiment, this project is sure to become a favorite.
Why You’ll Love This Recipe
There’s so much to love about this engaging project! First and foremost, it combines the excitement of crafting with a sprinkle of science, making learning enjoyable and memorable. Kids often find experiments boring, but when they see their creations light up in the dark, they’re inspired to explore more. Crafting together also fosters essential bonding time among family and friends, creating joyous memories that lasts a lifetime.
Moreover, this project is incredibly simple to execute, requiring minimal materials and time, which is perfect for busy families. It appeals to a wide range of ages, ensuring that little ones can team up with older siblings or adults. Lastly, it’s a visually stunning piece of decor that can brighten up any room, bringing a touch of whimsy and magic into your home.
What Makes This Recipe Special
What sets this craft apart is its seamless integration of science and creativity. By mixing colors and observing reactions, children gain firsthand experience with fundamental concepts, such as mixing, density, and luminescence. You’re not just making a craft; you’re creating an environment ripe for discovery and inquiry!
Furthermore, the materials used in this project are safe, affordable, and easy to find, which makes it an accessible experience for everyone. It encourages a mess-free environment where kids can freely express their artistic flair. As the jar glows, each child’s unique creativity is showcased, reflecting their personal style and imagination. It’s a splendid way to promote self-expression while engaging in a fun DIY activity.
Ingredients
water: Acts as the base for the mixture, creating a medium for colors to dissolve and illuminate.
clear jars: Serves as the container for your colorful explosions, allowing light to shine through beautifully.
glow-in-the-dark paint: Provides the magical glowing effect, making the fireworks visible even in dark settings.
food coloring: Adds striking colors to your fireworks, enhancing the visual appeal of the final product.
glitter: Introduces a sparkling touch, mimicking the sparkle of real fireworks when the lights are off.
plastic spoons: Useful for mixing ingredients without creating a mess.
water-soluble glitter glue: Helps combine and adhere colors together, giving a cohesive look.
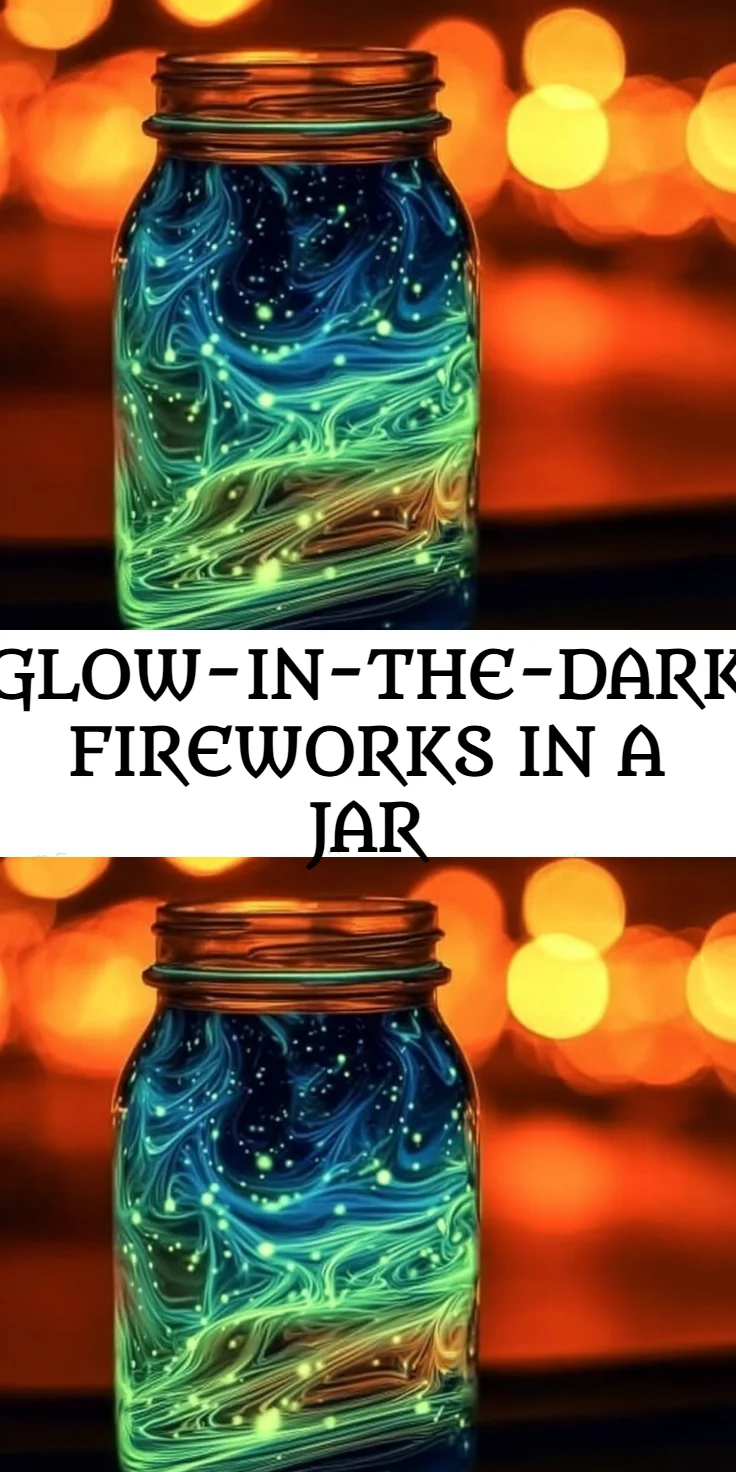
How to Make GLOW-IN-THE-DARK Fireworks in a Jar – Fun Crafts for Kids & DIY Science
STEP 1. Prepare the jars. Ensure that the clear jars are clean and dry before beginning the project.
STEP 2. Mix the glow-in-the-dark paint. In a separate container, combine the glow-in-the-dark paint with water to create a vibrant luminescent mixture.
STEP 3. Add food coloring. Stir in your choice of food coloring to the paint mixture to achieve your desired colors, mixing well.
STEP 4. Layer the glitter. Pour a layer of glitter into the bottom of each jar, choosing colors that complement your paint mixture.
STEP 5. Fill the jars. Slowly layer the luminescent paint mixture into the jars, allowing it to settle and create beautiful swirls.
STEP 6. Seal the jars. Once filled, secure the tops or lids on the jars to prevent spilling, ensuring they’re tightly closed.
STEP 7. Charge the glow-in-the-dark paint. Place the jars in a light source for several hours to activate the glow-in-the-dark feature before dimming the lights.
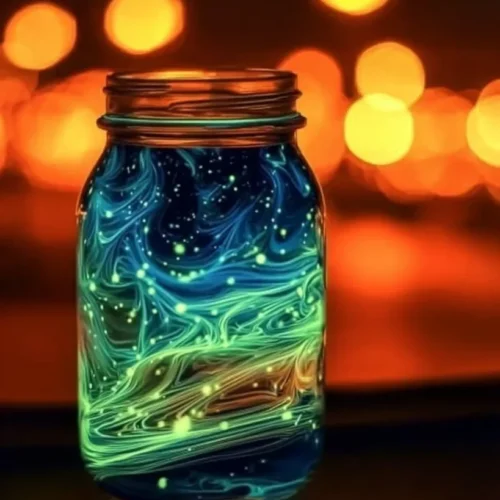
STEP 8. Enjoy the display. Turn off the lights to admire your glowing fireworks in the jar, watching as they spark and shimmer.
Pro Tips
To make your glow-in-the-dark fireworks even more magical, consider experimenting with different colors and layering techniques. Mixing various shades of food coloring can yield unique effects that enhance the visual appeal. If you want to add an extra dimension, try adding sequins or different types of glitters for varied textures. Be sure to shake the jars gently before displaying them to create a more dynamic look.
For additional fun, set up a glow-in-the-dark scavenger hunt using your jars as markers. Position them around your home or yard, illuminating pathways and creating a festive atmosphere. If you have a variety of jars, encourage everyone to make different designs, leading to a fun crafting competition. Lastly, don’t forget to take pictures to capture the joyful moments spent creating together!
Common Mistakes to Avoid
One common mistake is adding too much water or paint, which can lessen the glowing effect. Aim for a balance that allows the glow to shine through without making the mixture too diluted. Another pitfall is not sealing the jars properly; ensure they’re tightly closed to prevent spills during the swirling process.
Many also rush the charging process—allowing sufficient light exposure is vital for maximizing glow power. Failing to mix the paint thoroughly can lead to uneven colors, so be diligent about stirring each layer properly. Lastly, don’t skip the glitter; it adds an essential element of sparkle that enhances the overall appearance and adds to the “fireworks” theme.
Variations
• Use neon colors for a vibrant glow.
• Substitute glitter with different textured items, like sequins.
• Experiment with different types of jars or containers.
• Combine glow paint colors for a multi-dimensional effect.
• Add essential oils for a sensory experience.
Serving Ideas
These unique glow-in-the-dark jars can double as captivating decor for sleepovers, birthday parties, or family gatherings. Place them in strategic locations around your space to create an enchanting ambiance. They also make excellent educational tools; use them to illustrate concepts of light and color during science projects or arts and crafts sessions. As a fun twist, consider incorporating them into nighttime picnics, where they serve as eye-catching focal points while providing ambient light.
Meal Prep & Storage
Once finished, these jars can be stored and reused for multiple nights, as the glow-in-the-dark paint will continue to recharge with light exposure. However, avoid direct sunlight for extended periods, as this may fade the colors over time. If the jars aren’t sealed properly, you can refresh the contents or add new layers of paint or glitter to revitalize the look. For longer-lasting enjoyment, keep them in a cool, dry place when not in use, ensuring they remain in perfect condition for your next creative adventure.
FAQs
How long will the jars glow?
The duration of the glow depends on the intensity of the light exposure before darkness falls. Typically, they can glow for several hours, slowly fading over time.
Can you use other containers instead of jars?
Absolutely! Any clear container can work, but the shapes and sizes will affect the final look. Experiment with different types for fun variations.
Is the glow-in-the-dark paint safe for children?
Yes, most craft-grade glow-in-the-dark paints are non-toxic and safe for use with children; however, always check the labels to ensure safety.
Can you add more layers to the jar later?
Yes, you can open the jars and add more layers of paint and glitter whenever you like to refresh their appearance or customize them further.
Can these jars be used outdoors?
While they can be used outdoors, it’s best to keep them in shaded areas to preserve the glow. Direct sunlight could diminish the vibrancy of the colors.
Conclusion
Engaging in the delightful adventure of creating glow-in-the-dark fireworks in a jar can bring laughter, learning, and creativity right into your home. This project is not just a craft; it’s a beautiful way to explore science while making magical memories with your loved ones. As the vibrant colors shine beautifully in the dark, they remind you of the joy found in both artistry and science, illuminating hearts and imaginations alike.
Glow-in-the-Dark Fireworks in a Jar
Ingredients
Base and Container
- 1 cup water Acts as the base for the mixture.
- 2 clear jars clear jars Container for the colorful explosions.
Glow and Color
- 1 bottle glow-in-the-dark paint Provides the magical glowing effect.
- to taste drops food coloring Adds striking colors to your fireworks.
- 1 cup glitter Introduces a sparkling touch.
Mixing Tools
- 2 pieces plastic spoons Useful for mixing ingredients.
- 1 tube water-soluble glitter glue Helps combine and adhere colors together.
Instructions
Preparation
- Ensure the clear jars are clean and dry before starting.
Mixing Colors
- In a separate container, combine the glow-in-the-dark paint with water.
- Add food coloring to the paint mixture to achieve desired colors.
Layering
- Pour a layer of glitter into the bottom of each jar.
- Layer the luminescent paint mixture into the jars.
Sealing
- Secure the tops or lids on the jars tightly.
Charging
- Place jars in light source for several hours to activate glow.
Enjoy
- Turn off the lights to admire your creations.