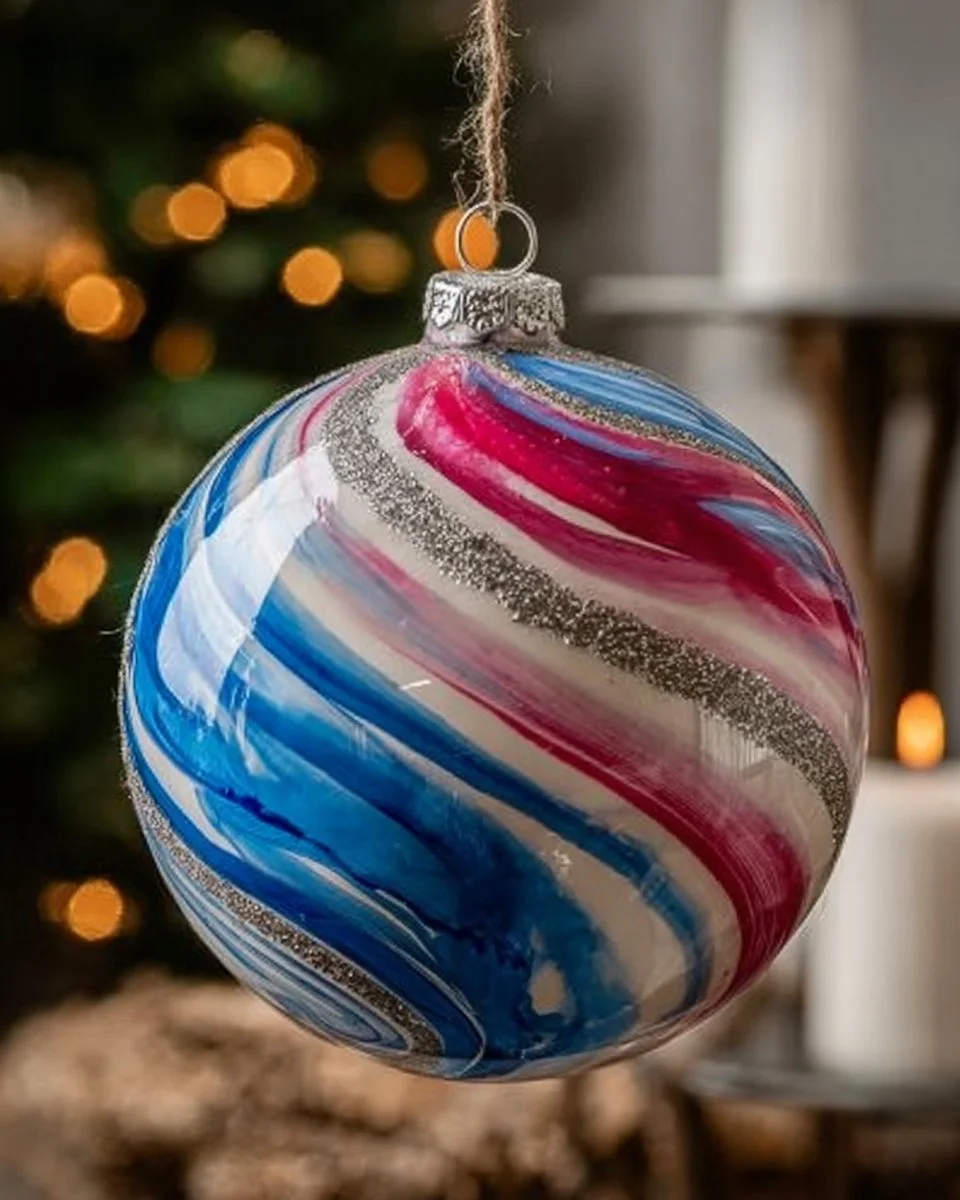
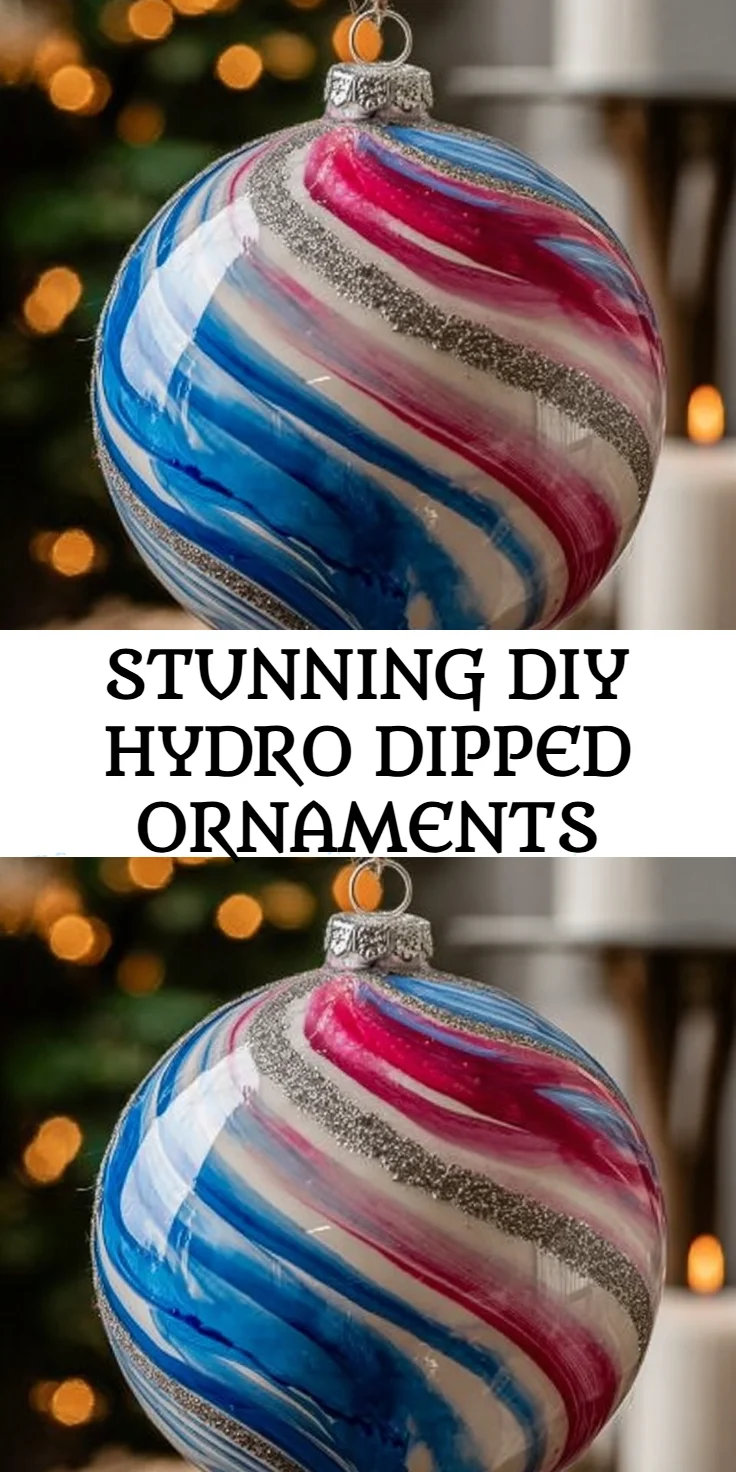
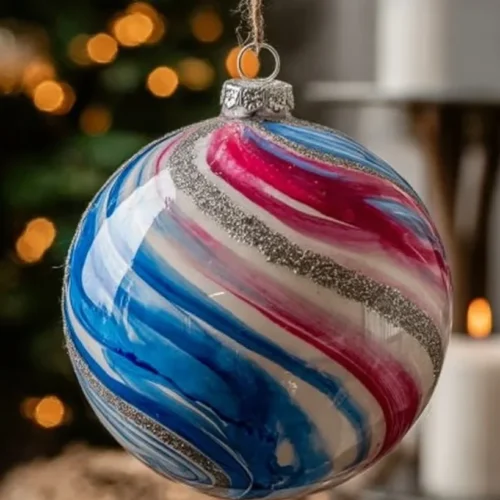
As the holiday season approaches, bringing cheer into your home can be as simple as creating stunning DIY hydro dipped ornaments. These delightful decorations not only look beautiful hanging from your Christmas tree but also add a personal touch that embodies the spirit of the season. The mesmerizing colors and unique patterns formed during the hydro dipping process are sure to impress your family and guests, making your holiday festivities even more magical. Whether you’re decorating your home or creating special gifts, this fun and engaging craft is perfect for busy families looking for a creative outlet. Plus, it offers a wonderful opportunity to gather with your loved ones and cultivate lasting memories while expressing your artistic side.
Why You’ll Love Create Stunning DIY Hydro Dipped Ornaments for a Personal Touch This Holiday
With stunning visuals and a creating process that is engaging for all ages, hydro dipped ornaments are a holiday favorite. You’ll love the vibrant colors and unique designs that can bring any space to life. This craft is not only fun but also a great way to express your creativity while making cherished holiday memories.
- Delightfully colorful patterns to brighten your holiday decor.
- An engaging activity for the entire family.
- A unique way to personalize your ornaments.
- Encourages creativity and artistry.
- Makes wonderful gifts for friends and family.
- Perfect for holiday gatherings and parties.
- Easy to do with minimal supplies.
Ingredients for Create Stunning DIY Hydro Dipped Ornaments for a Personal Touch This Holiday
- Plastic Ornaments – ideal for hydro dipping due to their lightweight material.
- Acrylic Paint – brings vibrant color to your designs.
- Spray Paint – creates beautiful base layers.
- Water – essential for the hydro dipping process.
- Container – to hold water for dipping.
- Stir Sticks – to manipulate the paint during the dipping process.
- Protective Gloves – keeps your hands clean during the process.
- Drop Cloth – protects your workspace.
Ready to cook? See the recipe card for exact measurements below.
How to Make Create Stunning DIY Hydro Dipped Ornaments for a Personal Touch This Holiday
Phase 1 – Prep
- Gather all of your materials and set up your workspace by laying down a drop cloth to protect surfaces.
- Put on protective gloves to keep your hands clean while working with paint.
- Fill your container with water to about halfway.
- Choose your spray paint colors and create a base layer on the plastic ornaments by spraying them evenly.
- Allow the base layer to dry before proceeding to the hydro dipping phase.
Phase 2 – Cook
- Once the base layer is dry, carefully pour the chosen acrylic paint into the container of water.
- Using stir sticks, swirl the paint around to create unique designs on the water’s surface.
- Slowly dip the ornament into the paint, twisting it slightly to ensure full coverage.
- Remove the ornament from the water and let excess paint drip off.
- Place the ornament on a drying rack or a clean surface to dry completely.
Phase 3 – Serve
- Once the ornaments are completely dry, they are ready to be hung on the tree or given as gifts.
- Display the ornaments in your home, enhancing the festive atmosphere.
- Share your festive creations with family and friends for additional holiday joy.
Pro Tips for the Best Results
- Experiment with multiple colors for unique and vibrant designs.
- Make sure to work quickly while the paint is still wet for better blending.
- Use a small cup to create tie-dye effects by carefully adding small amounts of paint.
- Let each ornament dry completely before applying additional layers or decorations.
- Store your supplies organized to make future crafting easier.
- Consider using a clear sealant on completed ornaments for added durability.
- Have paper towels handy for quick clean-ups during the process.
Common Mistakes to Avoid
One common mistake is applying too many layers of paint, which can lead to heavy and drippy ornaments. This happens when crafters try to rush the process without allowing layers to dry. To avoid this, work with one layer at a time and allow it to dry before adding more coats.
Another mistake is not protecting your workspace sufficiently. Many people overlook this aspect, resulting in messy work areas. Next time, be sure to cover your workspace with a drop cloth or old newspapers to catch any paint drips.
Finally, some crafters may misuse the paint while swirling it in the water, leading to unappealing results. Instead of rushing to dip the ornaments, take your time to practice swirling the paints for an even, attractive design.
Recipe Variations
- Use different types of ornaments, such as wood or glass, to see how they react with the hydro dipping process.
- Add glitter to the paint for extra sparkle and festive flair.
- Combine colors beyond the typical holiday palette for a unique twist.
- Incorporate stencils on the ornaments before dipping for additional patterns.
How to Serve Create Stunning DIY Hydro Dipped Ornaments for a Personal Touch This Holiday
- Pair with other homemade decorations for a personalized tree look.
- Use as gift tags for unique presentation of gifts.
- String them into garlands to beautify your space further.
Make Ahead & Storage
Can I Meal Prep This?
This craft can be made ahead of time, allowing you to enjoy a stress-free decorating experience as the holidays approach.
Storing Leftovers
Store any leftover paint in a tightly sealed container to use for future craft projects. Be sure to keep your finished ornaments in a cool, dry place, handling them carefully to avoid scratches.
Freezing
Freezing isn’t applicable for these ornaments, as it may damage the integrity of the paint and ornaments.
Reheating
Reheating isn’t necessary nor recommended for these holiday crafts.

FAQs
1. Can I use different types of paint?
Acrylic paints work best for hydro dipping, but you can experiment with other non-water-soluble paints to see if they yield unique results.
2. How long do the ornaments take to dry?
Typically, hydro dipped ornaments dry fully within 2-4 hours, depending on humidity and air circulation.
3. Can I use these ornaments outside?
While they can be used outdoors for decoration, it’s best to keep them in covered areas to protect them from the elements.
4. Are hydro dipped ornaments safe for children?
Yes, as long as adult supervision is present, kids will enjoy this craft, but be sure to keep any small items out of reach.
Create stunning DIY hydro dipped ornaments for a personal touch this holiday season, filling your home with cheer and creativity. Try this engaging craft with your family and don’t forget to leave a comment or rate the recipe as you create lasting memories.
DIY Hydro Dipped Ornaments
Ingredients
For Hydro Dipped Ornaments
- 10 pieces Plastic Ornaments Ideal for hydro dipping due to their lightweight material.
- 1 bottle Acrylic Paint Brings vibrant color to your designs.
- 1 can Spray Paint Creates beautiful base layers.
- 1 gallon Water Essential for the hydro dipping process.
- 1 container Container To hold water for dipping.
- 5 pieces Stir Sticks To manipulate the paint during the dipping process.
- 1 pair Protective Gloves Keeps your hands clean during the process.
- 1 piece Drop Cloth Protects your workspace.
Instructions
Preparation
- Gather all of your materials and set up your workspace by laying down a drop cloth to protect surfaces.
- Put on protective gloves to keep your hands clean while working with paint.
- Fill your container with water to about halfway.
- Choose your spray paint colors and create a base layer on the plastic ornaments by spraying them evenly.
- Allow the base layer to dry before proceeding to the hydro dipping phase.
Hydro Dipping
- Once the base layer is dry, carefully pour the chosen acrylic paint into the container of water.
- Using stir sticks, swirl the paint around to create unique designs on the water's surface.
- Slowly dip the ornament into the paint, twisting it slightly to ensure full coverage.
- Remove the ornament from the water and let excess paint drip off.
- Place the ornament on a drying rack or a clean surface to dry completely.
Serving
- Once the ornaments are completely dry, they are ready to be hung on the tree or given as gifts.
- Display the ornaments in your home, enhancing the festive atmosphere.
- Share your festive creations with family and friends for additional holiday joy.