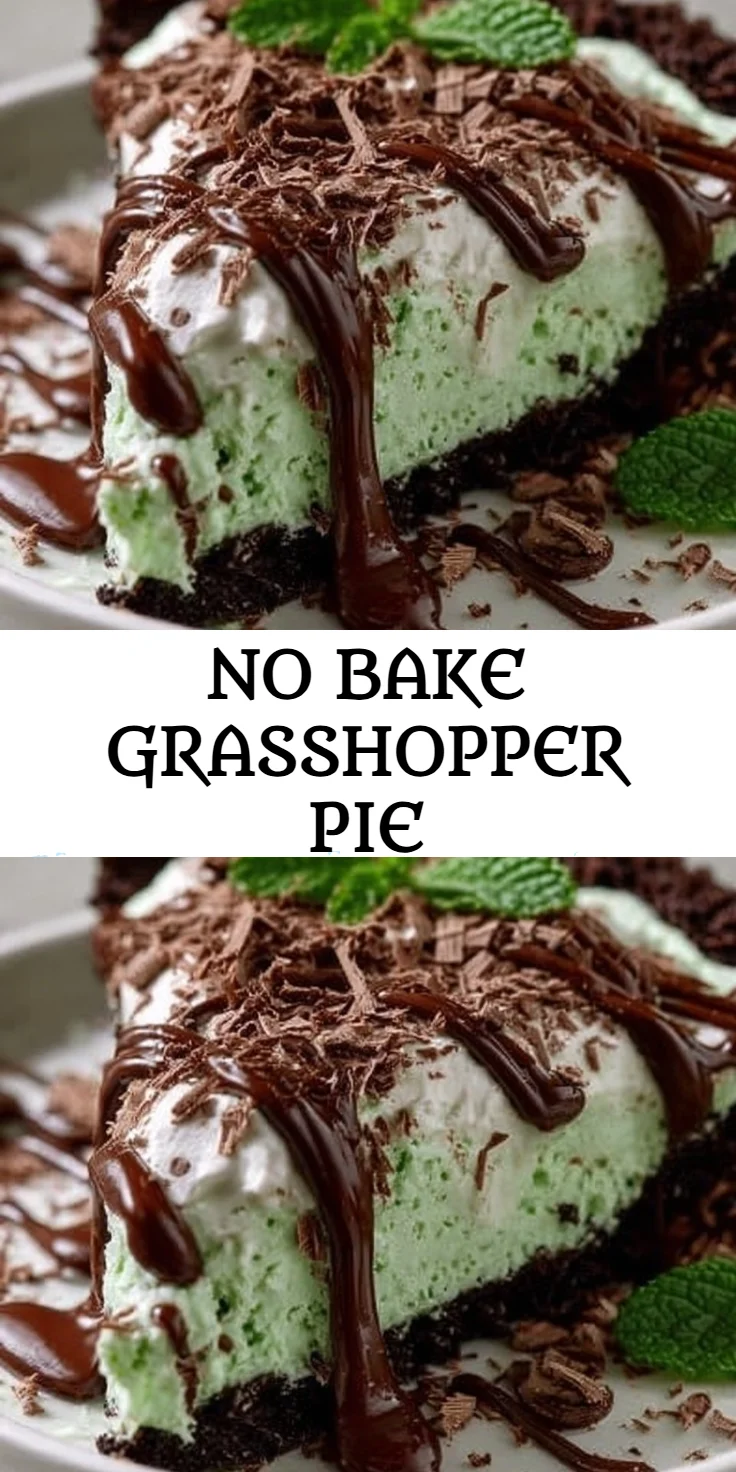
No Bake Grasshopper Pie Recipe: A Creamy, Guilt-Free Delight
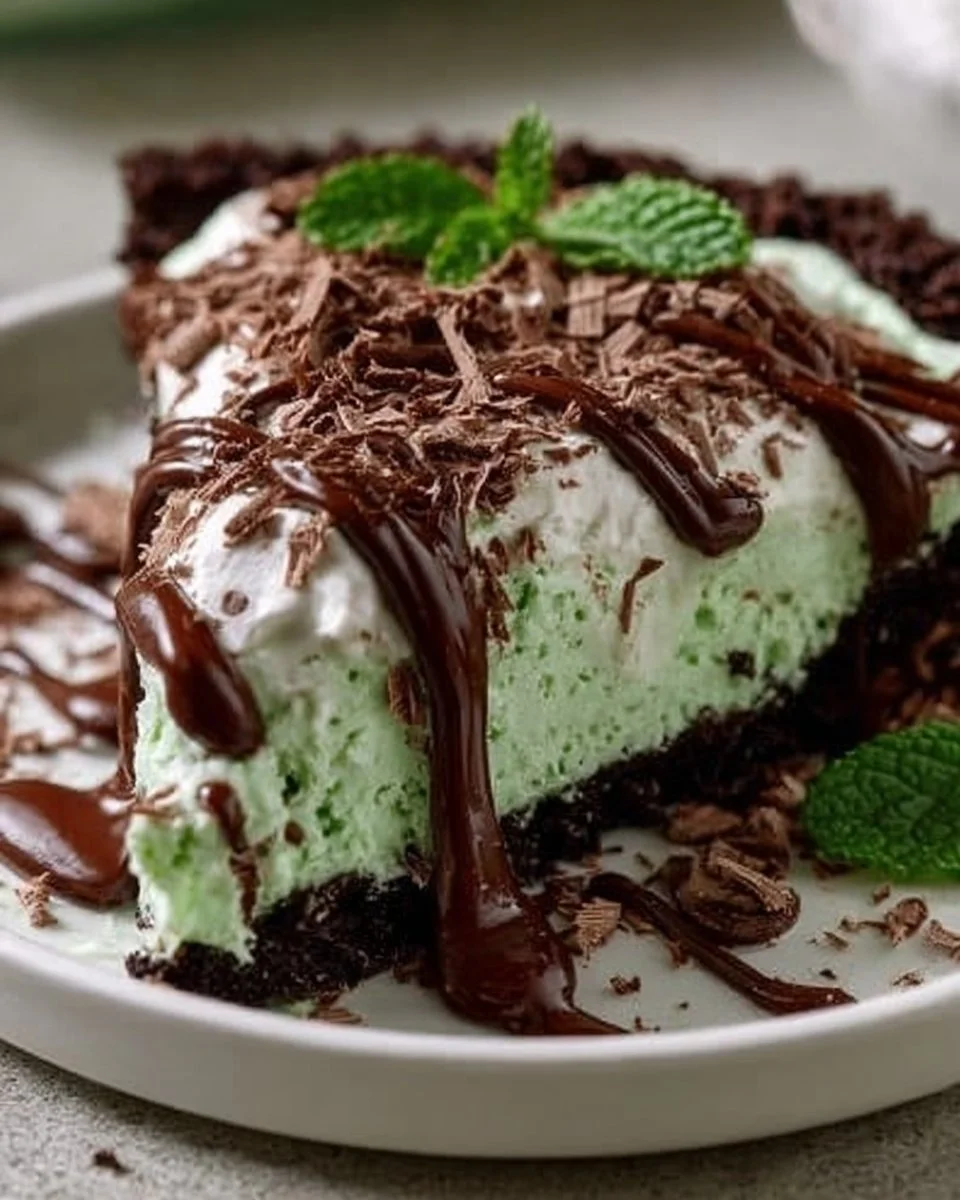
Looking for a dessert that’s creamy, dream-like, and guilt-free? This No Bake Grasshopper Pie is the perfect treat for busy families wanting to indulge without the hassle. Picture a velvety filling made with smooth cream and a refreshing minty twist. All of this, topped off with rich chocolate— can you taste it already? Not only is this pie indulgent but it’s also low in carbs and great for weight loss, making it a fantastic addition to your healthy lifestyle meal plan. Best of all, there’s no oven required. Perfect for those hot summer days or any time you’re craving something sweet without the fuss!
Whether you’re planning a gathering or simply treating your family, this No Bake Grasshopper Pie is sure to become a favorite. The blend of textures plays beautifully on the palate, providing that satisfying bite without the guilt. Plus, it aligns with your nutrition goals, so you can enjoy every forkful knowing it’s blood sugar-friendly too. Craving dessert shouldn’t disrupt your life, and this recipe proves it—delivering taste and health in one delectable pie. Let’s dive into this creamy treat that will not only please your taste buds but also suit your busy schedule.
Why You’ll Love No Bake Grasshopper Pie (Creamy, Easy, and Cozy)
This No Bake Grasshopper Pie is creamy and refreshing while being low in calories—ideal for a nutritious dessert.
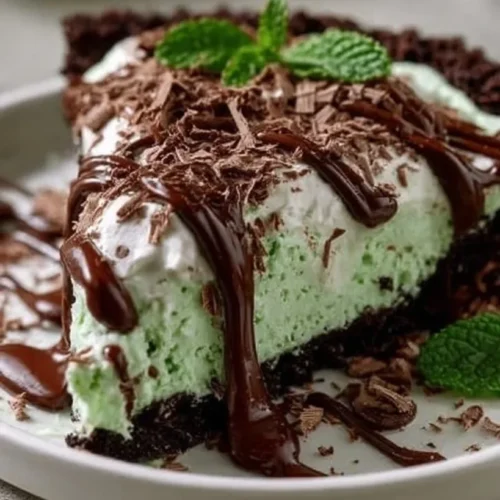
The delightful combination of rich chocolate and cool mint creates a dessert that feels decadent yet light. Easy to whip up, this dessert saves you both time and effort, allowing you to spend more moments with your loved ones. With no baking required, it’s the perfect solution for busy evenings or hot days when turning on the oven is just too much. Its creamy texture melts in your mouth while the chocolate cookie crust offers a satisfying crunch, making every bite a joy. Plus, it’s a visually impressive dessert that’s bound to be a hit at parties or family gatherings.
- Time-saving: Quick to prepare and sets in the fridge.
- Texture: A smooth filling encased in a crunchy crust.
- Pantry-friendly: Common ingredients you likely already have.
- Meal-prep friendly: Easy to make in advance for gatherings.
- Dietary notes: Low carb and blood sugar friendly.
- Health positioning: Guilt-free treat for your healthy lifestyle.
Ingredients for No Bake Grasshopper Pie
- Chocolate cookie crumbs – provides the rich, sweet crust.
- Unsalted butter – binds the crust and enhances flavor.
- Heavy cream – creates a luscious, creamy filling.
- Sweetened condensed milk – adds sweetness and creaminess.
- Green crème de menthe – gives the pie its signature minty flavor.
- Chocolate chips – for a rich chocolatey topping.
- Vanilla extract – enhances the overall flavor profile.
- Whipped cream for topping – lightens the dessert and adds a decorative touch.
Ready to cook? See the recipe card for exact measurements below.
How to Make No Bake Grasshopper Pie
Phase 1 – Prep
- Gather all your ingredients on a clean surface.
- In a medium bowl, mix the chocolate cookie crumbs and melted butter until well combined.
- Press the mixture into the bottom and up the sides of a pie dish to form the crust. Use the back of a measuring cup to create a firm base.
- Place your crust in the fridge to chill for 10 minutes while you prepare the filling.
Phase 2 – Cook/Assemble
- In a large bowl, whip the heavy cream until soft peaks form.
- In another bowl, mix the sweetened condensed milk, green crème de menthe, and vanilla extract until smooth.
- Gently fold the whipped cream into the crème de menthe mixture, ensuring not to deflate the cream for a fluffy texture.
- Pour the filling into the chilled pie crust, smoothing it out with a spatula.
- Sprinkle chocolate chips on top for a decadent touch.
- Cover the pie with plastic wrap and refrigerate for at least 4 hours or overnight for best results.
Phase 3 – Serve
- Once chilled and set, remove the pie from the fridge.
- Top with a generous dollop of whipped cream for that final sweet touch.
- Slice into wedges, serve on chilled plates, and enjoy the creamy goodness!
- Store any leftovers in an airtight container in the fridge for up to 3 days.
Pro Tips for the Best Results
- For a firmer crust, make sure to press the chocolate cookie mixture tightly into the pan.
- Use cold ingredients, especially the heavy cream, for better whipping results.
- For an extra chocolatey kick, consider adding a layer of melted dark chocolate underneath the filling.
- This pie can be made a day in advance for hassle-free serving, making it perfect for meal prep.
- Store leftovers in an airtight container to maintain freshness and texture.
Common Mistakes to Avoid
One common mistake is not letting the pie set long enough. This can lead to a filling that’s too soft when you cut into it. Always aim to chill the pie for at least 4 hours or overnight for the best results. If you’re short on time, at least give it a good 4 hours in the fridge.
Another issue people face is over-mixing the whipped cream. This can cause the mixture to become grainy instead of fluffy. To avoid this, gently fold the whipped cream into the filling mixture, taking care not to deflate it. Aim for a light and airy consistency for that melt-in-your-mouth experience.
Finally, ensure you’re using high-quality ingredients, especially the heavy cream and chocolate chips. Inexpensive brands can compromise the flavor and texture, so investing in good-quality ingredients can make a world of difference.
Recipe Variations
- Gluten-free: Use gluten-free chocolate cookie crumbs for the crust.
- Dairy-free: Substitute heavy cream with coconut cream and use dairy-free sweetened condensed milk.
- Spicy: Add a pinch of cayenne pepper to the filling for a surprising kick.
- Herbal: Incorporate a few fresh mint leaves into the filling for a refreshing twist.
How to Serve No Bake Grasshopper Pie
Best Pairings
- Serve with fresh fruit, like strawberries or raspberries, for an extra burst of flavor.
- Pair with a scoop of vanilla ice cream for a luscious experience.
Toppings
- Whipped cream is a classic topping, but consider adding shaved chocolate or crushed mint candies.
- A drizzle of chocolate sauce can elevate visual appeal and flavor.
Garnishes
- Add fresh mint leaves for a pop of color.
- Chocolate shavings or sprinkles can enhance the overall presentation.
Make Ahead & Storage
Can I Meal Prep This?
Yes! This No Bake Grasshopper Pie is perfect for meal prep since it can be made in advance and stored in the refrigerator.
Storing Leftovers
Store leftovers in an airtight container in the fridge for up to 3 days. Ensure it’s well-covered to maintain its freshness.
Freezing
You can freeze the pie for up to 1 month. Just be aware that the texture might change slightly when thawed.
Reheating
Since this is a chilled dessert, there’s no need to reheat it. Simply take it out of the fridge and enjoy!

FAQs
1. Can I make this pie dairy-free?
Yes, by using coconut cream and dairy-free sweetened condensed milk, you can easily adapt this recipe.
2. How long does this pie last in the fridge?
It can be stored for up to 3 days in an airtight container without losing its delicious quality.
3. Can I use a different flavor for the filling?
You can experiment with different flavored extracts or even use fruit purees for a refreshing twist!
4. Is there a gluten-free option for this recipe?
Absolutely! Just swap in gluten-free chocolate cookie crumbs for the crust.
Your new favorite No Bake Grasshopper Pie recipe invites you to indulge without guilt. Creamy, rich, and refreshing, it’s the ideal dessert for your healthy lifestyle. Don’t forget to rate and share your experience or explore our related recipes, including our High Protein Cauliflower Soup or Low Carb Chocolate Mousse, for more delightful options that fit your nutrition goals!
No Bake Grasshopper Pie
Ingredients
For the Crust
- 2 cups Chocolate cookie crumbs Provides the rich, sweet crust.
- 1/2 cup Unsalted butter, melted Binds the crust and enhances flavor.
For the Filling
- 2 cups Heavy cream Creates a luscious, creamy filling.
- 14 oz Sweetened condensed milk Adds sweetness and creaminess.
- 1/2 cup Green crème de menthe Gives the pie its signature minty flavor.
- 1 tsp Vanilla extract Enhances the overall flavor profile.
For Topping
- 1/2 cup Chocolate chips For a rich chocolatey topping.
- Whipped cream Whipped cream for topping Lightens the dessert and adds a decorative touch.
Instructions
Preparation
- Gather all your ingredients on a clean surface.
- In a medium bowl, mix the chocolate cookie crumbs and melted butter until well combined.
- Press the mixture into the bottom and up the sides of a pie dish to form the crust. Use the back of a measuring cup to create a firm base.
- Place your crust in the fridge to chill for 10 minutes while you prepare the filling.
Cooking/Assembly
- In a large bowl, whip the heavy cream until soft peaks form.
- In another bowl, mix the sweetened condensed milk, green crème de menthe, and vanilla extract until smooth.
- Gently fold the whipped cream into the crème de menthe mixture, ensuring not to deflate the cream for a fluffy texture.
- Pour the filling into the chilled pie crust, smoothing it out with a spatula.
- Sprinkle chocolate chips on top for a decadent touch.
- Cover the pie with plastic wrap and refrigerate for at least 4 hours or overnight for best results.
Serving
- Once chilled and set, remove the pie from the fridge.
- Top with a generous dollop of whipped cream for that final sweet touch.
- Slice into wedges, serve on chilled plates, and enjoy the creamy goodness!