
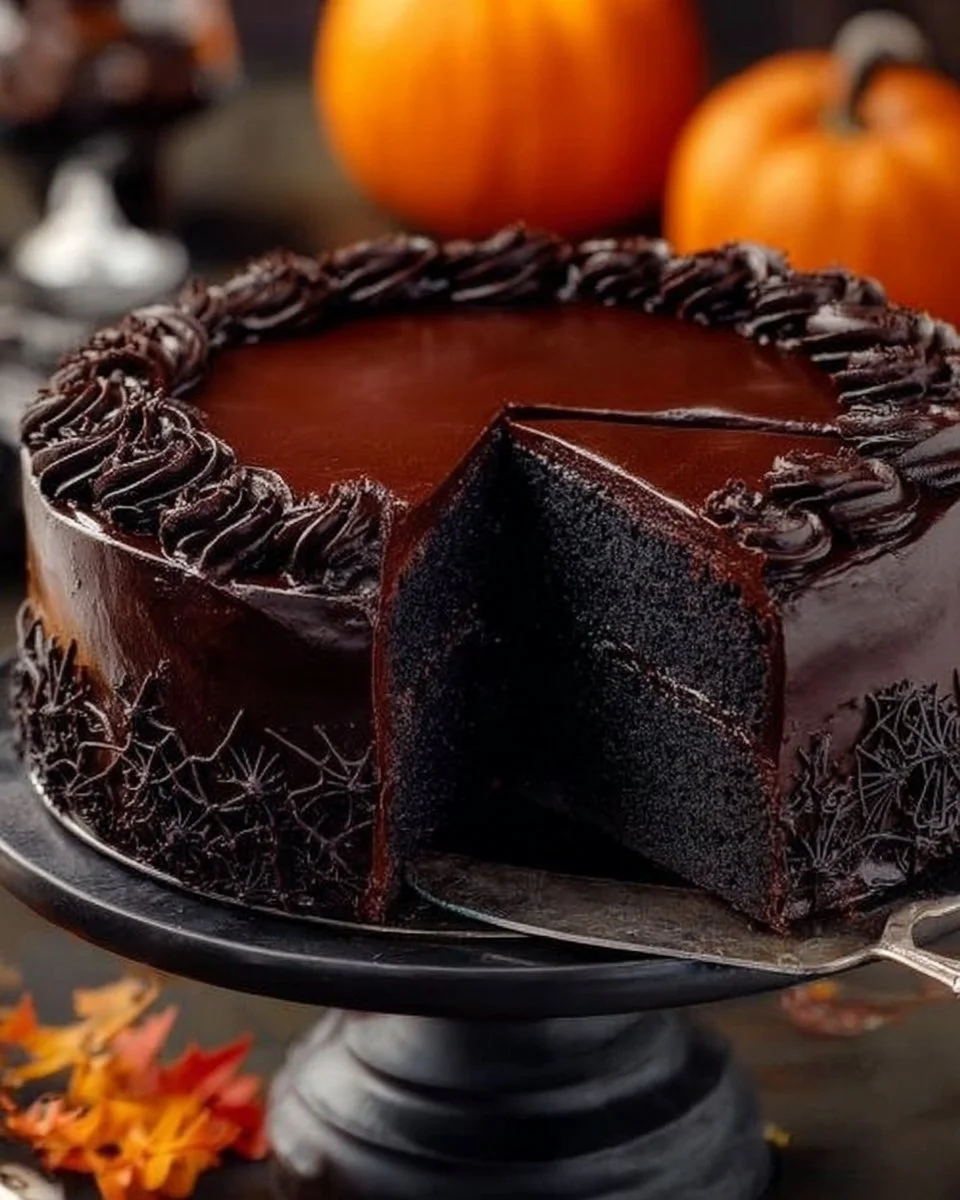
As the leaves turn and the air grows crisp, it’s time to embrace the flavors of the season. This Black Velvet Halloween Cake combines rich cocoa and a velvety texture, making it the perfect centerpiece for your festive gatherings. Imagine a moist, decadent chocolate cake that’s not only delicious but also fits within your health-conscious lifestyle. Whether you’re looking to impress guests at a Halloween party or seeking a delightful treat for family movie night, this cake satisfies all cravings without the guilt.
With its stunning deep color, it’s a feast for the eyes and the palate. Each slice reveals a tender crumb that melts in your mouth, paired with a creamy cream cheese frosting that heightens the experience. This Black Velvet Halloween Cake is not only a treat—it’s designed with busy families in mind, as you can easily prepare it ahead of time. By incorporating ingredients that align with your nutrition goals, this cake is the perfect solution for satisfying sweet tooth cravings while keeping your food prep on track. Let’s dive into why this cake will become a staple in your kitchen.
Why You’ll Love Black Velvet Halloween Cake (Creamy, Easy, and Cozy)
The Black Velvet Halloween Cake is a showstopper that merges delightful flavors with health benefits, making it an excellent addition to any meal plan.
This cake is a perfect balance of indulgence and health, making it a go-to option for busy families who want to maintain a healthy lifestyle without sacrificing taste. The richness of unsweetened cocoa powder is not just for show; it’s a source of antioxidants, providing added health benefits. Plus, this cake is protein-packed, allowing you to enjoy dessert while working towards your nutrition goals. Its dense and moist texture is achieved without compromising on quality, meaning you can feel good about every bite.
- Speed: Quick to prepare, making it ideal for spontaneous celebrations.
- Texture: Moist and tender cake that melts in your mouth.
- Pantry-Friendly: Simple ingredients that you likely have on hand.
- Meal Prep Friendly: Easily made ahead, store, and serve at your convenience.
- Dietary Notes: Fits within various dietary preferences, particularly for those watching calories.
- Health Positioning: Guilt-free indulgence with balanced macros.
{image_template}
Ingredients for Black Velvet Halloween Cake
- All-Purpose Flour – provides structure and a tender crumb.
- Granulated Sugar – adds sweetness and heightens the cake’s moistness.
- Unsweetened Cocoa Powder – contributes rich chocolate flavor.
- Baking Powder – helps the cake rise to a fluffy texture.
- Baking Soda – works with the cocoa for a deep flavor profile.
- Salt – elevates the sweetness and balances flavors.
- Buttermilk – creates a moist cake with a slight tang.
- Vegetable Oil – ensures a tender crumb and moist texture.
- Large Eggs – bind ingredients and provide structure.
- Vanilla Extract – enhances sweetness and flavor depth.
- Hot Water – activates cocoa powder and enhances flavor.
- Black Food Coloring (optional) – intensifies the cake’s color.
- Cream Cheese Frosting – adds a creamy finish with zing.
Ready to cook? See the recipe card for exact measurements below.
How to Make Black Velvet Halloween Cake
Phase 1 – Prep
- Preheat your oven to 350°F (175°C).
- Grease and flour two 9-inch round cake pans to prevent sticking.
- In a large bowl, sift together flour, sugar, cocoa powder, baking powder, baking soda, and salt.
- In another bowl, whisk together the buttermilk, vegetable oil, eggs, and vanilla extract until well combined.
- Add the wet mixture into the dry ingredients, stirring until just combined.
- Gradually mix in the hot water until the batter is smooth. If desired, add black food coloring for visual appeal.
Phase 2 – Cook/Assemble
- Pour the batter evenly into the prepared pans.
- Bake for 30-35 minutes, or until a toothpick inserted comes out clean and the cake springs back when lightly pressed.
- Remove from oven and allow cakes to cool in pans for 10 minutes.
- Carefully remove the cakes from the pans and place them on a wire rack to cool completely.
- Once cooled, slice each cake horizontally to create two layers for each cake.
Phase 3 – Serve
- Layer the cooled cake with cream cheese frosting in between each layer.
- Frost the outside of the cake with an even layer of cream cheese frosting.
- Decorate with Halloween-themed sprinkles or edible decorations if desired.
- Slice into wedges and serve. Enjoy with your favorite beverage!
- Store leftovers in the refrigerator for up to a week.
Pro Tips for the Best Results
- Use room temperature ingredients for better mixing and a fluffier cake.
- Don’t overmix the batter; combine until just moist for the best texture.
- For easier slicing, refrigerate the cake for an hour before assembling.
- Swap buttermilk with yogurt if you’re in a pinch; it works wonderfully!
- Store any leftover cream cheese frosting in an airtight container for future use.
- Experiment with different toppings such as nuts for added crunch!
Common Mistakes to Avoid
One common mistake is overmixing the batter. This can lead to a dense cake instead of the desired fluffy texture. The key is to mix until the dry ingredients are just incorporated—no more! It’s important to have patience and use a gentle hand.
Another mistake is not measuring ingredients accurately. Baking is a science, and each measurement needs to be precise. Consider using a kitchen scale for the best results, especially with the flour and sugar, to ensure consistent baking outcomes.
Lastly, not allowing the cake to cool completely can lead to a mess when frosting. Take the time to let your cakes cool thoroughly before layering and decorating. This will help the frosting set nicely, providing a beautiful finish.
Recipe Variations
- Gluten-Free: Substitute the all-purpose flour with a gluten-free blend.
- Dairy-Free: Use non-dairy milk and a plant-based cream cheese for the frosting.
- Spicy: Add a pinch of cayenne pepper to the batter for an unexpected kick!
- Herbal: Incorporate a hint of fresh mint or orange zest into the cream cheese frosting.
- Air Fryer: Cook in an air fryer at 320°F (160°C) for 25-30 minutes for a lower-calorie option.
How to Serve Black Velvet Halloween Cake
- Best Pairings: Serve with a steaming cup of chai tea or a rich coffee.
- Toppings: Consider adding seasonal fruits like raspberries for a burst of freshness.
- Garnishes: Top with chopped nuts or a drizzle of dark chocolate for extra richness.
Make Ahead & Storage
Can I Meal Prep This?
Yes! This cake is perfect for meal prep. Make it a day or two in advance, and it will taste even better as the flavors meld.
Storing Leftovers
Store leftovers in the fridge in an airtight container for up to one week. Make sure to keep the frosting sealed to maintain its creamy texture.
Freezing
You can freeze the cake, wrapped tightly, for up to 3 months. Just ensure it’s well-sealed to prevent freezer burn, and remember that thawing may slightly alter the texture.
Reheating
To reheat, place slices in an oven at 350°F (175°C) for about 10 minutes until warmed through, or microwave slices for 15-20 seconds for a quick treat.
FAQs
Can I use regular cocoa powder instead of unsweetened? No, regular cocoa powder can alter the sweetness and texture of the cake.
How can I make this cake diabetic-friendly? Use a sugar substitute that measures cup-for-cup with sugar to maintain sweetness without the additional calories.
What can I add to the frosting for more flavors? Adding extracts like almond or coffee can elevate the frosting’s flavor significantly.
Can I replace eggs in this recipe? Yes! Use a flaxseed mixture (1 tablespoon flaxseed meal + 2.5 tablespoons water = 1 egg) as a suitable egg replacement.
Embrace autumn with this Black Velvet Halloween Cake. It’s not only delicious but also a protein-packed option perfect for your nutrition goals! Be sure to rate this recipe, share your thoughts, and explore other delightful options like our High Protein Cauliflower Soup or Low Carb Pumpkin Bread for more healthy indulgences!

Black Velvet Halloween Cake
Ingredients
Cake Ingredients
- 2 cups All-Purpose Flour Provides structure and a tender crumb.
- 2 cups Granulated Sugar Adds sweetness and heightens the cake's moistness.
- 3/4 cup Unsweetened Cocoa Powder Contributes rich chocolate flavor.
- 1 tbsp Baking Powder Helps the cake rise to a fluffy texture.
- 1 tsp Baking Soda Works with the cocoa for a deep flavor profile.
- 1 tsp Salt Elevates the sweetness and balances flavors.
- 1 cup Buttermilk Creates a moist cake with a slight tang.
- 1/2 cup Vegetable Oil Ensures a tender crumb and moist texture.
- 2 large Eggs Bind ingredients and provide structure.
- 1 tsp Vanilla Extract Enhances sweetness and flavor depth.
- 1 cup Hot Water Activates cocoa powder and enhances flavor.
- 1 tbsp Black Food Coloring (optional) Intensifies the cake's color.
Frosting Ingredients
- 1 batch Cream Cheese Frosting Adds a creamy finish with zing.
Instructions
Preparation
- Preheat your oven to 350°F (175°C).
- Grease and flour two 9-inch round cake pans.
- In a large bowl, sift together flour, sugar, cocoa powder, baking powder, baking soda, and salt.
- In another bowl, whisk together the buttermilk, vegetable oil, eggs, and vanilla extract until well combined.
- Add the wet mixture into the dry ingredients, stirring until just combined.
- Gradually mix in the hot water until the batter is smooth. If desired, add black food coloring.
Cooking
- Pour the batter evenly into the prepared pans.
- Bake for 30-35 minutes, or until a toothpick inserted comes out clean.
- Remove from oven and allow cakes to cool in pans for 10 minutes.
- Carefully remove the cakes from the pans and place them on a wire rack to cool completely.
- Once cooled, slice each cake horizontally to create two layers for each cake.
Assembly and Serving
- Layer the cooled cake with cream cheese frosting in between each layer.
- Frost the outside of the cake with an even layer of cream cheese frosting.
- Decorate with Halloween-themed sprinkles if desired.
- Slice into wedges and serve. Enjoy with your favorite beverage!