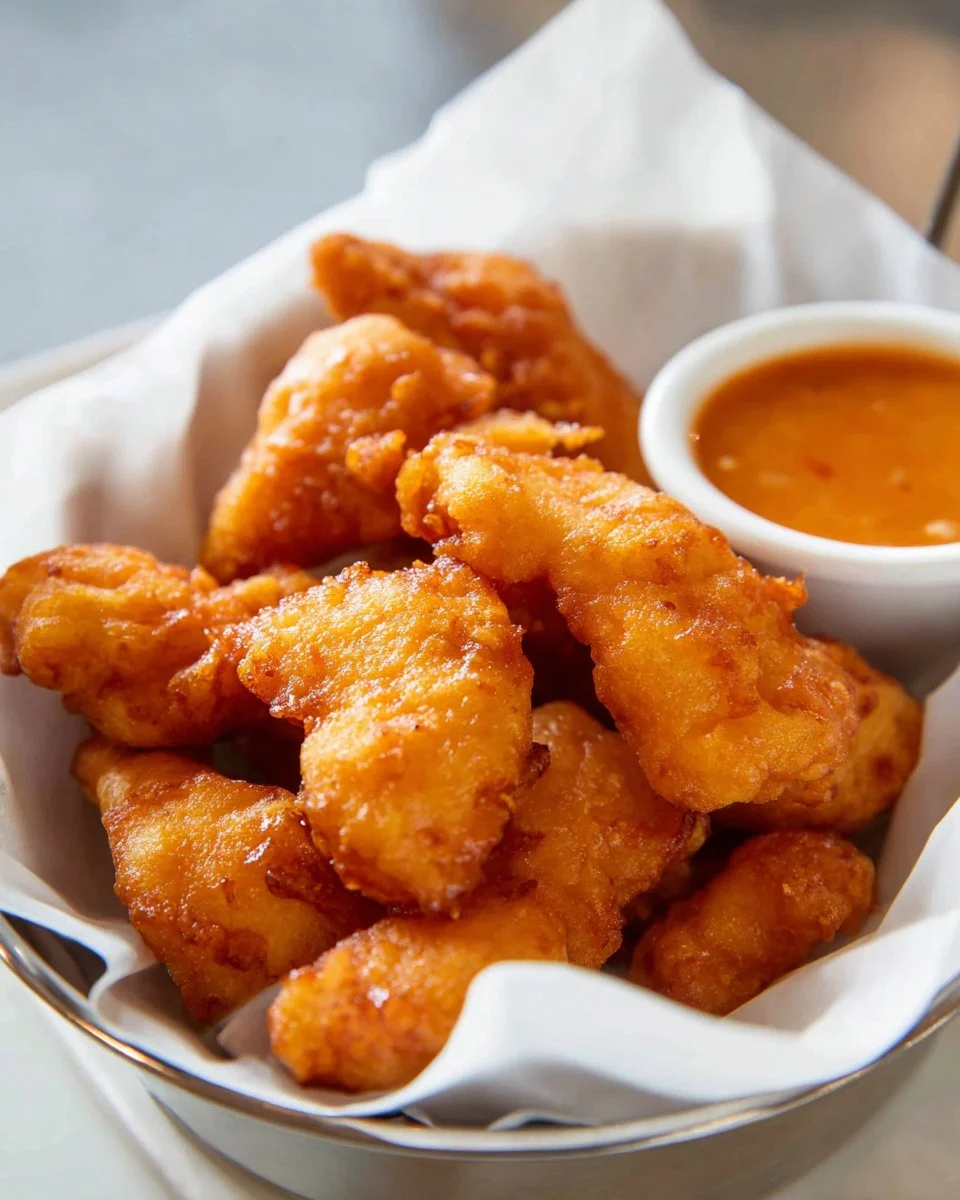
Are you longing for a crispy, satisfying dish that your entire family will love? Our Chinese Chicken Fingers recipe delivers just that. Think of tender chicken encased in a golden, crunchy coating, all without the guilt. These high-protein chicken fingers are perfect for busy families aiming for healthy meals without compromising on flavor. Each bite is bursting with flavor, providing a comforting experience that feels like a warm hug after a long day. Plus, they are ideal for meal prep, making it easier to stick to your nutrition goals while saving you precious time throughout the week.
Picture this: It’s a weeknight, and you’re pressed for time. You want your family to enjoy something nutritious but delicious. Instead of reaching for frozen meals or takeout, you can whip up these Chinese Chicken Fingers in no time. Perfect for dipping, popping, or even adding to salads, they fit seamlessly into a healthy lifestyle. Try serving them with a side of steamed veggies or a fresh salad to round out your meal!
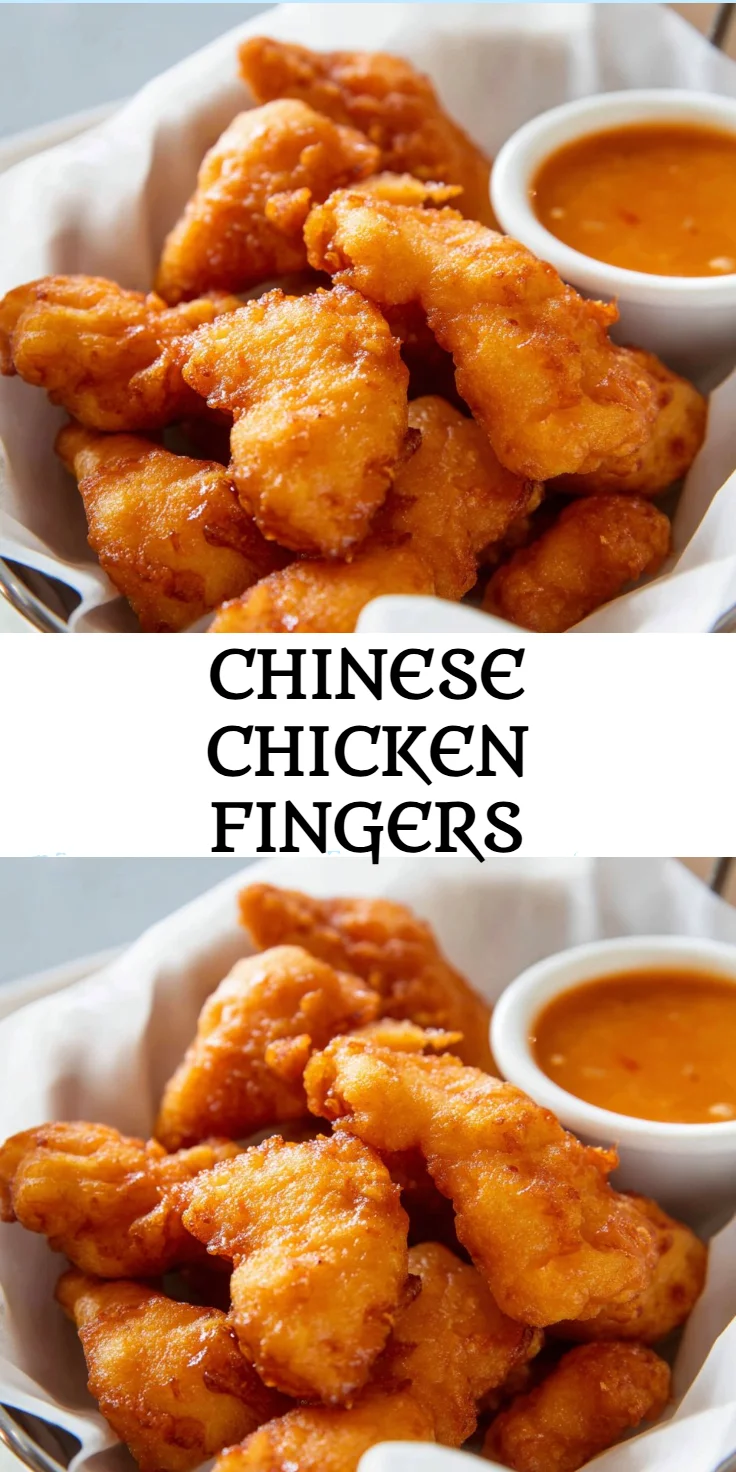
Why You’ll Love Chinese Chicken Fingers (Creamy, Easy, and Cozy)
These Chinese Chicken Fingers are not only delicious, but they are also a heart-healthy choice packed with protein. Whether you need a quick dinner or a meal prep idea, these fingers fit the bill beautifully.
With their crispy texture and savory flavor, Chinese Chicken Fingers make dinnertime feel special without the extra effort. The crunch of the golden exterior gives way to juicy chicken, satisfying every bite while ticking off protein-packed nutrition needs. They are perfect for kids and adults alike, ensuring that there’s something for everyone at the table.
- Speed: Ready in under 30 minutes, perfect for busy weeknights.
- Texture: Crispy outside and tender inside, a delightful crunch.
- Pantry-Friendly: Ingredients are commonly found at home.
- Meal-Prep Friendly: Easy to store and reheat for leftovers.
- Dietary Notes: High in protein, making it ideal for those aiming for calorie-conscious options.
- Health Positioning: Lean protein that supports a heart-healthy lifestyle.
Ingredients for Chinese Chicken Fingers
- Chicken Tenders – Lean protein source for a satisfying main dish.
- Cornstarch – Provides a light, crispy coating that seals in moisture.
- All-Purpose Flour – Essential for creating a crunchy exterior.
- Eggs – Binds the coating and contributes to the crispiness.
- Soy Sauce – Adds umami flavor to the chicken batter.
- Garlic Powder – Offers a savory depth to the recipe.
- Ginger Powder – Brings warmth and spice to every bite.
- Sesame Oil – Enhances the dish with a nutty aroma and flavor.
- Oil for Frying – Necessary for achieving that golden fry.
- Salt and Pepper – Essential seasonings to elevate the overall flavor.
Ready to cook? See the recipe card for exact measurements below.
How to Make Chinese Chicken Fingers
Phase 1 – Prep
- Gather all your ingredients: chicken tenders, cornstarch, flour, eggs, soy sauce, garlic powder, ginger powder, sesame oil, and salt and pepper.
- In a bowl, whisk together eggs, soy sauce, garlic powder, ginger powder, and sesame oil until well combined.
- On a plate, mix cornstarch and flour together with a pinch of salt and pepper.
- Coat each chicken tender lightly with the cornstarch mixture, shaking off any excess.
- Dip the coated chicken into the egg mixture, fully covering it before returning it to the cornstarch-flour mix for a second coat.
Phase 2 – Cook/Assemble
- Heat oil in a deep skillet or air fryer to 350°F (175°C).
- Carefully place coated chicken fingers into the hot oil, frying them in batches to avoid overcrowding the pan.
- Fry for about 3-4 minutes until golden brown and crisp, turning them halfway through to ensure even cooking.
- Use a slotted spoon to remove the chicken fingers and let them drain on paper towels to absorb excess oil.
Phase 3 – Serve
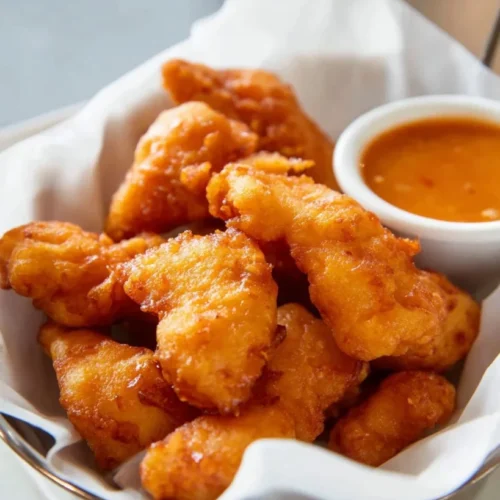
- Once fried, arrange the chicken fingers on a serving platter or individual plates.
- Serve hot, alongside your favorite dipping sauces or fresh veggies.
- Consider garnish with sesame seeds or sliced green onions for added flavor and presentation.
Pro Tips for the Best Results
- For extra crunch, let the coated chicken sit for 10 minutes before frying.
- If you’re short on time, consider using pre-cooked chicken for quicker frying.
- Make sure the oil is hot enough before adding the chicken to avoid sogginess.
- Store leftover chicken fingers in an airtight container to maintain freshness.
- For a zap of spice, add a pinch of cayenne pepper to the flour mixture.
Common Mistakes to Avoid
One common mistake when making Chinese Chicken Fingers is overcrowding the pan during frying. This can lower the oil temperature and result in soggy chicken. To avoid this, fry in batches, giving each piece enough space to cook thoroughly.
Another frequent misstep is skipping the double coating. A single layer of coating can lead to uneven crispiness. Be sure to coat the chicken in both cornstarch and the egg mixture a second time for that perfect crunch.
Lastly, not heating the oil to the proper temperature can ruin the cooking process. Use a thermometer to ensure the oil reaches 350°F (175°C) for ideal frying results, ensuring your chicken fingers turn out golden and crisp on the outside while being tender on the inside.
Recipe Variations
- Gluten-Free: Substitute all-purpose flour with a gluten-free blend.
- Dairy-Free: Suitable as written, as no dairy is included.
- Spicy: Add some chili flakes to the coating for a bit of heat.
- Herbal: Incorporate fresh herbs into the egg wash for extra flavor.
- Air Fryer: Cook at 400°F (200°C) for about 10 minutes, flipping halfway through.
How to Serve Chinese Chicken Fingers
- Best Pairings: Steamed broccoli, carrot sticks, or a mixed greens salad.
- Toppings: Drizzle with sweet chili sauce or serve with honey mustard.
- Garnishes: Sprinkle with sesame seeds or chopped scallions for that finishing touch.
Make Ahead & Storage
Can I Meal Prep This?
Yes, Chinese Chicken Fingers are ideal for meal prep! Make a batch ahead, and they’ll be ready when you are.
Storing Leftovers
Store leftovers in an airtight container in the refrigerator for up to 3 days. Reheat in the oven for best results.
Freezing
You can freeze these chicken fingers for up to 3 months. They may lose some crispiness but will still be delicious.
Reheating
To reheat, place in an oven set to 350°F (175°C) for about 10 minutes. Alternatively, microwave for 1-2 minutes, but expect a softer texture.

FAQs
Can I use chicken breasts instead of tenders? Yes, chicken breasts can be cut into strips, but cooking time may vary.
How can I make them more flavorful? Adding more spices or marinating the chicken beforehand can enhance the flavor.
Are these suitable for kids? Absolutely! They’re a hit with kids and a great way to introduce protein into their diet.
What dipping sauces pair best with these chicken fingers? Sweet chili sauce, honey mustard, or a light soy sauce work perfectly!
Chinese Chicken Fingers are a protein-packed, healthy option for your family’s busy weeknights. With their crispy coating and juicy chicken, they satisfy even the pickiest eaters. Don’t forget to give this recipe a try and let us know how you loved it. Explore our related recipes for more meal prep ideas like our High Protein Cauliflower Soup and Meal Prep Turkey Burgers for a well-rounded, nutritious week!
Chinese Chicken Fingers
Ingredients
Main ingredients
- 1 lb Chicken Tenders Lean protein source for a satisfying main dish.
- 1/2 cup Cornstarch Provides a light, crispy coating that seals in moisture.
- 1/2 cup All-Purpose Flour Essential for creating a crunchy exterior.
- 2 large Eggs Binds the coating and contributes to the crispiness.
- 2 tbsp Soy Sauce Adds umami flavor to the chicken batter.
- 1 tsp Garlic Powder Offers a savory depth to the recipe.
- 1 tsp Ginger Powder Brings warmth and spice to every bite.
- 1 tbsp Sesame Oil Enhances the dish with a nutty aroma and flavor.
- Oil Oil for Frying Necessary for achieving that golden fry.
- to taste Salt and Pepper Essential seasonings to elevate the overall flavor.
Instructions
Preparation
- Gather all your ingredients: chicken tenders, cornstarch, flour, eggs, soy sauce, garlic powder, ginger powder, sesame oil, and salt and pepper.
- In a bowl, whisk together eggs, soy sauce, garlic powder, ginger powder, and sesame oil until well combined.
- On a plate, mix cornstarch and flour together with a pinch of salt and pepper.
- Coat each chicken tender lightly with the cornstarch mixture, shaking off any excess.
- Dip the coated chicken into the egg mixture, fully covering it before returning it to the cornstarch-flour mix for a second coat.
Cooking
- Heat oil in a deep skillet or air fryer to 350°F (175°C).
- Carefully place coated chicken fingers into the hot oil, frying them in batches to avoid overcrowding the pan.
- Fry for about 3-4 minutes until golden brown and crisp, turning them halfway through to ensure even cooking.
- Use a slotted spoon to remove the chicken fingers and let them drain on paper towels to absorb excess oil.
Serving
- Once fried, arrange the chicken fingers on a serving platter or individual plates.
- Serve hot, alongside your favorite dipping sauces or fresh veggies.
- Consider garnish with sesame seeds or sliced green onions for added flavor and presentation.