
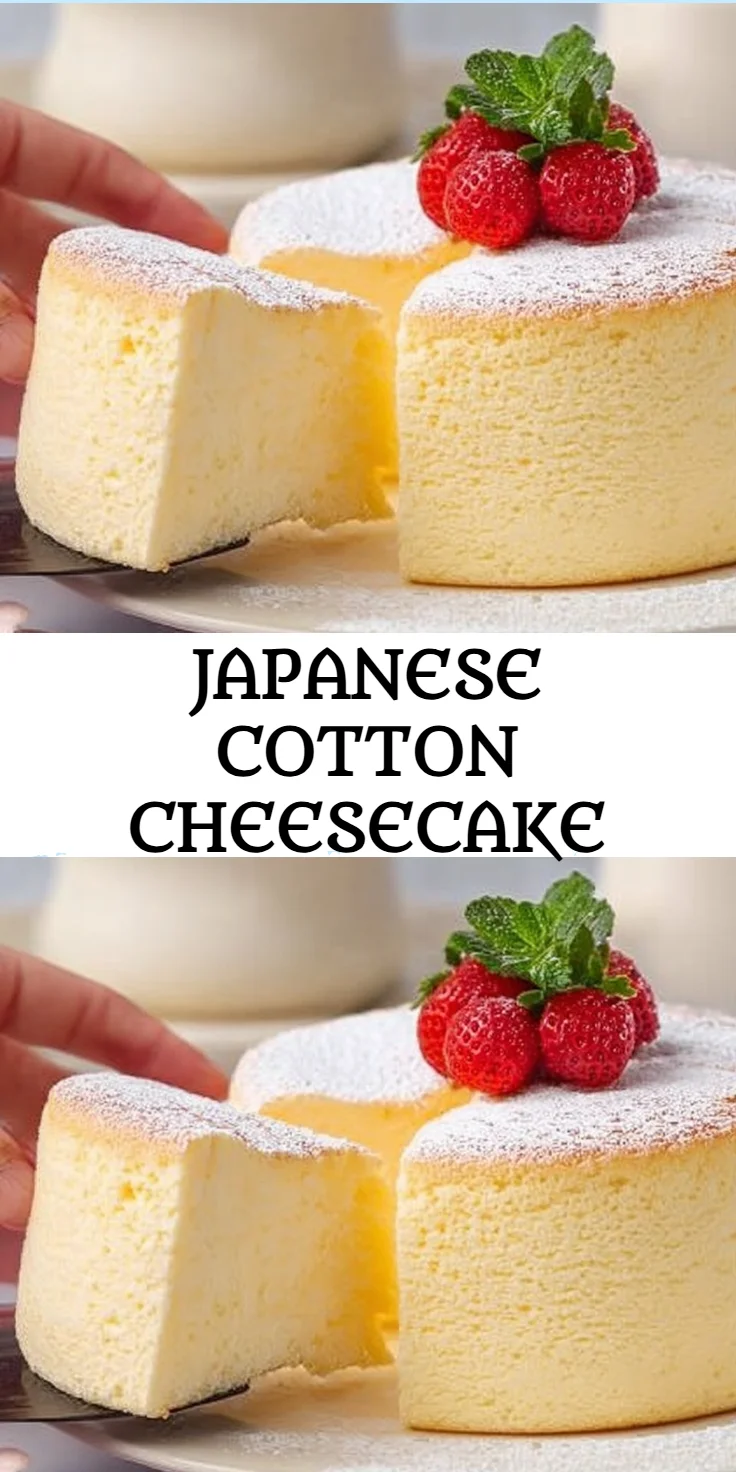
Japanese Cotton Cheesecake Recipe: Light, Fluffy, and Guilt-Free Treat
Imagine a dessert that’s not only heavenly in taste but also fits perfectly into your health-conscious lifestyle. This Japanese Cotton Cheesecake offers an incredible light and fluffy texture that feels weightless on your palate. With its creamy custard-like flavor, this cake makes for an indulgent yet guilt-free treat ideal for busy families and meal-preppers alike. What if you could enjoy a dessert that satisfies your sweet tooth without derailing your nutrition goals? Enter the Japanese Cotton Cheesecake—a delightful, low-calorie, and protein-packed option that’s diabetic-friendly and perfect for weight loss. The best part? It uses everyday ingredients, making it a go-to recipe any time of year.
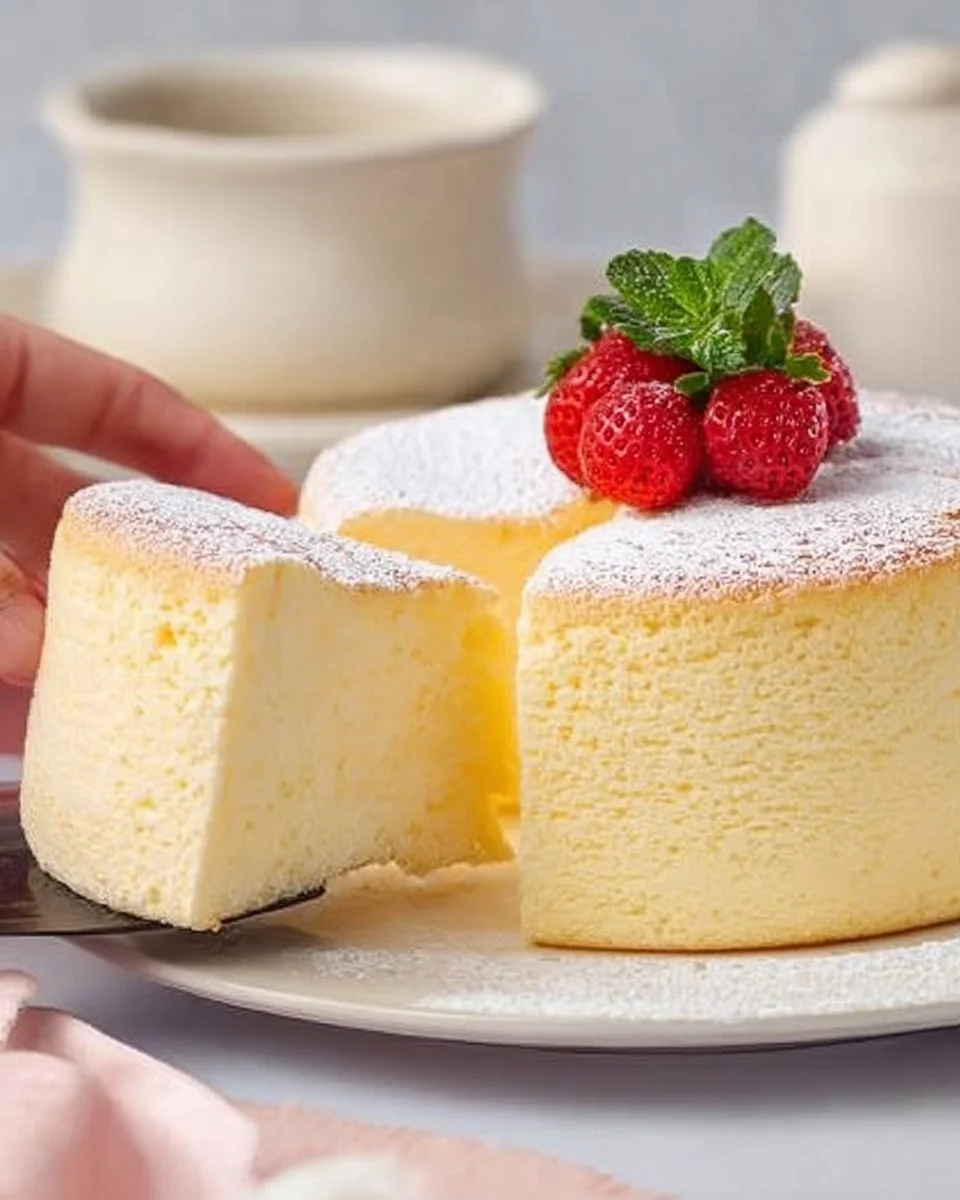
You might be wondering, how can a cheesecake be both light and satisfying? The secret lies in its unique airy texture and the perfect balance of creaminess without the usual heaviness. Families will appreciate that it can be prepped ahead, making weekday desserts a breeze. Picture this: you bring out a slice of this cake, topped with fresh fruit or a dusting of powdered sugar, only to see smiles all around the dinner table. It’s not just a dessert; it’s a comforting experience that brings people together while effortlessly fitting into a calorie-conscious and macro-balanced meal plan.
Why You’ll Love Japanese Cotton Cheesecake (Creamy, Easy, and Cozy)
Japanese Cotton Cheesecake is incredibly fluffy and creamy, making it a must-try for anyone seeking a satisfying dessert that meets their dietary preferences.
This delightful cheesecake has swayed even the toughest critics with its airy consistency and rich flavor. Cutting into this cake feels like slicing through cloud-like layers, leaving you mesmerized by the soft texture. Whether it’s for a family gathering, a cozy night in, or simply a reward after a busy week, this cheesecake delivers not only on taste but also on emotional comfort. It’s incredibly versatile as you can dress it up with seasonal fruits or chocolate drizzle, giving it a unique twist every time. Plus, with how quickly it comes together, you can create something special without spending hours in the kitchen.
- Speedy preparation—less than an hour from start to finish.
- Light and fluffy texture perfect for satisfying a sweet tooth.
- Pantry-friendly ingredients you likely already have.
- Meal-prep friendly; perfectly serves as a make-ahead dessert.
- Diabetic-friendly and low-carb option for health-conscious eaters.
- A great way to impress guests without the stress.
- Customizable with various toppings and pairings.
Ingredients for Japanese Cotton Cheesecake
- Cream Cheese – rich and creamy base, adds flavor and texture.
- Sugar – balances the flavors and contributes to the cake’s sweetness.
- Milk – keeps the batter moist and influences the cake’s overall tenderness.
- Unsalted Butter – enriches the cake, adding depth to the flavor.
- Eggs – provide structure and moisture, essential for fluffiness.
- Cake Flour – ensures a light and airy texture, perfect for this recipe.
- Lemon Juice – brightens the flavors and adds a hint of freshness.
- Salt – enhances sweetness and balances flavors.
- Cornstarch – helps achieve a light texture while binding the ingredients.
Ready to cook? See the recipe card for exact measurements below.
How to Make Japanese Cotton Cheesecake
Phase 1 – Prep
- Preheat your oven to 320°F (160°C).
- Line the bottom of an 8-inch round cake pan with parchment paper for easy removal.
- In a large mixing bowl, soften the cream cheese and unsalted butter together until mixture is creamy and smooth.
- In a separate bowl, whisk the eggs and sugar until mixture becomes light and fluffy.
- Add in the milk, lemon juice, and salt, whisking until evenly combined.
Phase 2 – Cook/Assemble
- Gradually mix in the egg mixture to the cream cheese mixture, ensuring it’s fully incorporated.
- Fold in the cake flour and cornstarch gently to maintain the airy texture.
- Pour the batter into the prepared cake pan, smoothing the top.
- Place the cake pan in a larger baking dish filled with boiling water—this will create steam for a gentle bake.
- Bake for 55-60 minutes, or until the center is set and slightly jiggly.
Phase 3 – Serve
- Turn off the oven, crack the door, and let the cheesecake cool in the oven for 30 minutes.
- Remove from the oven and chill in the refrigerator for at least 2 hours, preferably overnight.
- Once chilled, carefully release from the pan and transfer to a serving plate.
- Slice and serve with fresh fruits, whipped cream, or a light dusting of powdered sugar.
- Enjoy the soft, airy goodness—it’s a crowd-pleaser!
Pro Tips for the Best Results
- Ensure your cream cheese is at room temperature for a smoother batter.
- Use a water bath for even cooking and to prevent cracking.
- Don’t overmix the batter to maintain the fluffy texture.
- For a lighter version, you can reduce sugar slightly without sacrificing taste.
- Store leftovers tightly wrapped to keep it moist and fresh.
Common Mistakes to Avoid
One common mistake is undercooking or overcooking the cheesecake. If the center is too wet, the texture will be dense rather than fluffy. To avoid this, always check for doneness at the lower end of the baking time, and remember that the cheesecake will continue to cook as it cools.
Another issue can arise from not letting the cheesecake cool gradually. If you’re in a hurry and cool it too quickly, cracks may form. Allowing it to cool in the oven with the door ajar will help stabilize the temperature and minimize cracking.
Lastly, be sure to use cake flour for the right texture. All-purpose flour won’t give you the lightness you desire. If you don’t have cake flour, you can make a substitute by using all-purpose flour and replacing 2 tablespoons of it with cornstarch.
Recipe Variations
- Gluten-Free: Substitute cake flour with a gluten-free flour blend.
- Dairy-Free: Use plant-based cream cheese substitutes.
- Spicy: Add a pinch of cinnamon or nutmeg for warmth.
- Herbal: Mix in some fresh lemon zest for an aromatic flavor.
- Air Fryer: Cook at 320°F for approximately 30-35 minutes, checking for doneness.
How to Serve Japanese Cotton Cheesecake
- Best Pairings: Fresh berries, fruit compote, or whipped cream.
- Toppings: Dusting of powdered sugar, chocolate shavings, or a drizzle of honey.
- Garnishes: Mint leaves or citrus zest for a refreshing touch.
Make Ahead & Storage
Can I Meal Prep This?
Yes! This cheesecake is perfect for meal prep and can be made ahead of time.
Storing Leftovers
Store cooled leftovers in an airtight container in the refrigerator for up to 3 days.
Freezing
You can freeze slices of this cheesecake for up to 2 months. Wrap tightly to prevent freezer burn while maintaining the texture.
Reheating
To reheat, warm slices in the oven at 300°F (150°C) for about 10-15 minutes, or microwave for 30-45 seconds until just warmed through.
FAQs
Can I make this cheesecake ahead of time? Yes, you can prepare it a day in advance, allowing it to set overnight for the best texture.
How do I know when the cheesecake is done? The center should be slightly jiggly but not wet, and a toothpick should come out clean.
Can I use a different type of cheese for this recipe? Cream cheese is fundamental for this texture, but you can experiment with soft ricotta as a substitute.
Why did my cheesecake crack on top? Cracking often occurs due to quick temperature changes; allowing it to cool slowly will help prevent this.
This Japanese Cotton Cheesecake recipe brings together health-friendly ingredients while satisfying your sweet cravings. Light, fluffy, and guilt-free, it’s perfect for those adhering to a healthy lifestyle. Enjoy its delightful flavor and texture, and let us know how yours turns out by rating or commenting below! If you’re looking for more delicious, healthy treats, check out our guilt-free brownies or our low-carb chocolate mousse.
Japanese Cotton Cheesecake
Ingredients
Cheesecake Base Ingredients
- 8 oz Cream Cheese Rich and creamy base, adds flavor and texture.
- 1/2 cup Sugar Balances the flavors and contributes to the cake's sweetness.
- 1/2 cup Milk Keeps the batter moist and influences the cake's overall tenderness.
- 1/4 cup Unsalted Butter Enriches the cake, adding depth to the flavor.
- 3 large Eggs Provides structure and moisture, essential for fluffiness.
- 1 cup Cake Flour Ensures a light and airy texture, perfect for this recipe.
- 1 tbsp Lemon Juice Brightens the flavors and adds a hint of freshness.
- 1/4 tsp Salt Enhances sweetness and balances flavors.
- 1 tbsp Cornstarch Helps achieve a light texture while binding the ingredients.
Instructions
Preparation
- Preheat your oven to 320°F (160°C).
- Line the bottom of an 8-inch round cake pan with parchment paper for easy removal.
- In a large mixing bowl, soften the cream cheese and unsalted butter together until mixture is creamy and smooth.
- In a separate bowl, whisk the eggs and sugar until mixture becomes light and fluffy.
- Add in the milk, lemon juice, and salt, whisking until evenly combined.
Baking
- Gradually mix in the egg mixture to the cream cheese mixture, ensuring it’s fully incorporated.
- Fold in the cake flour and cornstarch gently to maintain the airy texture.
- Pour the batter into the prepared cake pan, smoothing the top.
- Place the cake pan in a larger baking dish filled with boiling water—this will create steam for a gentle bake.
- Bake for 55-60 minutes, or until the center is set and slightly jiggly.
Serving
- Turn off the oven, crack the door, and let the cheesecake cool in the oven for 30 minutes.
- Remove from the oven and chill in the refrigerator for at least 2 hours, preferably overnight.
- Once chilled, carefully release from the pan and transfer to a serving plate.
- Slice and serve with fresh fruits, whipped cream, or a light dusting of powdered sugar.